
4. Pound it Out
Go to the little structure for ammo and Frags.
Get COG #7 by going to the big crack in the road and following it up to the wall behind the white van.
Go forward to the big sandbag and kill the Drone to the right side, but make sure you are out of range of the Troika. A Grenadier will burst from the closed door to the very right. Grenadiers carry Gnashers (shotguns) and can toss Frags at you; they also tend to rush your position. Take him out and then go into the building through his door. Get out a Frag and go through the rubble in the building until you hear a hole open somewhere. It is in a tiny room to the right of the very center of the building (behind the middle door) and you need to lob a Frag inside; you should get a conformation sign from someone telling you that you hit it. Then mop up and collect the Frags and ammo in that room. Fall into the group.
Man the Troika and get ready for a couple of waves of enemies. You don’t have a crosshair, so “zoom” in a bit, fire, and follow the trail of bullets to your enemies. You should be able to tell if you hit. Be sure not to hit your own guys. No sniper. When all is over, follow your team into the door on the right and fight the Grenadier and Drones. You can pick up the Gnasher, but I don’t like it so I won’t tell you to. Go through the door when it opens.
Follow the pack to the fallen soldier. From above, take out the two Drones in the doorway across the way on the ground. Pick up the ammo to the left of the ledge and go down there to kill one Drone. After the scene, pick up the full- ammo crate and Frags if needed then follow your new teammate.
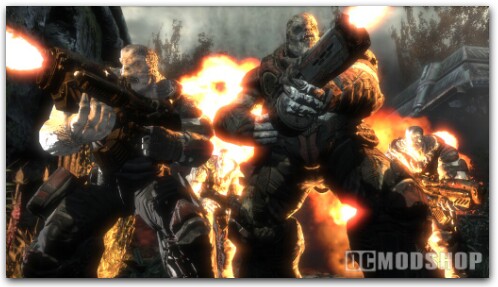
In the big hall, go to the left and look behind some tomb-like thing for COG #8.
Go to the door and look back to where the COG tag was and be ready to meet the Wretches. Wretches are fast and small, but they only have a little bit of life. Watch the ceilings and you will be fine. Save the ammo til the end. Take out a whole bunch from the first side and then focus all your fire behind you when you hear they are coming. Melee if needed. After, pick up the full-ammo crate and go through the door.
Swap the Hammerburst for the Hammer of Dawn near the corpse. This part is important to cheating the game. Go to the window that is closest to the door and near the corpse. Get right next to the wall and look out the window to get just a peek at the Seeder’s legs. Aim the Hammer on the legs and hold down on the Right Trigger until the beam of energy stops. Then do it one more time to kill the beast. Now come outside and focus fire on the enemies across the drawbridge. You can’t plug up the hole, but try your best to kill the guys with the Hammer to save ammo. Go across and follow the path.
When you get into the other side of the big hall where you met the Wretches, inch your way into the doorway just enough to get a read on the Seeder in the open. Don’t go out the doorway or you will come under attack. It may be hard, but keep the laser sight steady as you eventually get two blasts off; best to do when he is standing still, then aim for his nose area. Then go out and go to the left and ready yourself for a bunch of Wretches and a Drone. After you and your squad handle them, go through the doorway.
5. Saviors
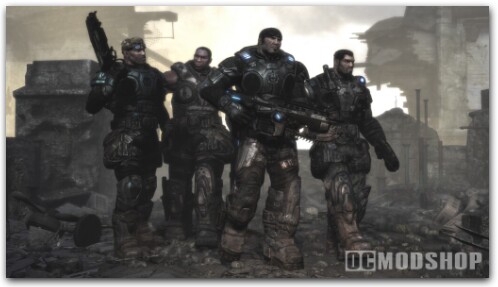
Grab the ammo on the ledge, and then come back and go down the steps. Be ready to catch two Wretches on the bottom. Go past the dead Seeder to the church room for a fight. Stay behind a pillar and blindfire. Follow the beaten path to the dead Alpha member.
COG #9 is to the right of the steps and in a little crevice.
Keep onwards and take out two Drones who attack you when you exit the room with the huge statue; the couches provide some cover. Bring out the Hammer and do your quick work on the Seeder, then take cover, pop up after some time, and then finish it off. Grab the ammo crate and go back to the last room. Look to the door and get a Frag in hand. Go to the left side of the door and get ready to lob a Frag inside. Then bring out the Lancer and finish them off; Grenadiers will rush if they aren’t killed in the blast.
Keep onwards, picking up ammo along the way, until you reach the concrete slab; ignore the Boltok, unless you really want it, it really doesn’t matter. Don’t forget that some objects can be broken with the chainsaw. When you see more enemies in a room, take cover and make sure you kill the rushing Grenadier. Don’t go into the big hallway. Instead, peek through the doorway to another doorway on the side and Roadie Run to it. Go up the steps and get ready for some Wretches and a Drone. Keep going and then sneak up on the gunner; please cut him in half, for me. Then man the gun and get ready for Wretches to pour from where you came from; divide your fire between top and bottom.
Keep going, don’t turn right at the end of the hall, and go down the stairs. You can either shoot the guys in the room down here from the stairs, or you can go down and flank them from the left or behind. Then fill up on ammo and then follow your team to the round room. Go up the big stairs and sneak up on the gunner; then man the gun. Hope your team handles the Nemacyst and then just pick off each Drone from above. They spawn from under the tree and behind the big rock-like thing. Just be patient and you can kill them all. Watch the scene.
6. Big Momma
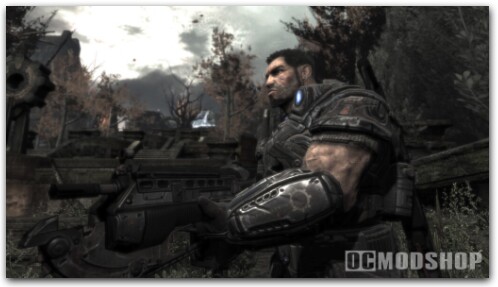
BOSS: BERSERKER
Go around the corner and peek into the fires for COG #10.
*Have the Lancer in hand.
Go around the other way and pass the room into the hall. She breaks in through the wall when you try to leave the little hall. Go up, stay in the center of the hall, and dive when she dashes toward you and get out into the next room. Make a dash to the door at the end, turn around, rev up the chainsaw, stay right in front of the door, and then dive when she is right next to you. Move back into the room and lead her out of the doorway, then run through once it is open. Make sure you lead her all the way with you so she doesn’t get stuck in an infinite loop with Dom. Go into the next room with a door and do what you did before, just less space. Keep bringing her to avoid the loop and then run into the last room with a door.
Go the the corner on the left of the door and quickly pick up COG #11.
Repeat the luring and get outside.
Go to the left again and search behind the lamp in the corner for COG #12.
Whip out the Hammer and drop it. You will have to dive out of the way when she hears you charging it up, but if you get some space between you two, you should get in a good hit. Just like the Seeders, two hits and she’s KIA.