

After she talks, talk to her some more, but you have to be near that gate, which can look weird, but oh well.
Run down the wooden ramp and jump to the first plate. Be ready for rings, then another to go up. Talk with her and then jump forward. Then talk to her some more. For this puzzle the left crank changes the direction the gears turn, and the right one turns them set to the tiles above. If one is red that means it turns twice.
With the left one the same, with both blue arrows pointing right, turn the right crank until the circle on the right gear is to the right of the plate and the opening on the left gear is on the opposite side. Then go to the left crank and turn it until you have the red on the left tile and the blue on the right tile. Then turn the right crank until the circles are over the plates which should be just one turn.
*NOTE: I apologize if that’s hard to handle, I’ll try to get the crank turns down.*
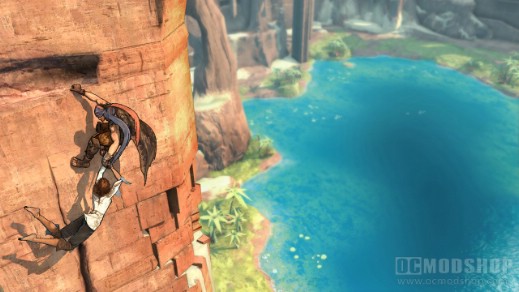
Use those plates to get to the ledge across the way. You have to wall run to get on the pole. To climb the narrow gap, hit it, let yourself run, then jump again. From here look to the wall blobs, then notice the turning gear beyond the ring. There is only one side of it that will stop, the side with a surface, so wait for it to get close, go split the blobs, and you’ll hit the beam. Then you let the gear’s surface point up, run up it, and jump to the beam to hit the next puzzle.
Talk some more, here is the solution to this three-plate puzzle:
Turn the left crank to show a blank on the left and two blue tiles. Turn the right crank once to the left (or down on you joystick. Turn the left crank to show all three blue. Turn the right down once, so the middle plate is open. Turn the left crank to show blue on the left, red in middle, and blank. Turn the right so that all three openings are on top. Now turn the left to all blue and then turn the right to clear it.
*NOTE: Not sure what I did, why I did it, or what it did, but it worked!*
Jump up the left plate to follow the path. Go left and time you jump through the blobs. Jump to the path and then up the rings with a nice timed jumps to avoid these blobs. Then jump into the arena for another fight with the boss.
#Corrupted: Hunter#
The fight is the same as the above one at the Sun Temple, only this time he can change into a state where only pure sword attacks hurt him, and all else will not even go through, so don’t try to even grab. It’s only when he’s got that stuff around him, so when he’s clean you can resume the grabbing and tossing.
When he is in this state, wait for a block, hit it, and then just press the attack button for your combo, but be ready for his counter attack at any moment which you can also counter if you see it in time, just don’t hit it too soon. Also, he may turn his form into that ink, but at least he loses that form and you can just Elika when he’s close, or hold block.
However, since he regains some health with this and it goes away when he’s hit, try to stay near him for this whole fight and swing at him while he’s changing.
At this time I would like to introduce you to the attack, attack, grab, jump, Elika combo. This inflicts more damage, but of course is a little tougher to pull off, but it’s needed do to his health regaining. ##
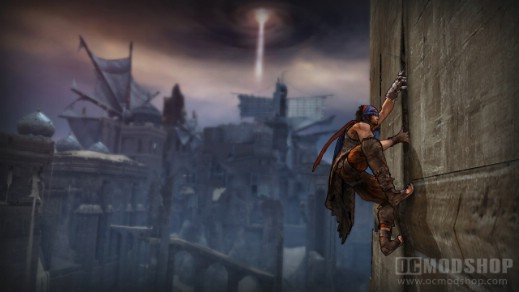
After the fight, jump up the ring and jump out to hit the furtile ground. Go left after for some seeds, which require an Elika jump. Drop down over the edge, and get between the gap of the wall and the thin wall with the seed on top. Jump up the solid wall, then jump to the other and grab the seed. Then jump over to the walkway and follow it to the rail. Get on and jump to the pole and hit the slide, then the wall, then a ring, and you’ll land on a platform of three seeds. Then follow the wall to another spot with a seed, and from here you can run the wall left back to the part with the wall gap.
Drop over the edge of the corner for more light seeds. Then drop down and just run up the opposite wall for the final seed. Returning to the wall gap, head back to where the furtile ground was and Elika jump to the pole and hop down to be back at the start of the Windmills.
From here you should be close to 170 light seeds, so I’ll give you the option to either hunt this newly refreshed area for seeds, revisit the windmill for seeds, or just head on the next area in the Vale.
Returning to the windmill nets you a seed, then you can wall run for another inside by using the turning gear surface; you have to jump at the end of the wall run, and you have to go back. There are only four by retracing your plates in the tower, then make your way back to the furtile ground and out.
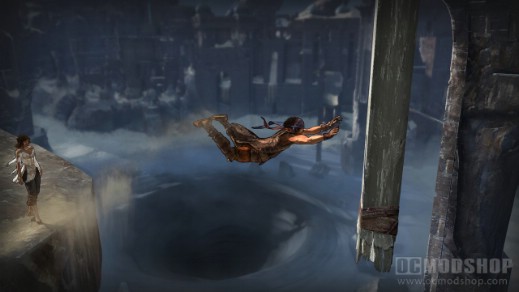
To the Machinery Ground
*NOTE: I know some of you will have the ability to return to the temple for a new power, but there is no need, so keep reading.*
To reach the Machinery Ground at The Vale, you go right of the dark gate – set a mark on your map and use where your marker is pointing if you are unsure of the directions. Going this way you slide down two ramps and Elike jump off the second. If you then turn around you can go up a ring for two seeds on a beam (you jump to it) and two more along the wall runs. Then wall run among the poles and rings until you hit the wall blobs. Again, timing is key, but I’m fairly certain all of them sync up to allow you one clear shot. When you hit the tunnel part, Elika jump both sides of the pole, then take a left into the carvern, not back into the ruins.
It’s just basic jumping until you hit the wall gap. Hit the right side, then do it again for the next gap. More blobs, but you need to read the second pair on the right; you just need to go when the second one is on the part of the wall you need. Then one more, a wall run, and then an Elika jump and you’re here.
