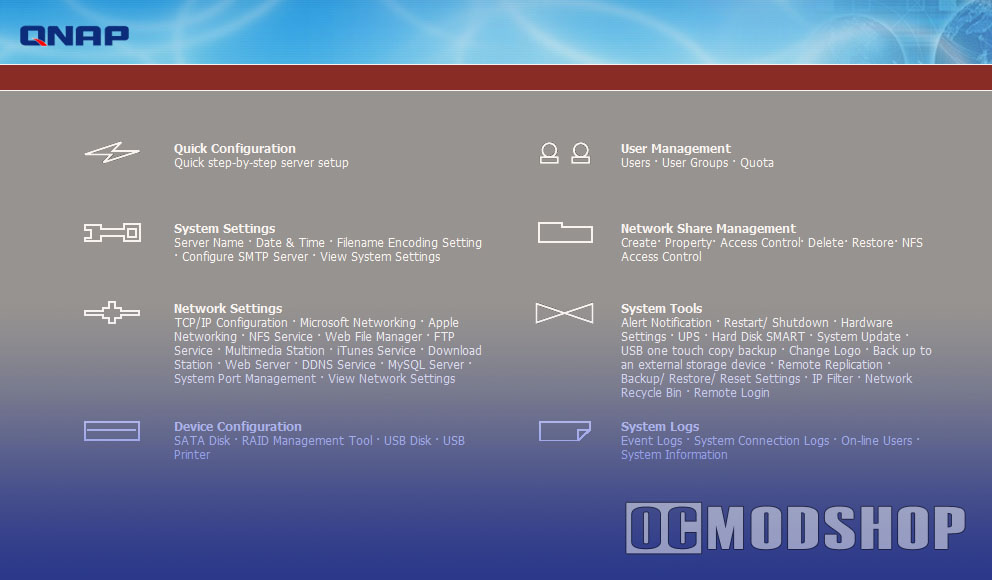
The web interface is divided into 9 main sections, each with their own icon. The sections are broken out below.
Home
A splash page with direct links to all the other categories’ subsections
Quick Configuration
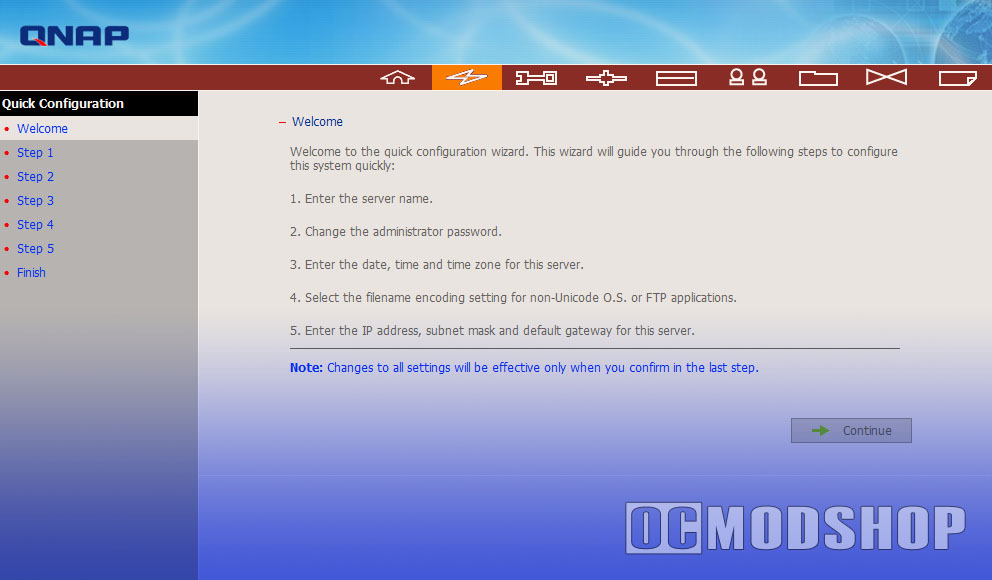
This 5-step wizard walks you through configuring your server, which is usually done during first install.
System Settings
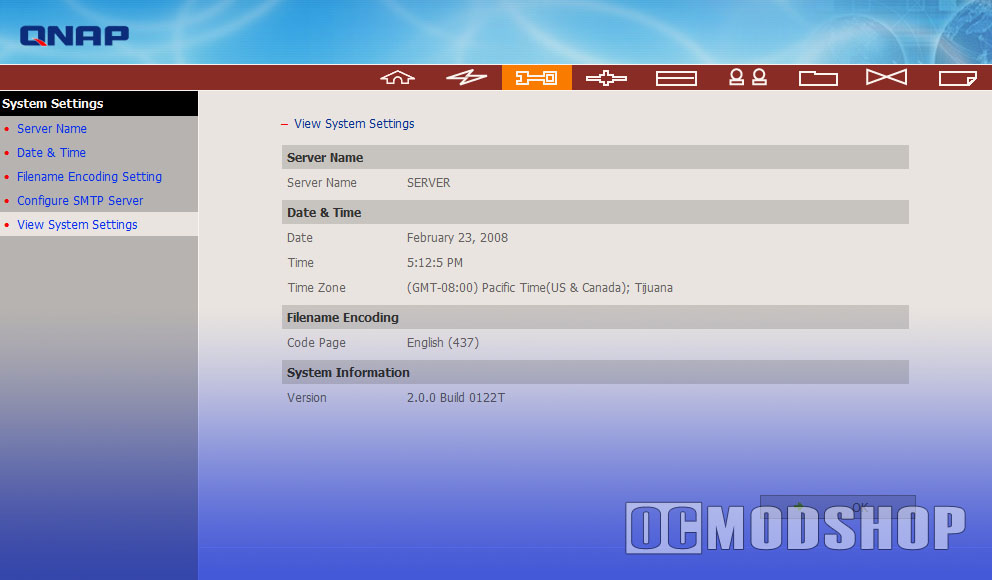
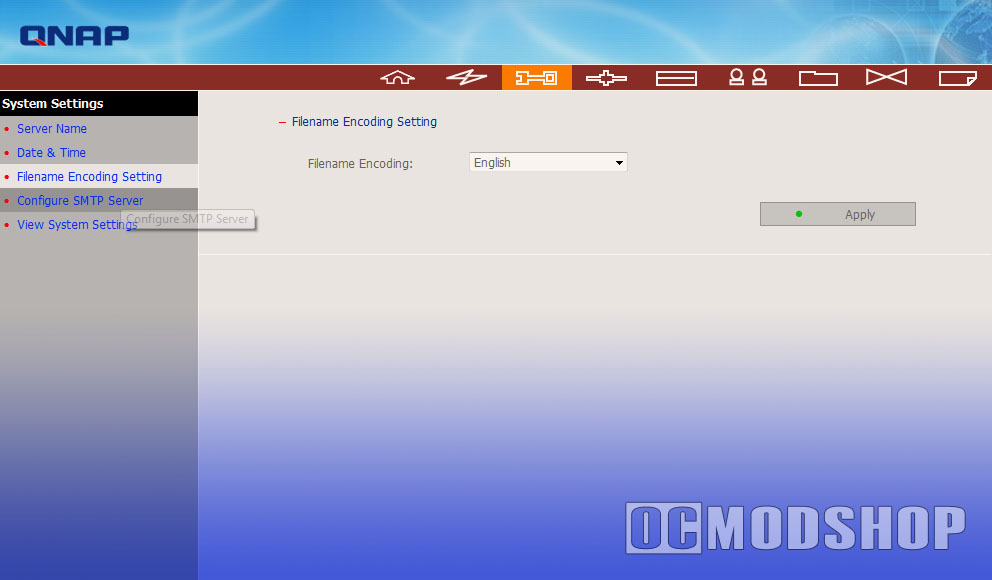
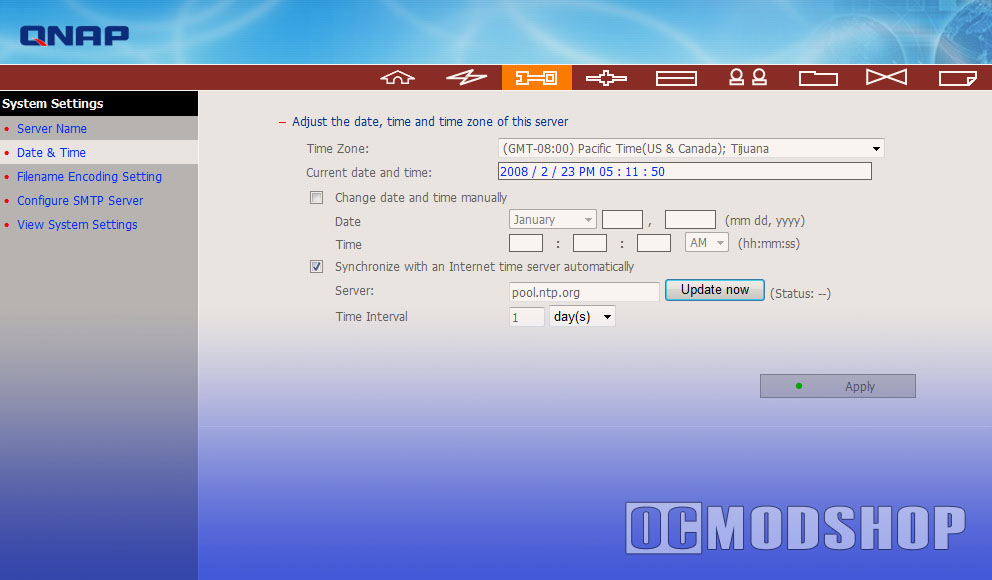
Here is where you configure your server’s network name, Date & Time (it can automatically synchronize with an atomic clock), configure an external SMTP server (for administrative alerts), and view your system settings.
Network Settings
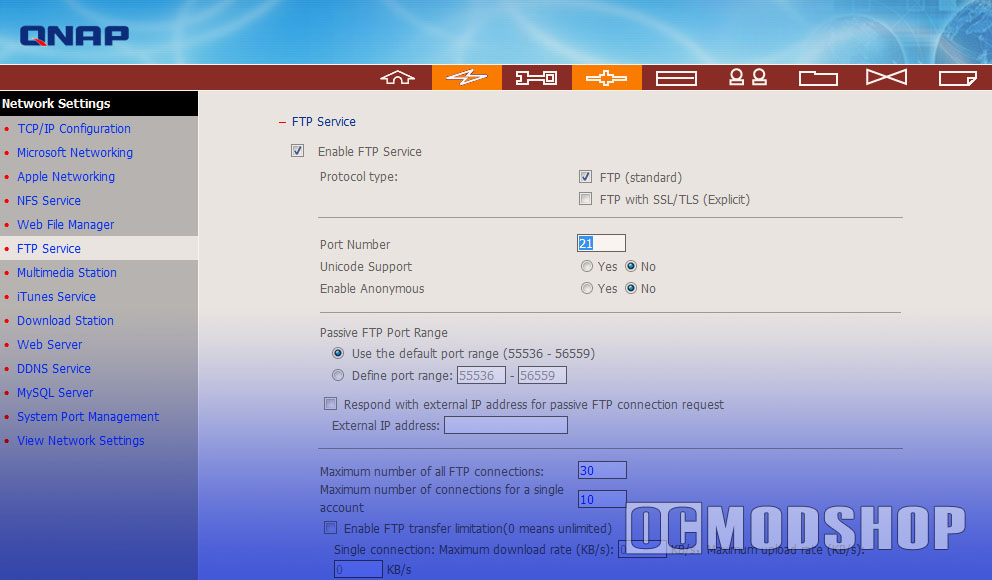
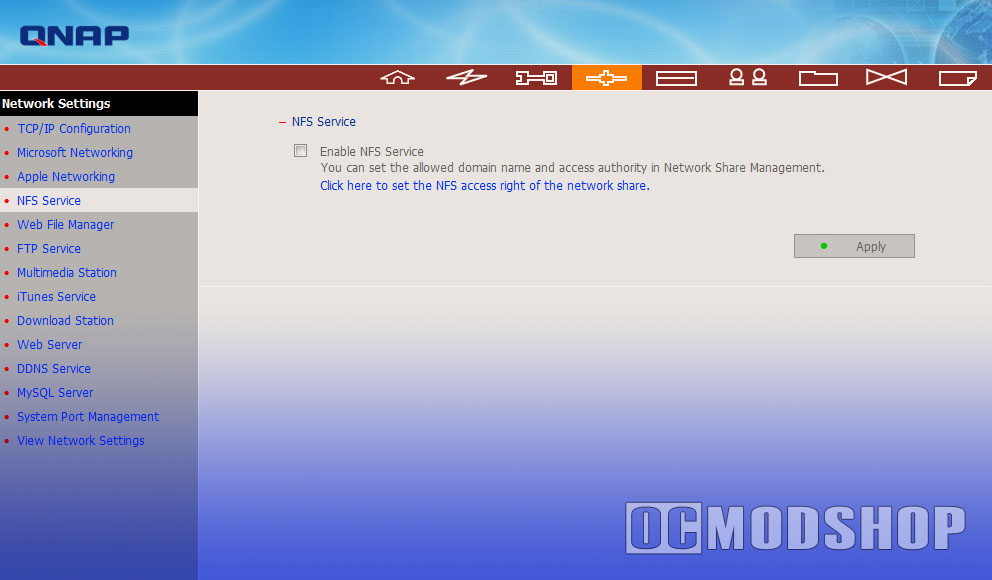
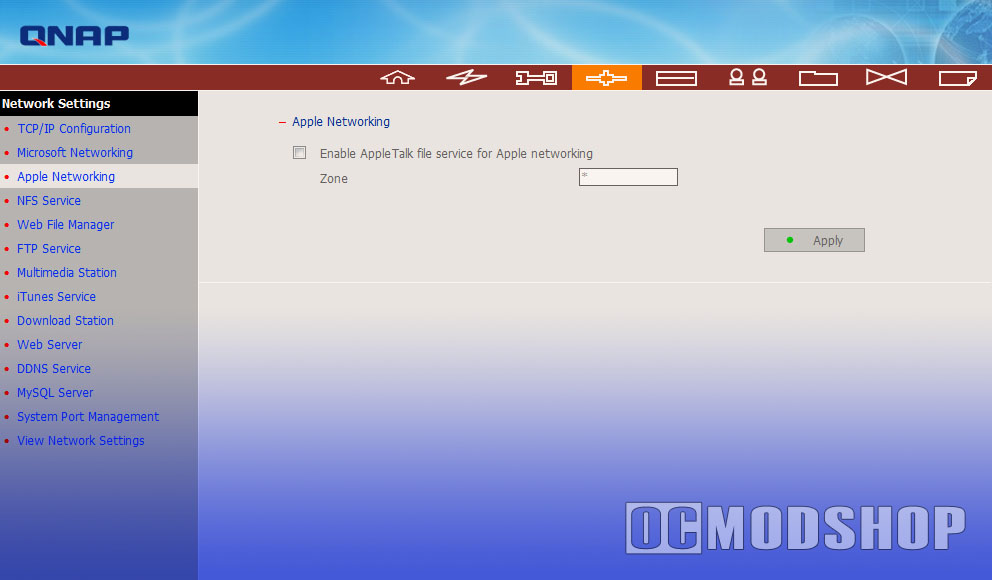
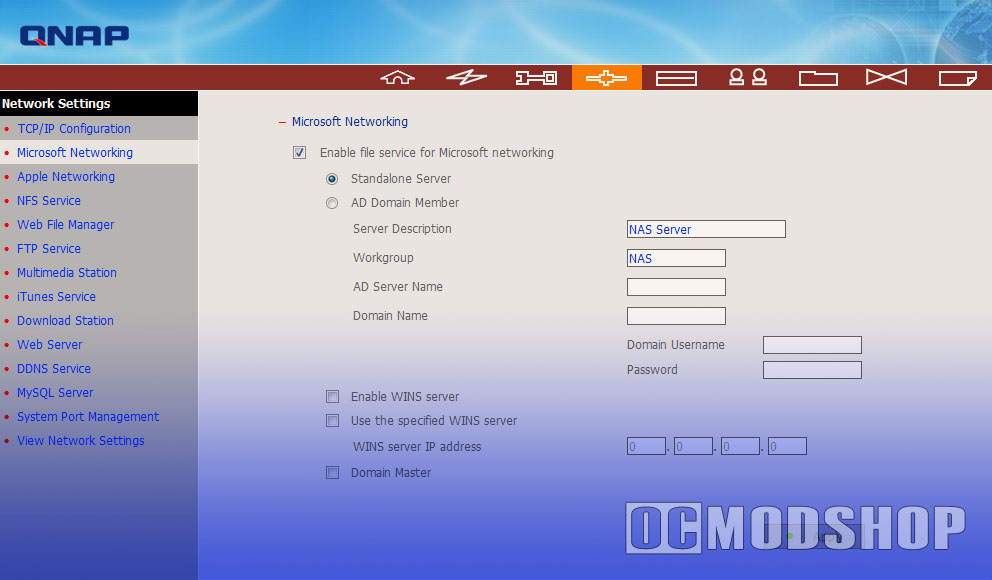
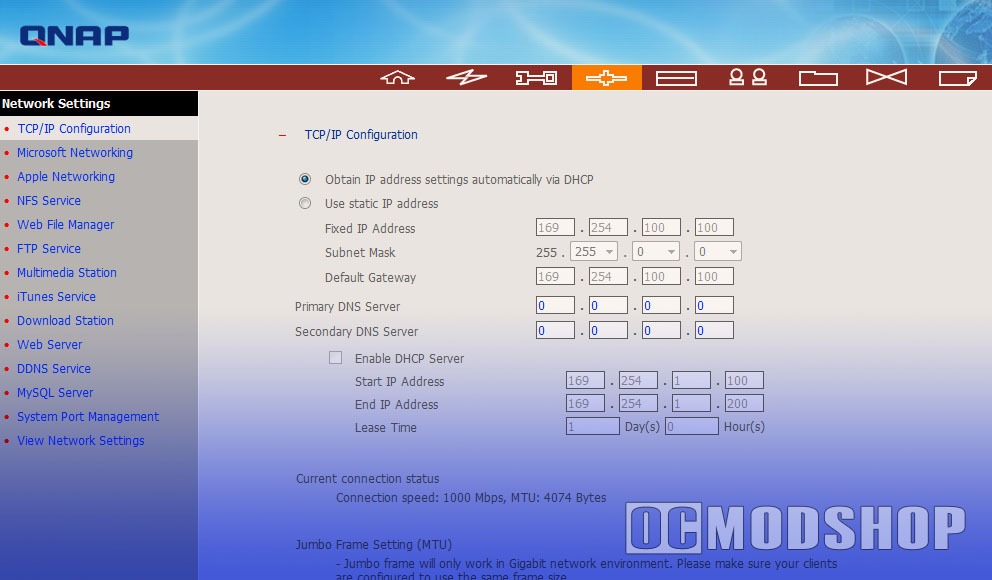
This section is where all network configuration settings are modified. This is also where you enable or disable network services such as Apple Networking, FTP and Web servers. TCP/IP Configuration is where you modify your server’s static or dynamic IP addresses. Microsoft Networking allows you to add the TS-409 Pro as a member of your Domain or Workgroup, and even support WINS (if anyone still uses that).
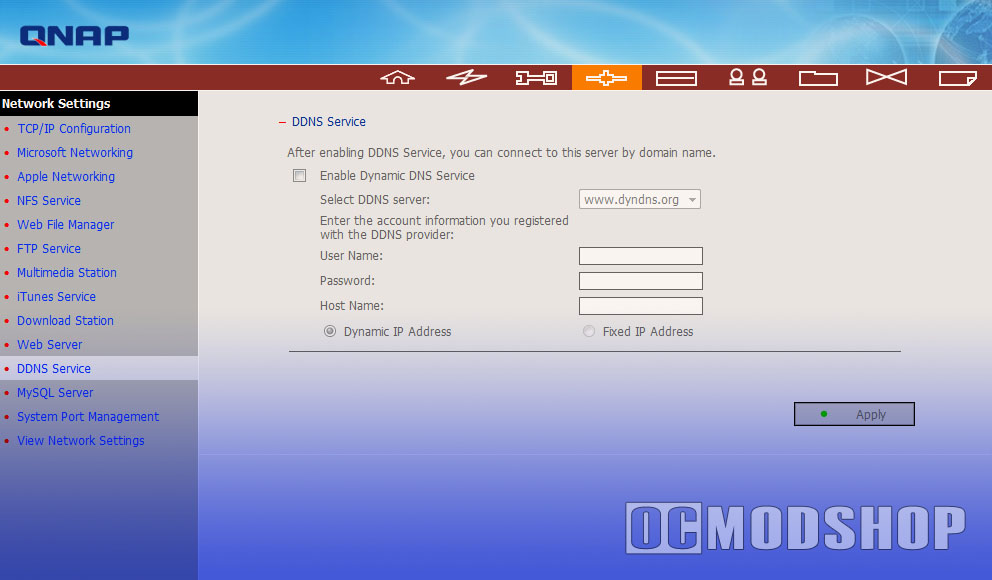

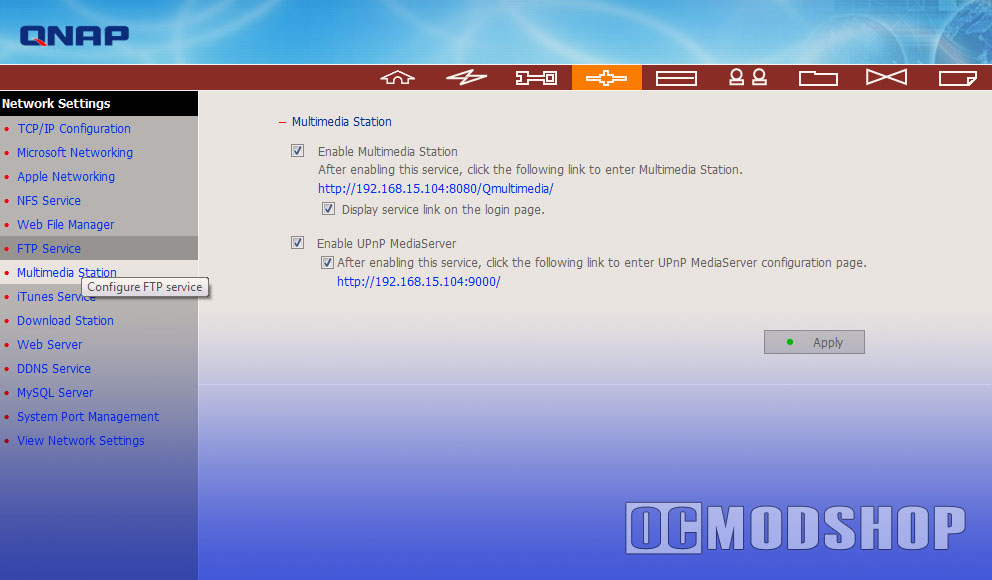
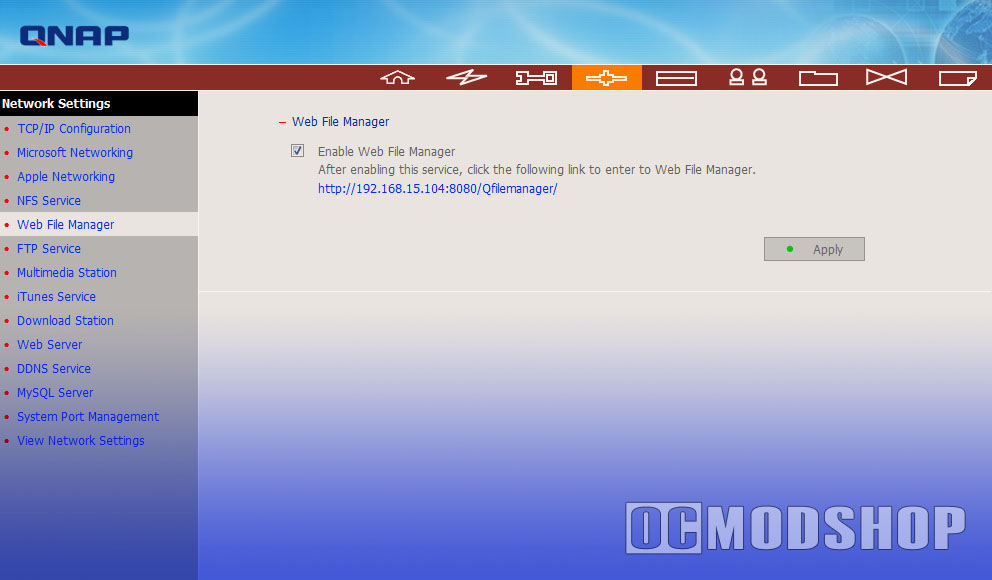
You can configure a Web File Manager so that you can access all files on the server via the Internet through a web browser. The Multimedia Station is where you can enable the server’s multimedia capabilities. You can use Multimedia Station from any device with a standard web browser (like the Sony PSP or another computer), or you can enable the UPnP MediaServer, which allows devices like the Playstation 3 and Xbox 360 to connect to and stream your media files. You can even enable an iTunes service to share your media files for clients using iTunes.
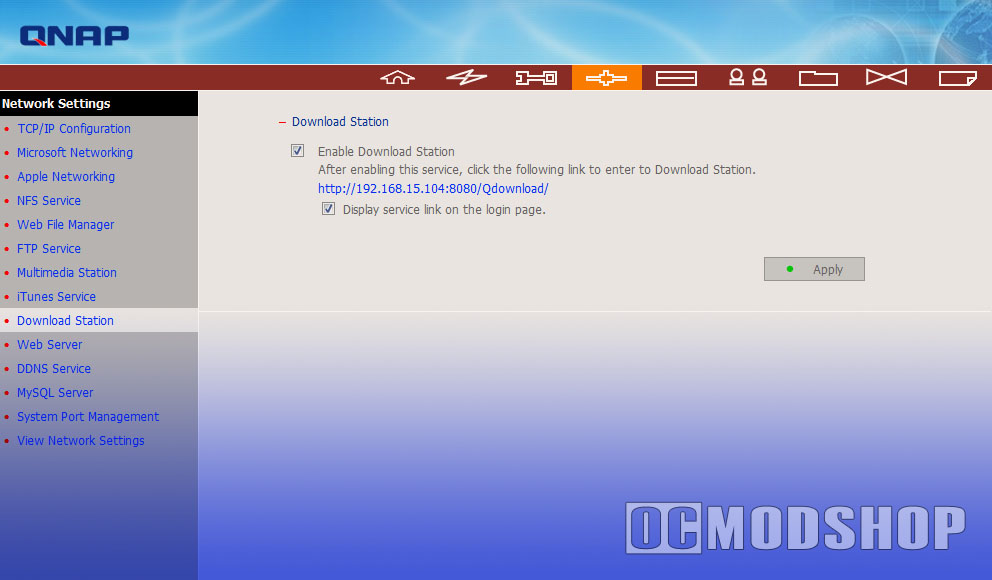
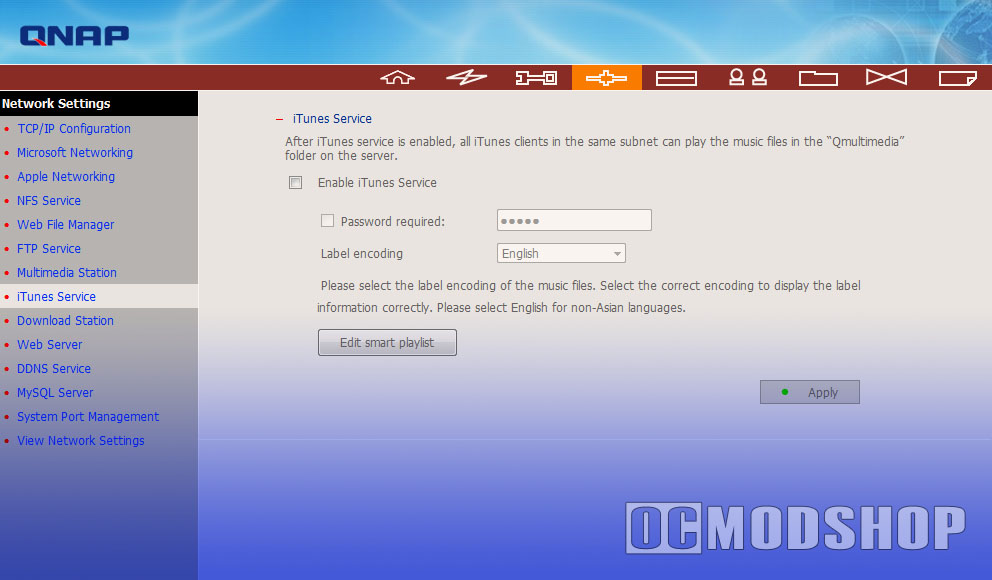
One of the niftier features of the server is the Download Station. This download manager application is similar to GetRight, as it allows you to queue up files for automatic download, and supports HTTP, FTP, and BitTorrents. By default, all downloaded files end up in the Qdownloads share, but you can change this to any share you like. This is great for those who download large files in big chunks (like a RARed high-definition movie) as you can let your server download all night without your computer being on. Unfortunately, transferring several gigabytes of downloads to your main PC is rather painful… and since the network is so slow you really can’t unZip them on the server. The Download Station had a serious bug in the TS-109 in which all Zip files were corrupted, which required a Zip repair tool before you could even begin extraction. Fortunately, this new version works perfectly.
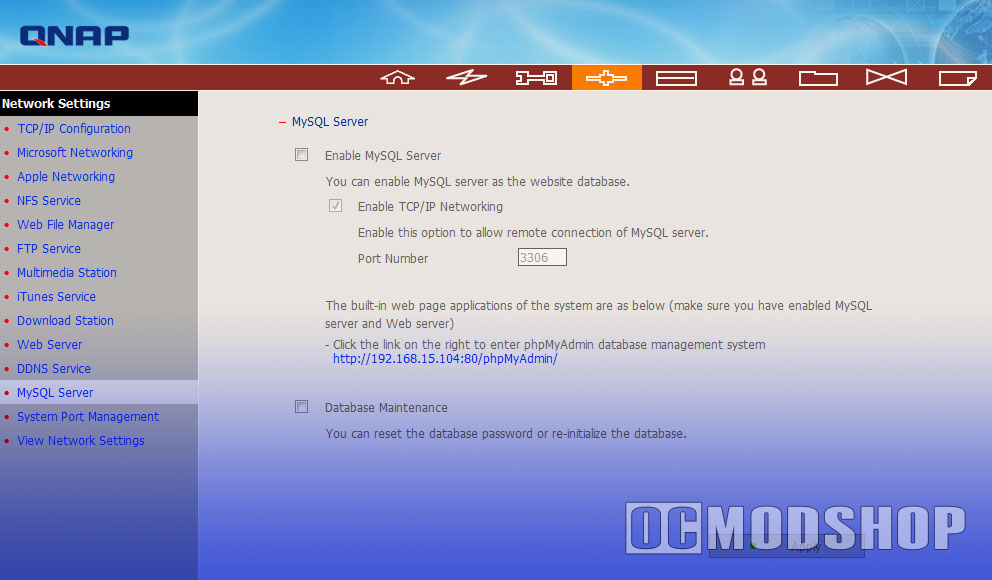
When you enable the Web Server you can create dynamic websites using PHP and MySQL. It even comes with the popular Joomla Content Management system. It’s not really setup to support multiple websites, virtual directories, or any other advanced features, but is good enough for light duty work. Once enabled, all you have to do is plop your files in the Qweb share, which becomes the website’s root. If you are hosting your website via cable or DSL, then you can enable the DDNS Service, which updates your website’s IP address if it ever changes.
Device Configuration
This is where you configure the SATA Disks, manage your RAID arrays, configure attached USB drives and printers
User Management
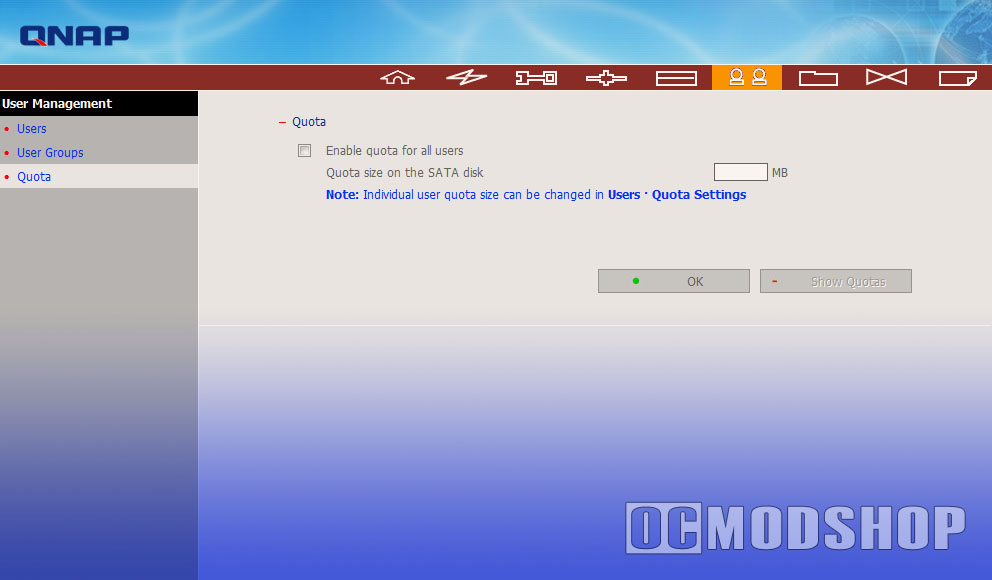
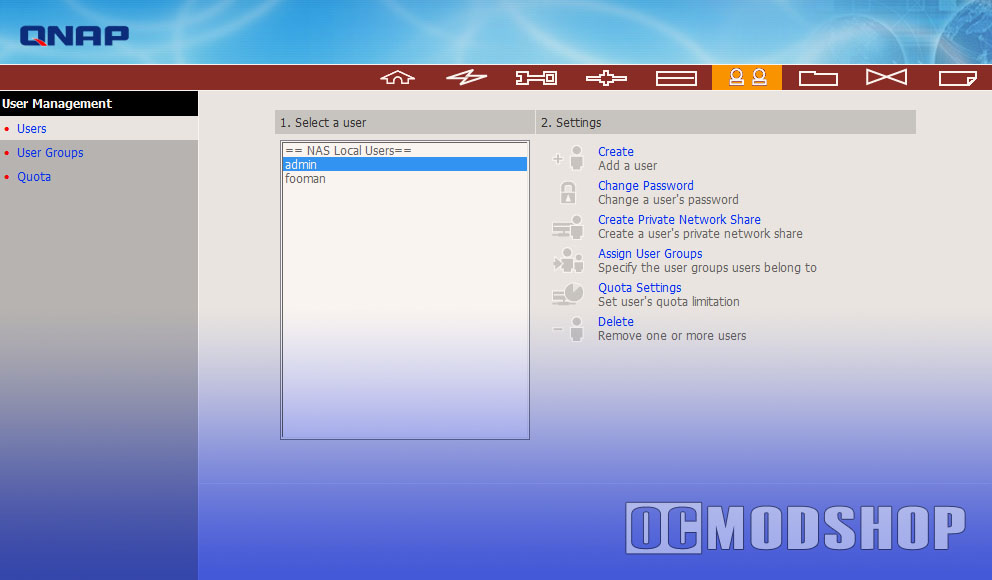
This area allows you to create new users, manage passwords, manage access to pre-defined network shares, and configure new network shares. You can even define a quota for all users, or individual users.
Network Share Management
This section allows you to manage the default network shares (Qusb, Qmultimedia, etc) and create new ones. Unfortunately, you cannot rename the default network shares, so if you want the web server to actually pick up the files, you are stuck with the Qweb directory. All of the configuration data is stored on the primary volume, so if you change your RAID around then you’ll have to redo these network changes.