System Tools
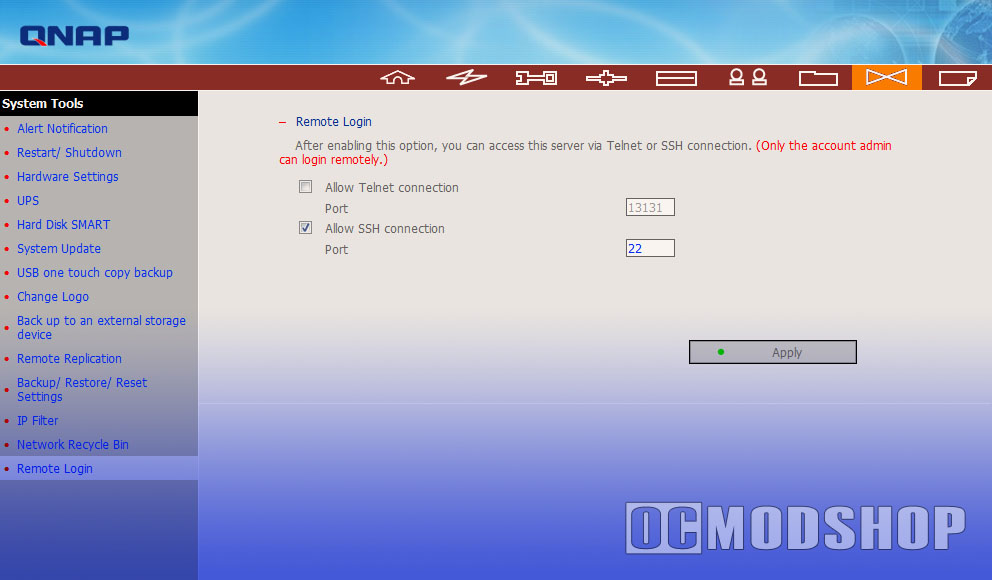
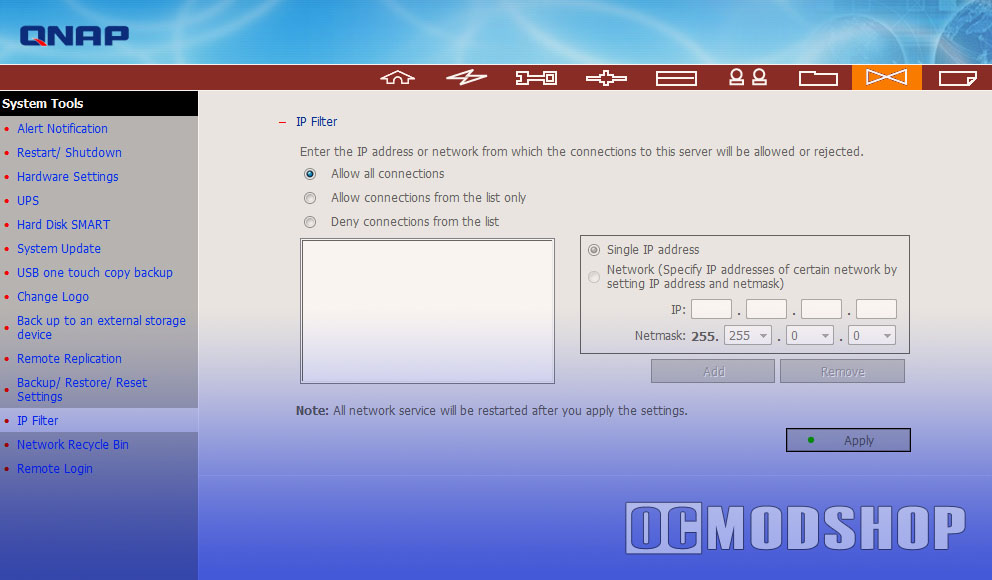
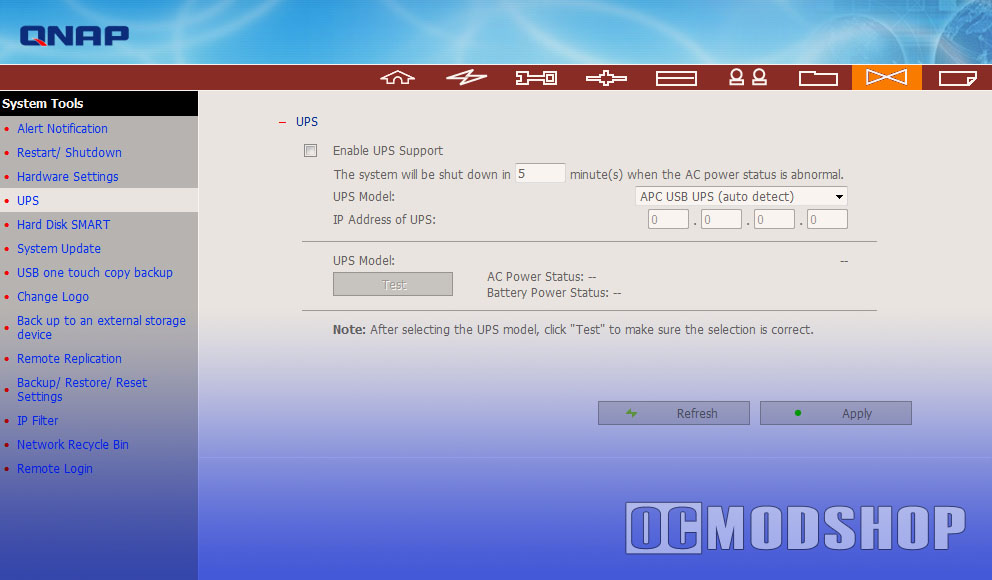
This section allows you to customize the server and configure back-end stuff. You can define the threshold for email alerts, perform a soft boot, configure standby mode, configure a USB-based UPS, view hard disk SMART information, update the system firmware, configure the “USB one-touch copy button”, change the interface’s logo, configure automatic backup to a local or remote disk, set an IP filter, configure remote login, and configure the Network Recycle Bin.
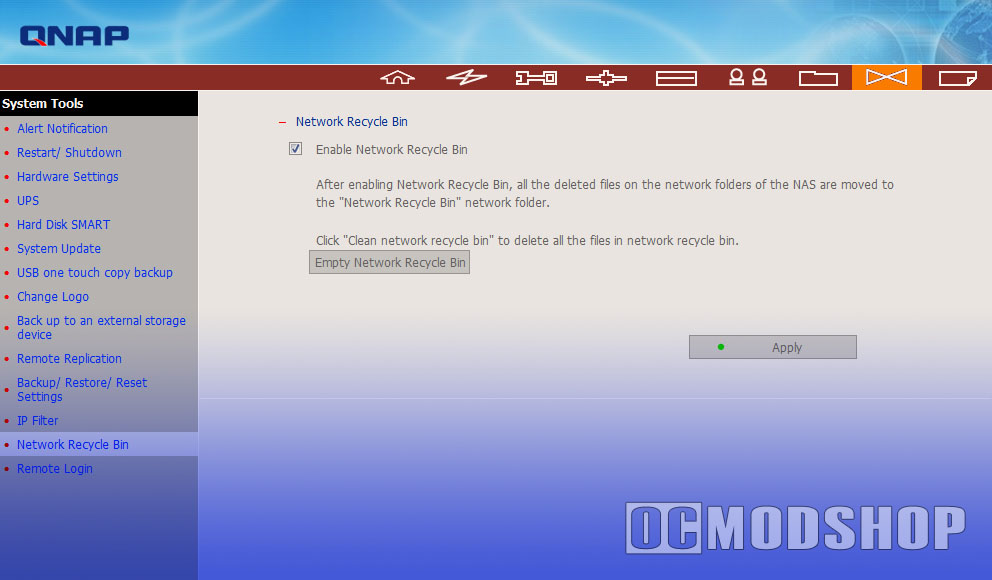
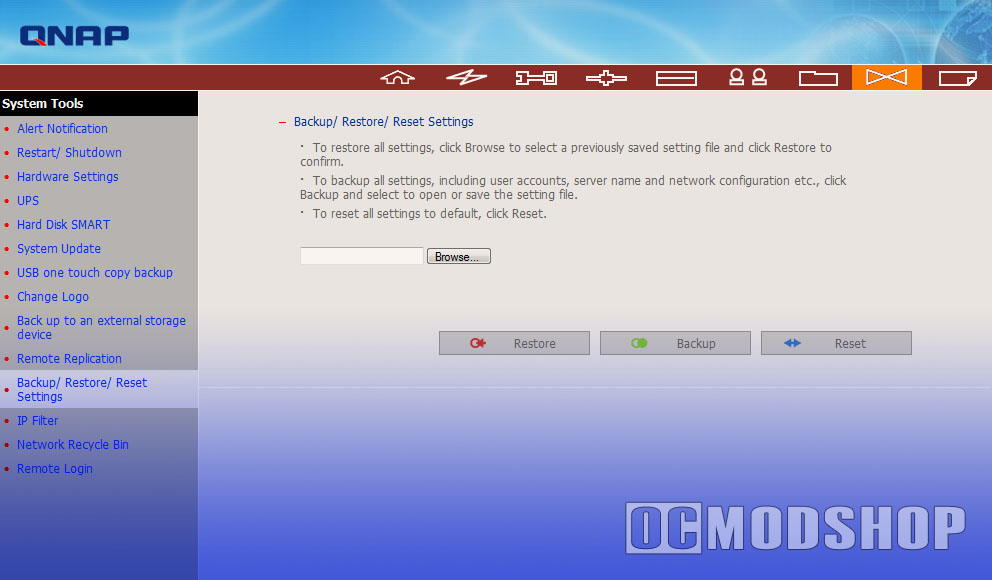
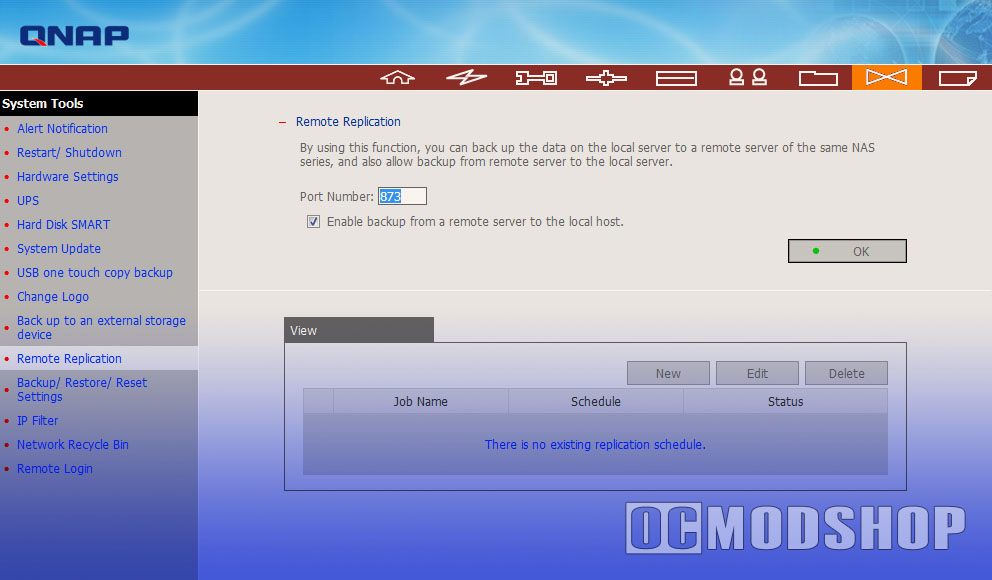
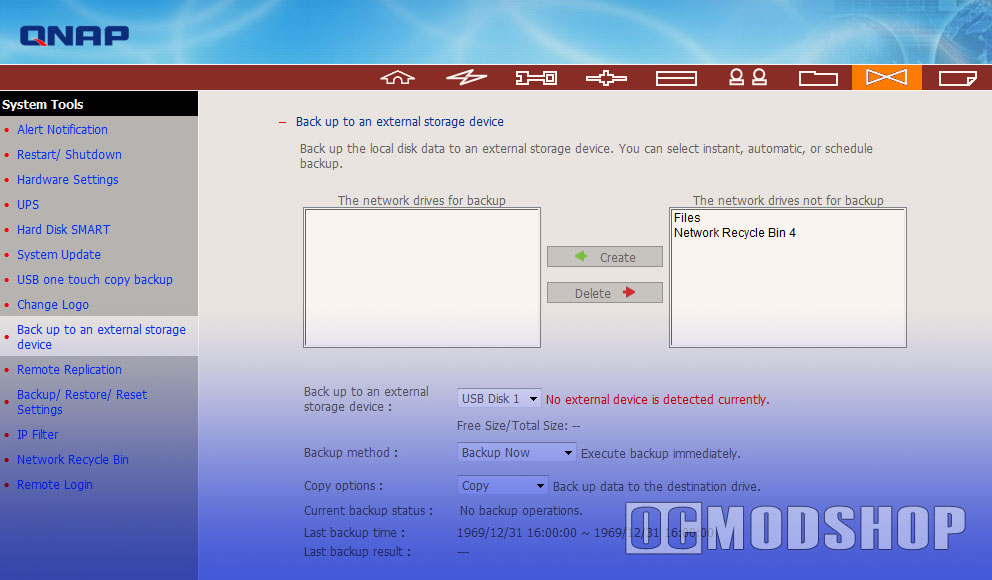
The Network Recycle Bin is one of the niftiest features an NAS can have. As many Windows users have probably noticed, when you delete files on a network drive, they bypass the protection that Windows’ “recycle bin” offers. Enabling a Network Recycle Bin ensures that no users can accidentally delete a file… instead the file is moved to the hidden recycle bin on the server. There is no threshold before being flushed, so you must manually login to the server and clean out the Network Recycle Bin to recover any space.
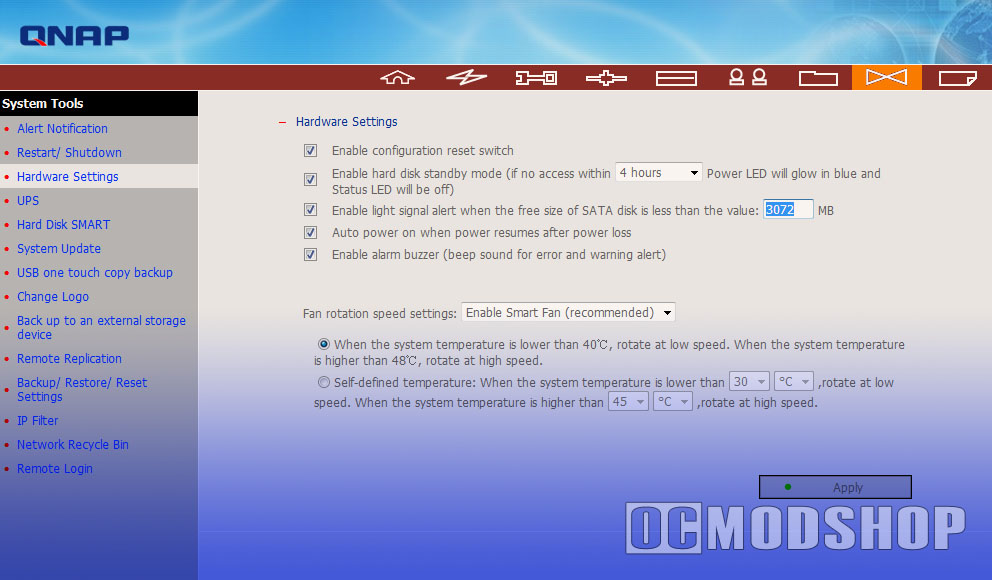
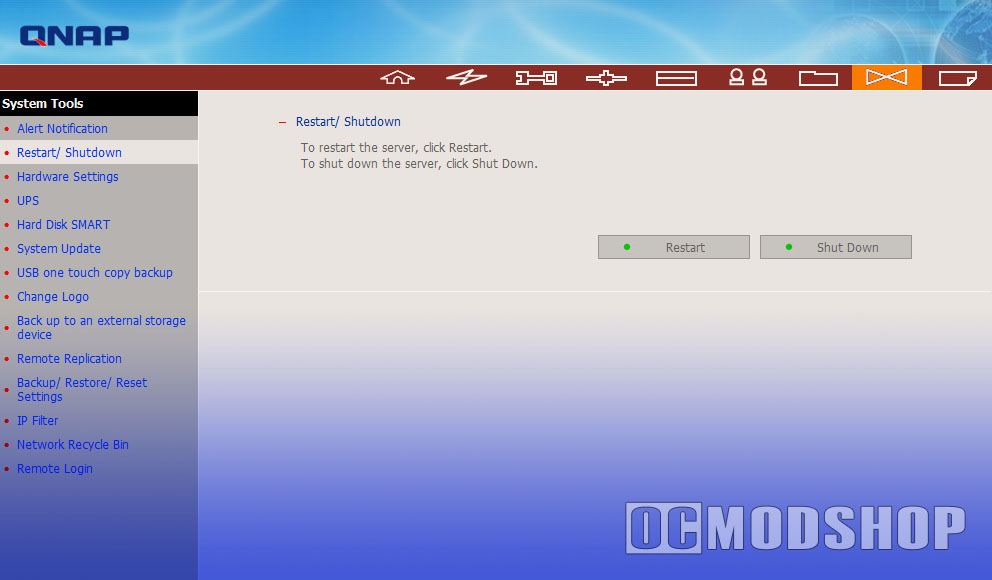
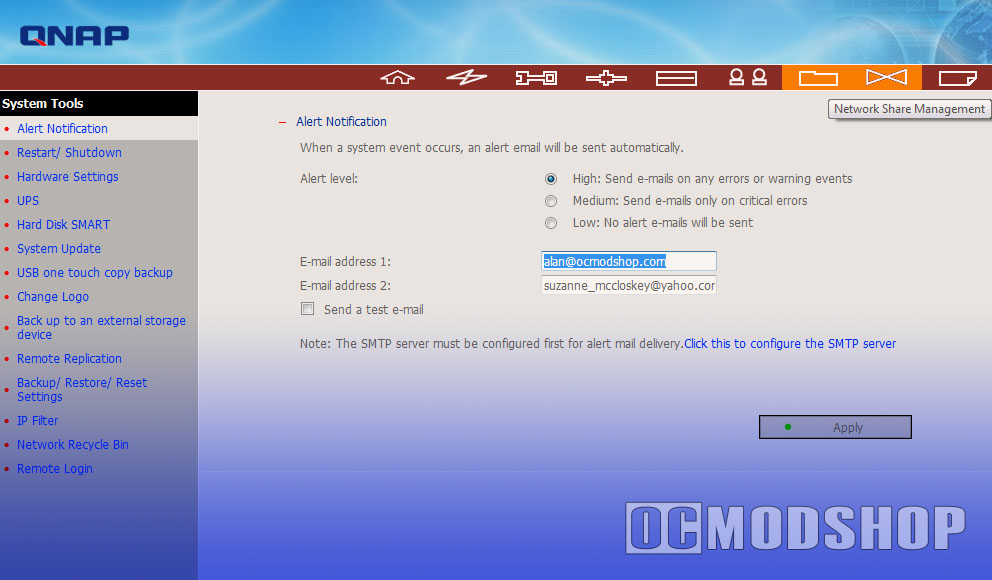
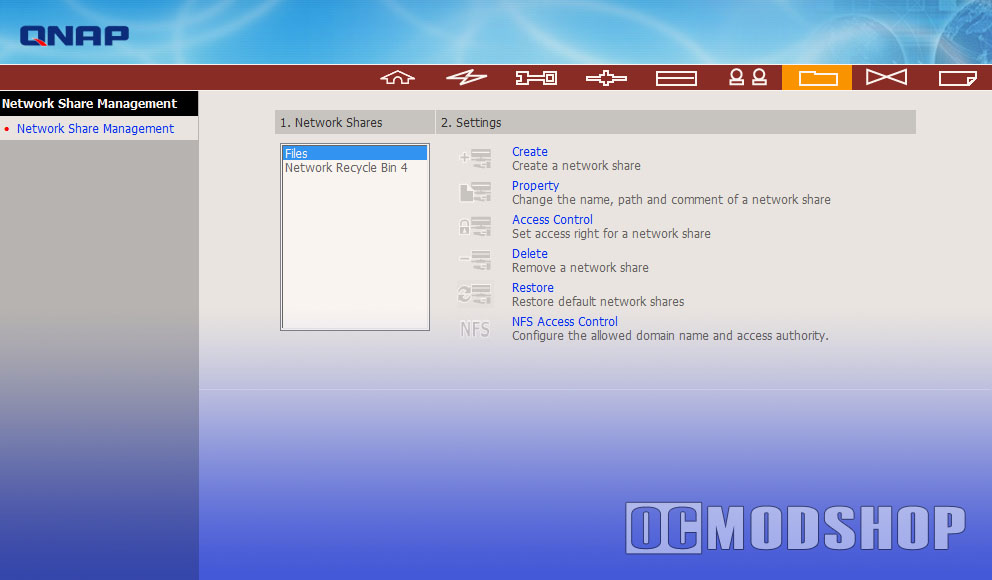
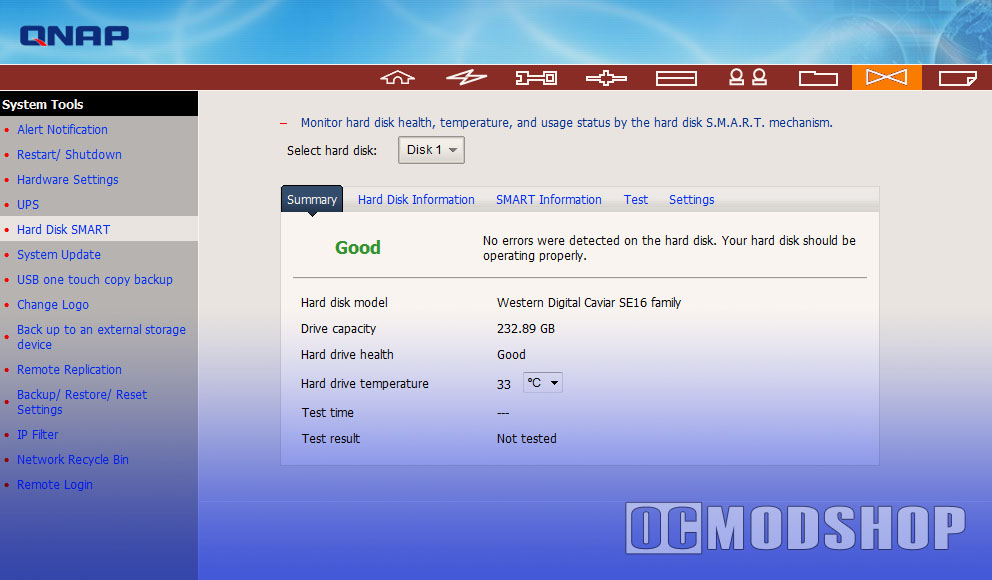
System Logs
This area shows changes to the server, important activity, and current status (such as online users, CPU usage and drive temperature). Using this tool is was easy to see how effective the exhaust fan is… my hard drives never got warmer than 91 degrees, keeping them safe and happy.
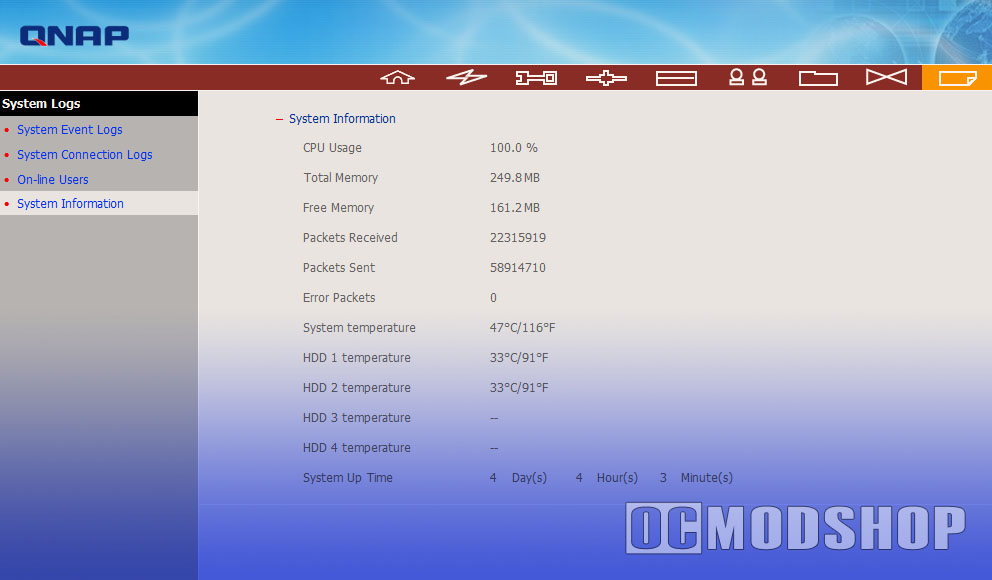
Device Configuration
This area is where you define your actual disk arrays. The screen shows you all installed Physical Disks, and how the are currently configured. You can create new arrays by clicking on one of the “New Disk Volume Configuration” icons, and the system will show you the options available to you. If you created a RAID 0 array but really wanted a RAID 1 array, then this option will not be available until you free up your existing array.
Thankfully the web interface supports AJAX, meaning that the page shows you the drive’s state in real time without a page refresh. When the drive is formatting, you get real-time feedback, rather than having to refresh the page to check the status. This feature becomes even more crucial if you migrate an array, where checking status is mandatory.
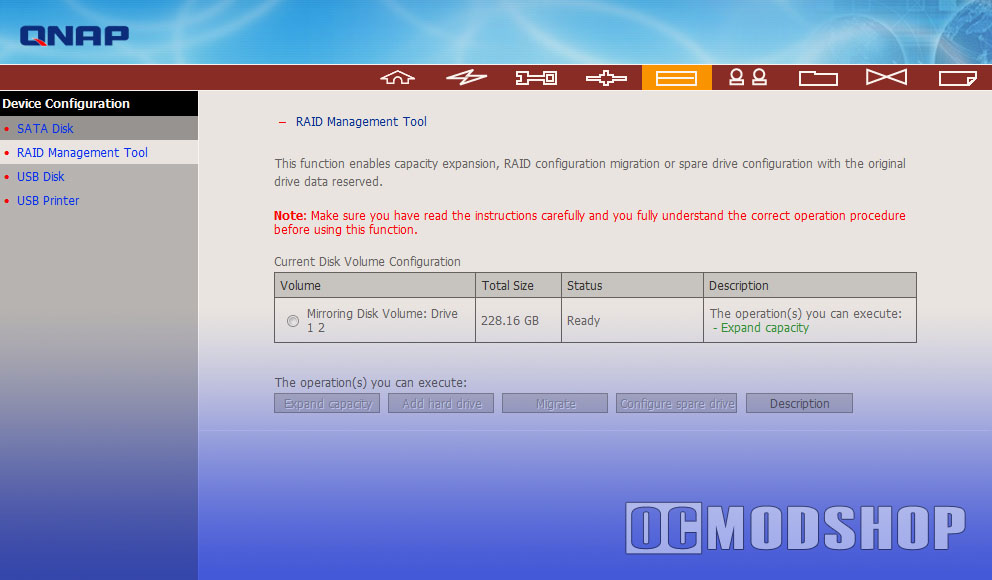
The RAID Management Tool is where you can upgrade your RAID arrays. Unfortunately, your options are very, very limited. When you click on this section you are presented with all of the options available for your current array, and there really aren’t any unless you’re running RAID 5. You should be able to upgrade a Single Volume to a Linear Disk Volume (JBOD), or add a drive to an existing JBOD volume, but these options are not available… perhaps in a future firmware update.
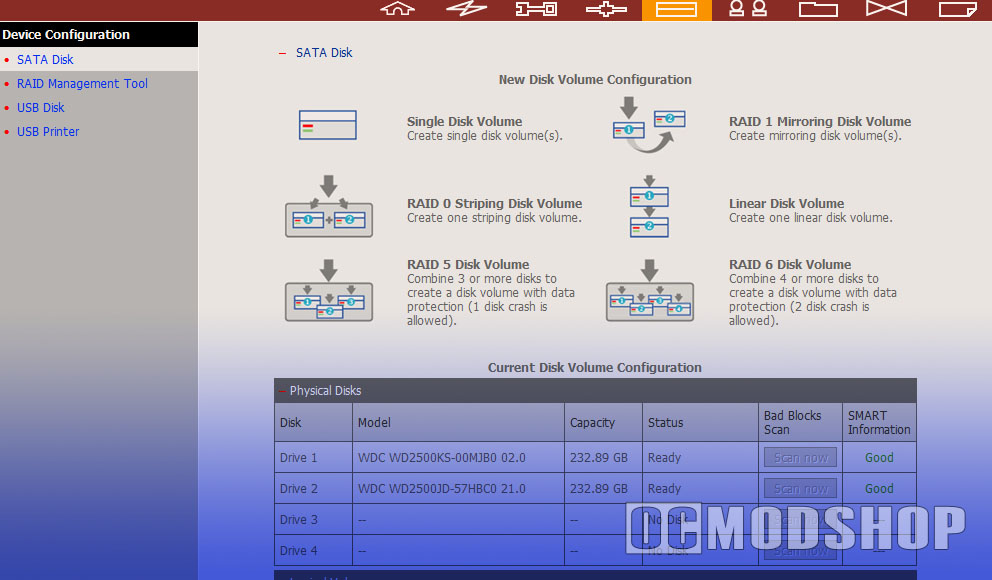
As it stands, the only upgrade path you have is upgrade RAID 1 to RAID 5, upgrade RAID 5 to RAID 6, or add a spare to RAID 5. You can upgrade the capacity of a RAID 5 or 6 array, but this is a very lengthy process of:
- removing the HDD #1 and plugging in a higher capacity drive
- wait for the data and parity information to replicate across the new drive
- remove drive #2 and insert higher capacity drive #2
- wait for the data and parity information to replicate across drive 2
- remove drive #3 and insert higher capacity drive #3
- wait for the data and parity information to replicate across drive 3
- the server will then resize the volume
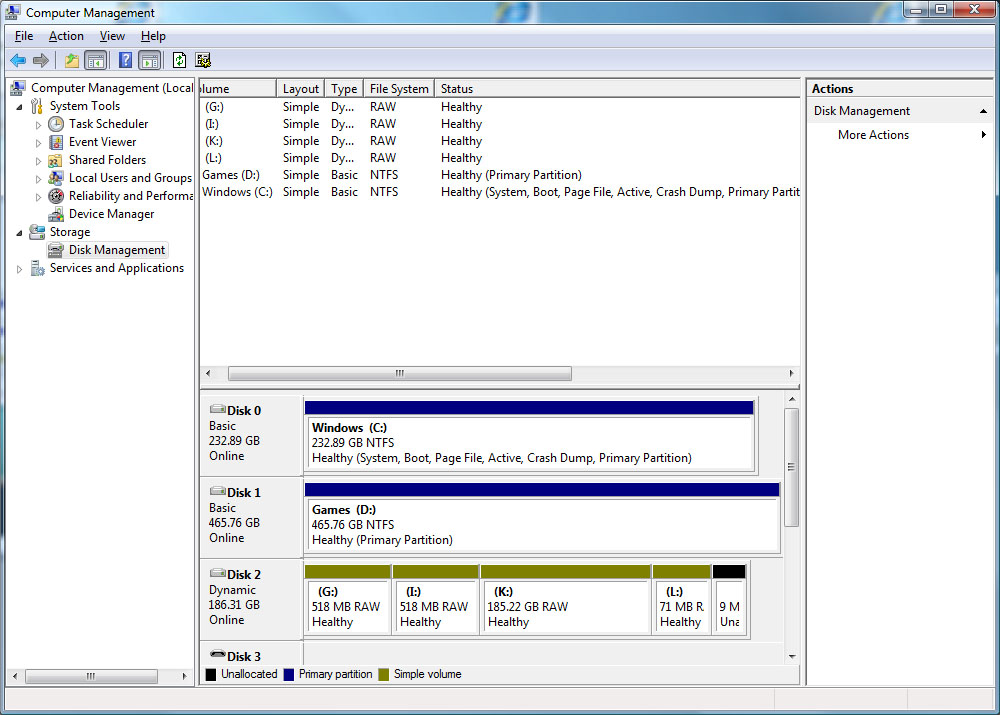
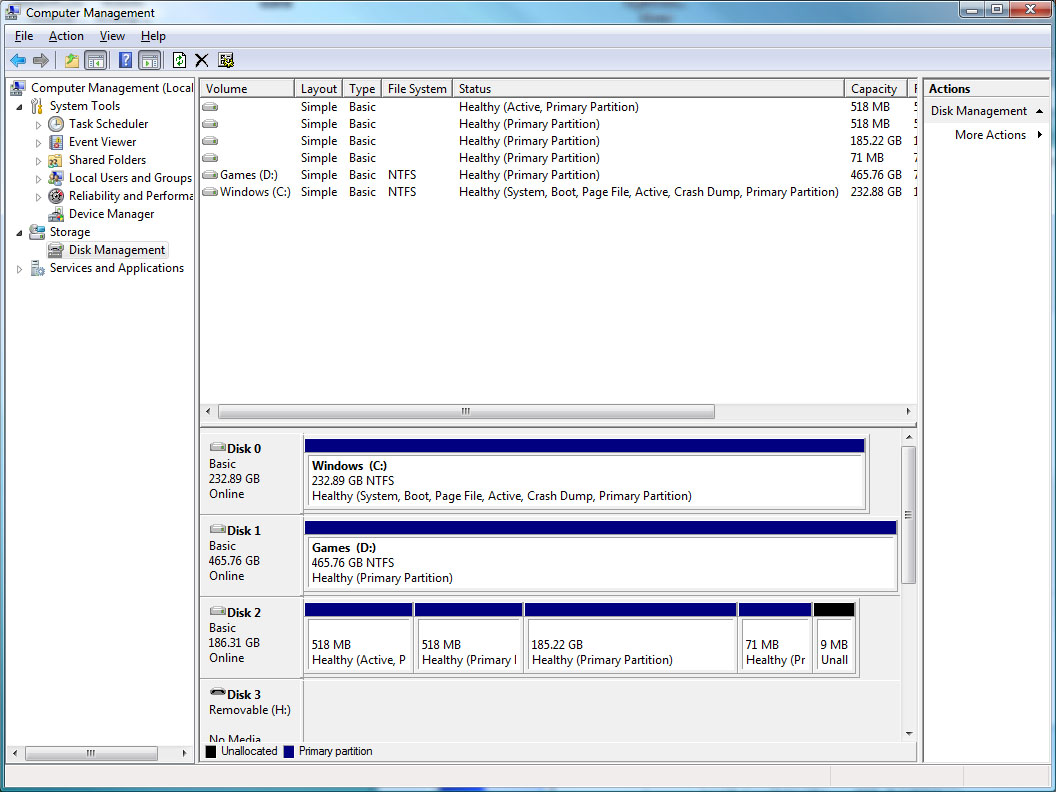
This is what the drives partitions look like. Unless you can read EXT3 then you’re hosed.
This process can take tens of hours to complete, and there is the possibility of something screwing up. The whole purpose of a RAID array is that your data is online, even when you’re doing system maintenance. While this is technically true, all services will be painfully slow while the migration is taking place. It would actually be much quicker to backup your data, rebuild a new larger array and copy data back… well, it would be if the device had decent network speeds
Since the unit is Linux I found that I could telnet and login to the unit and copy files to an attached USB drive without touching the network. Oh, and don’t even think about trying to connect a drive to a Windows machine… once Windows boots it writes a flag to the drive and it cannot be read by the TS-409 without re-initialization. You plug it up to a Windows machine and you’re looking at a time-consuming and frustrating recovery scenario.
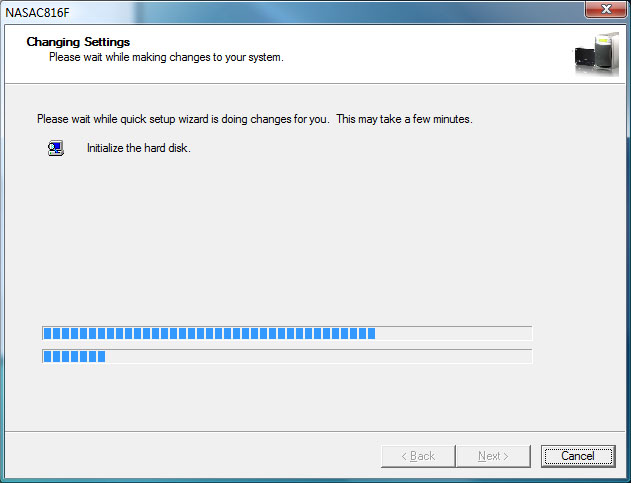
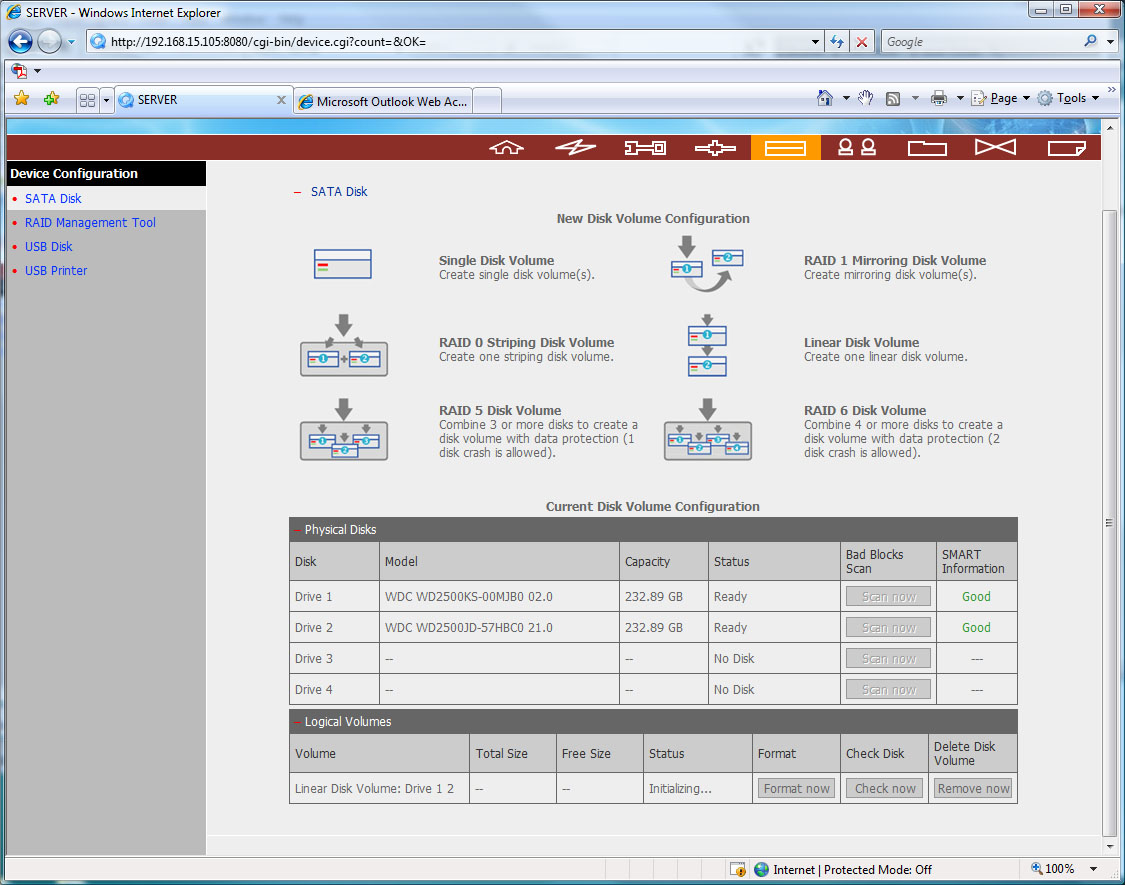
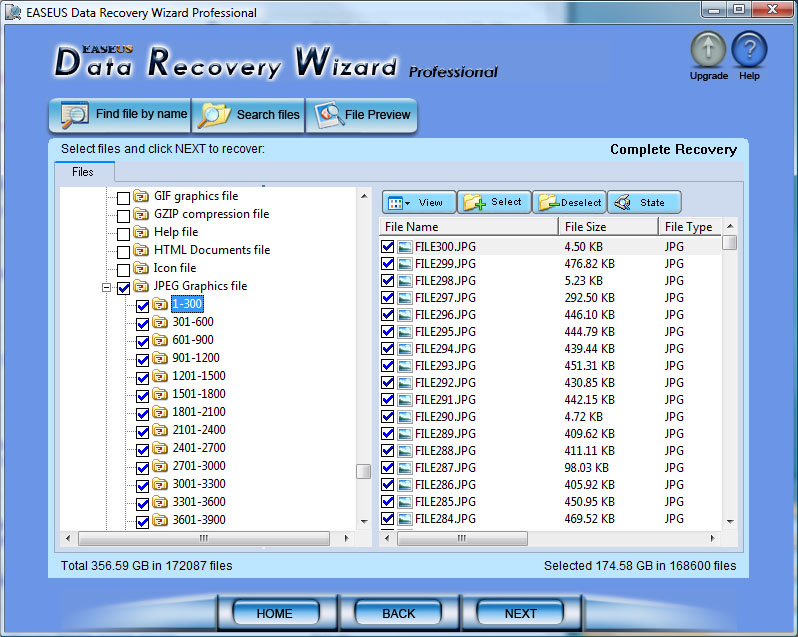
Features that would be considered standard are absent from this version of the TS-409. For example, you cannot add another drive to a JBOD array (something even a consumer version of Windows can do). You also cannot upgrade a RAID 0 or 1 to a larger RAID 0 or 1 (something that any professional RAID card supports).