
Red Lotus –
Watch the scene, then go to the sky light and look down for the two bad guys below. Get them, then go around and take out the other two on the top of the stairs (use the thermals if you can’t see them). Set your team to the hooks and send them in on assault mode. Should be just two tangos left, so clean up and move to the door up top.
Go to the door on the far right and snake it. Put a mark on the closest guy, then another on the other. Stack your team on this door, then you go to the door on the far left. Snake it to scope out the opposition, two guys. Get ready and send in your team on frag and clear as you enter at the same time. You have to help your team out, use your thermals when they toss a smoke, and get your team to you – put them behind the table near the middle doors if you can. Then simply snuff everyone out. Move your team along the walkway to the other side to test the waters.
Go through the next door to be ready for the next setup. This area is more complex than the last. Stack your guys on one of the two doors in this main hallway, then you go snake out the other door on the right. Just one guy in here. This is the gameplan: send in your team, take out your one guy, then join your team, set them to cover facing the opposite side, and then you take the cover on the other side of your side. Essentially, you should put your team on the right, and you get on the left of the staircase. Enemies will be on both sides on the second level, them come from the opening up high, and they will hide on the bottom too. If you keep checking your map, and keep a look on the opening on their side, you should be able to get what your squad misses. And FYI, there was a stair in the hall behind you; they didn’t take it when we stormed the balcony, but they did when we took to the room with the ammo, so just know that. Send your team behind a statue on the ground, then get them to the opening across the way. Put ’em on the hooks to end this mission.
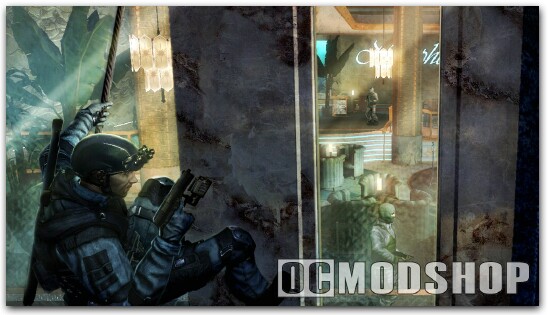
Fremont Street
Go forward and put your congregation on the door to the left. Quickly snake it and put two marks on the guys not holding the girl. Send them in, and you should take try to take out the guy with the girl. Then put them in cover facing the tables as you mop up the few guys above your position. Stay near the door after the reporter splits and just wait for the guys to rush your team. When it seems clear, send your squad farther down the way as you cover them from the corner; whatever you do stay away from the short ends on the tree stand things. There will be plenty of hard-to-shoot guys as you move up, so have some patience.
Move through the last bits of this casino into Fremont Street. Send your guys to the central thing up ahead and provide support. Once the civilians are safe, you should go up the ladder on the left. Move your guys toward the center area and put them behind the cover of the tiny bastions sticking from the things that hold some plants, the plant holders. From the corner of this upper area, you should be able to move from one corner of the corner, since you can’t see out the direct corner, and get good reads on the whole fight. Keep an eye on the right as that seems to be where a lot of guys come from, but look from the left as the fight starts (it starts when your guys reach the plant holders). From the left, be sure to check the ladder down the ways, as I was killed one time by a sneaky fox. Provide support and move your guys if needed to win the battle.
*Obviously the above gameplan did not work, or else I wouldn’t have had this one. Bring your team with you to the upper path and set them to one opening while you take the other. Battle goes much smoother. And yes, don’t drop down the ladder, be sure to use it.
If you do this one, then when you get to the ground there might be a few guys under the path you took, and the explosion will make two more guys appear when you get to the intersection.*
Move your team up and keep them in behind cover as another wave of guys pops up out of nowhere. Take them out and keep moving to a stair case (check map) where three more guys will rush you if you aren’t ready. Go through the door down there and send your men down to end this mission.
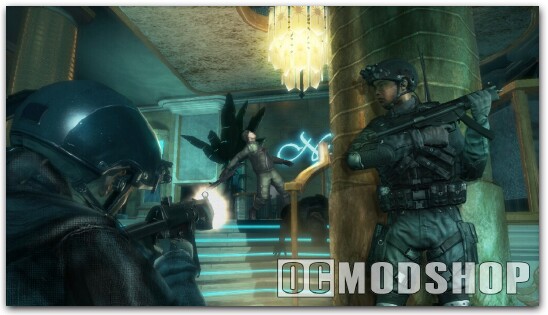
*There was an alley on the other side, but whatever, it probably wasn’t as fun as this side.*
Behind the Curtains –
Go and look down the hall, and send your guys to the wall at the end so they will kill the two patrolling enemies. Then move up and set them to the first flat column. You should stay on the corner of the original hallway and direct the flow of the fight. They should be able to handle the situation after a certain amount of time, but then they won’t be able to kill one guy down the way behind a crate; and they might not be able to kill a guy two columns down. Check the map and intervene where appropriate, and use a frag on the guy in hiding. Move your team first up the path in case there is another enemy.
Move along until you reach a new setup. There are two doors, the one on the far right has a bad guy in front of it. Put your men on that one, then you go to the first one and snake it. Put on the thermals for this fight, and crouch. You will send in your team guns blazin’, and you will use the cover of the piping near your door for safety. If you are unable to get a couple of bad guys in here, then your teammates will most likely get hurt. So put them first before anything, but just know that these enemies have some grenades. They don’t have frags, and you could probably use one for the last ones that hide in the center area.
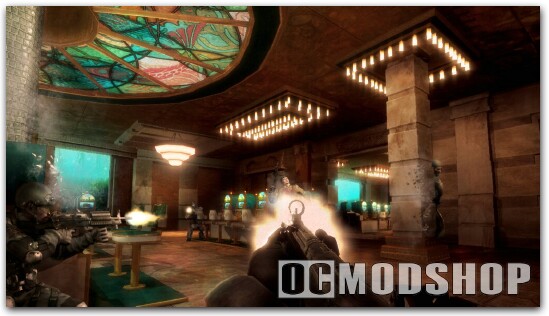
Proceed along the path and through a door to another ammo crate. Keep what you got, I guess, then stack your men on the door. Send them in, then you crouch and go out the door, but be sure to get the guy that might be right near the door. Tell your team to fall in on you as you set up near the hooks. Take out the guys on the ground and on the catwalks, use thermals if needed, and then go along the walkway. Stack and send in your team into the room up here. Come back out and return to the hooks. Send them down, and look to the right to provide cover fire. Try to send your men to cover, and use your thermals if they smoke your vision. Hopefully your guys don’t get wounded, and you can just stay up high and pick prey off.
I believe that when you start to move along the path, two guys will rush the hooks you took and try to sneak up on you, so be ready. And when you try to enter the hallway, a guy will be in the opening to the left. Keep going and your guys will run into one guy in the small room. Go further to a ladder and get to the next part of the level.
Keep your team on you, and go through the door, then just wait for a guy to come out the next door. Send your team in, or toss in a frag, to clear out the next room. Go through the next doorway on the right and there should be one more tango. Go up the nearby stairs and through the door into a hallway with many doors. Check each out (snake): one is a bathroom, and the other two lead to the next room. Enter the door near the bathroom, and then put your buddies on the corner of the wall, then you take cover behind the overturned table up here. When the first group of guys are finished, move up to the railing that faces the bar and take out as many tangos as you can. There is one far down the path, behind a counter; he is the most dangerous, but some dam plants don’t let you see him from up here. Send your team to the cover by the booths and rub your rabbit’s foot that they don’t toss incendiaries and rush your guys with shotguns. If they survive, join them and finish off whoever might still breathe.
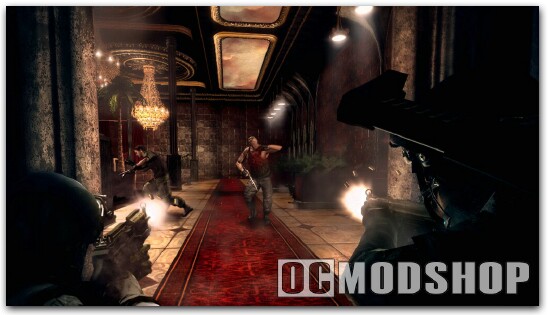
Go through the door into the next hallway with three more doors. Send your team to the one on the left, ignore the one on the right, and enter the one in the middle. Don’t be scared to look out the window toward the objective. There is one guy on the ground nearby, and another on the walkway across the road. Look down to the left for two more guys by the fence. Set these two with marks, and wait for them to be near the range of your guys. You will send your team into the streets as you take out the guy by the tree, then the one across the way. Do so, set your guys behind the white van, and be ready for one more enemy to shoot at you from the streets, but your guys should take him out. Grab some supplies and join your team.
Send your business partner to the van and then take shelter behind the two blocks up the road. Leave your free man by the van and get ready for one heck of a fantastic fight. Be ready when they toss smoke, and watch both sides of the road. They will try to rush you by running right up the center, so don’t let them get behind you. Your cover fire is surprisingly accurate, so just keep your gun active and you should be fine. Be sure to get the one guy that takes a perch up high, to the left. And the fight is not over until the new objective pops up. Simply place a bomb and run down the road to end this mission.