
Go up the trail and take cover behind the first big rock you see. There will be two enemies near the car, and two more around the shanty. Use cover, pop up, and take them out with your normal fire. Go to the mule and get the MP5A3 SD with the defensive pack (though, it doesn’t really matter).
Ready the sniper and take control of the UAV, then scan the area to the east so you get two red targets near the busted structure. This gun is just great, it has x2 zoom and it will pierce thin walls. Use the rock wall and take both out; should get one easy and then the other as he hides in terror.
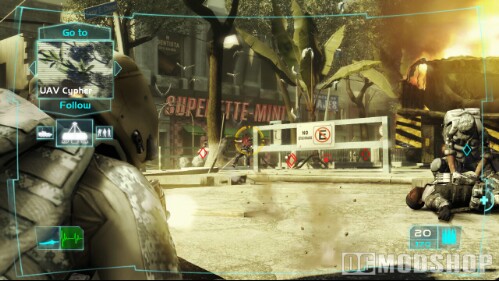 Move the UAV up some more to get three marks on the hill. Use the other rock wall and pop n’ shoot to get all three (even if you can’t see them, just get your cursor on the diamond). Then got one more on the ledge to the right to clear the path to the next checkpoint.
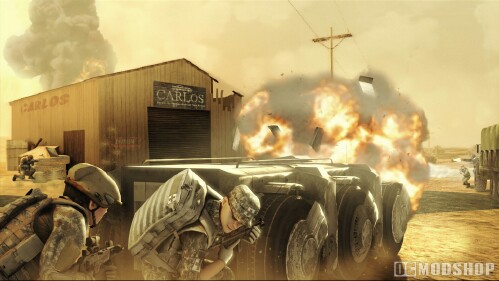 *If you ever get hurt, or low on ammo, you can use the mule at any time.
Send your UAV into the pit so you spot five marks. Use the opening in the rock wall to get them all; and when the purple, fleeing target comes on screen, switch to your secondary gun and aim for the driver to ice the vehicle (not sure if this means anything, but may as well blow it up). When all is clear, go to the helicopter to restock.
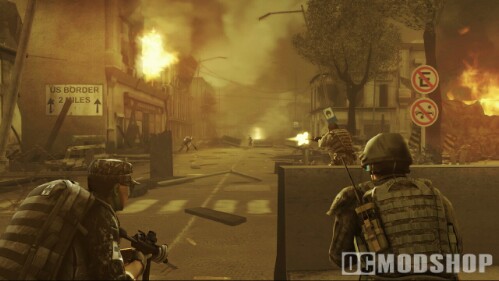 *If it doesn’t land, something is in the way…
Get the default three and keep the same equipment. Look into the construction pit and look to the far right corner, send your team there. This will prompt some mortar fire and two guys to appear. Stay where you are and hope the artillery misses everyone as you pick off the two bad guys.
 Now join your team
and be quick about it. Get into the tunnel and try to snipe a few enemies (you can send in the UAV, but you still can’t hit most of them from here). Bring your team with you, put them behind cover near the tents, and put them on aggressive; you will move around and play sniper. Pick off the ones on the right first, then get whoever may hide on the left. Run back to the evac point after all is clear.

