
Ready to have some fun? This level is great!
Look through the rain as the mission starts and start firing at trucks on the bridge before they become targets. When you sweep by you need to get those big trucks first to take out mucho enemies, then mop up whatever survives.
*FYI, the guage at the corner must be respected, so let off your fire if the thing starts to slow. Also, I’m sure the message on the mountain means something…
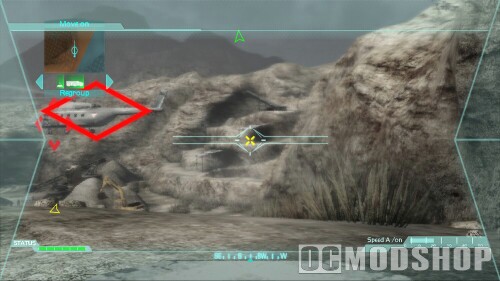 As you approach the camp, get ready to pick off soldiers, and as you round the water tower be ready to get an RPG before it can fire again. Then it will be a simple matter of using the vehicles’ explosive nature to clean up. When your friendly chopper avoids a hit, get ready to take out a bunch of foot soldiers as they run for dear life, but you don’t have to kill them all.
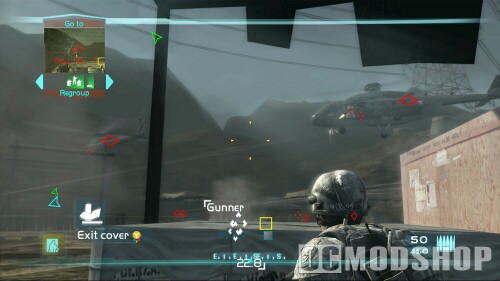 Focus fire on the fleeing trucks, and also the ones along the road – nothing you can’t handle yet. Around at the other end of the tunnel will be more things to blow up, so oblige them all. When a huge group convoy of begins to spill out of the tunnel, just focus fire on one of the first trucks to demonstrate the domino effect. Wasn’t that great? Short but sweet.
 Urban Warfighting
Start by putting your team on offense and sending them to cover nearby as the enemies converge on your LZ. Can’t really use smoke effectively here, so just return to pop n’ shoot tactics to clear the way (your team should do most of the work). Then go up the street to the right and anticipate some enemies way up the street when you get to the intersection (to the west). Now the path will be clear to the mule. Get the unsilenced gun and defensive pack.
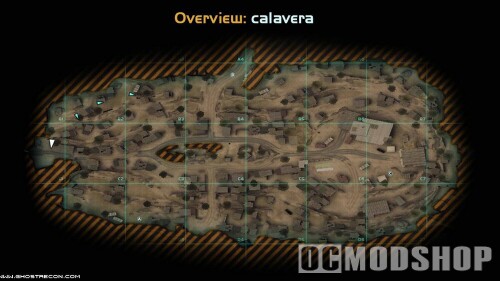
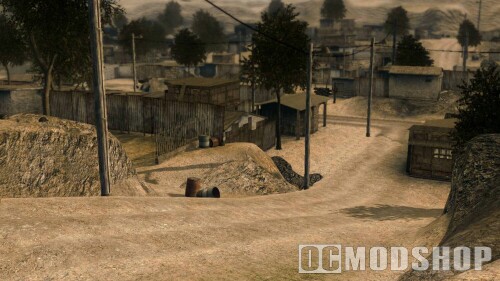 Go along the path (check map) and you will find some friendlies under fire. Ignore all that and go up the nearby steps, set your men to wait on the steps, and you take out the tank from the roof (use cover, duh); it will take two shots.
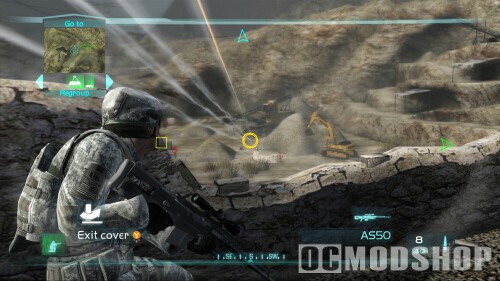
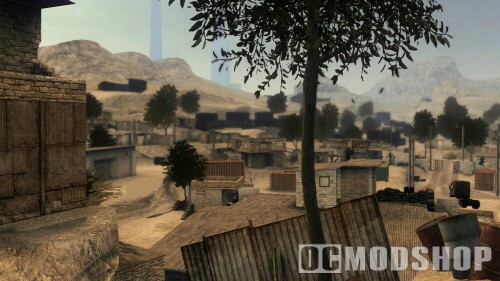 You now get a cool APC Stryker to command. Honestly, you can just send the thing forward along it’s “rail” and it can handle all the enemies in the way; it helps if you tell it to “attack” (press UP). Do so for the first two times it has to turn (check map), but stop it at the second turn while you take cover behind it and use the scope on the ZEUS to take out a group of guys by some sandbags. Just send in the APC to finish the job. You and your team then need to set up behind a bombed out bus. Just send your APC to the end of its rail and let it finish the fight, but you and your team could help. There are many men in the sandbags and one up high on the right.
 *If anyone is hurt, heal them first before you hit the chopper.
Resupply, and switch the ZEUS for the sniper; bring the destructive pack just in case. Move along the bridge and some stuff happens, just send your team to the cover behind the car on the bridge and you get the sniper ready for two bad guys up the way. When they are gone (and it may be hard with the weird shaking that happens) occupy the area on the steps by sending your team to cover behind a planter. This planter is crucial, as you can exploit an unwise tactic in the AI from here.
 Keep your team on defense, you crouch, and every now and then you should poke around the right corner of the planter (don’t hug the planter, stay off it, but behind it). There are two cars visible down the street and they are usually occupied by enemies. This is the key because when you shoot one down, another takes its place; that means you can kill almost all of them from this spot. Just make sure to check both cars and the area around them – for some reason they never shot at me.
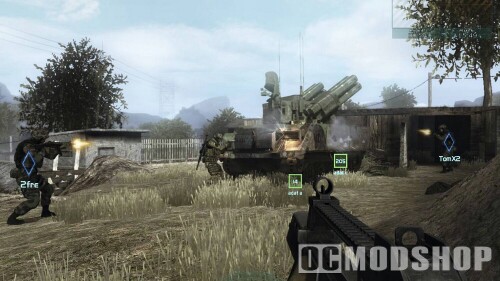 When the kill count is met, a big tank rolls in. Ignore trying to take it out yourself, and move up into the fountain area. Be mindful of remaining soldiers as you take cover behind one of the walls facing the streets. Wait for FAR support to be granted, and then all you need is a red diamond on the tank to put the jets into action. Wait some more for two more tanks to roll in. Once you get air support again grant it on the right-most tank and that should clear the area, and just do it again if it doesn’t. All the enemies will clear when the safety of the tanks is gone, but one or two might glitch up and stay. Just run to the evac point and it’s over (yes, you didn’t need your team at all if you were wondering).

