

Head down the path and at the ledge go right to wind down. Just do whatever to open up your attack on the enemies. Lots of grunts, and a grenade on the jackals saves a lot of grief, but the elite is first priority. Cross over into the shack for missiles and a DMR. Then get onto your friend’s buggy, you’re riding bitch this time.
Don’t worry about the enemies along the path, until you hit scarab city. No, unlike the epic battles in Halo 3, you’re not taking these bugs out. And you can mostly ignore the enemies on the sides here too. Then just let your friend do the rest from here on out, including the jump.
At the gate, grab some ammo and the hologram. Stay at the gate, don’t move in as the wraith can pop you at any time once you move up. Use your hologram and DMR to pick off a lot of brutes and jackals, and don’t forget the snipers in the platform to the right. Once things are mostly clear to the left, pull out your rockets and move to the right along the fence. Get a read on the wraith and fire three rockets at it to end that threat. Then move along this right side cliff wall, use your hologram, waste up your rockets, and clear out all the remaining trash. Two suicides and three snipers up ahead as you go up the path.
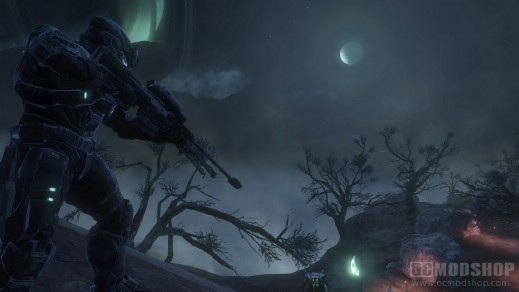
Move up the path for a scene. Then continue onward. The path ahead is filled with bugs and skirmishers, some with nifty arm shields. Headshots on everything is best, but if you got a needle rifle, that is pretty good too. You got two groups, then you hit a weapon cache. Grab the laser and bring a needle rifle, hologram is good also.
Approaching the big structure, just clear out what you can. You have allies in the area, so careful where you frag. Moving down, a zealot will appear, so it’s best to pop him with your laser. If you run out of needles, find a plasma rifle or something good. Move up to the next part where a few ghosts and turrets await. Hijack a ghost and just go charging after the turrets. Just be careful around elites as they can knock you off.
With both turrets down, sweep around the front hitting all stragglers, then enter the building. A handful of elites and what appear to be two zealots inside. Hologram, grenades, and running in are good options, but going up the stairs seems to go poorly, so don’t do that.
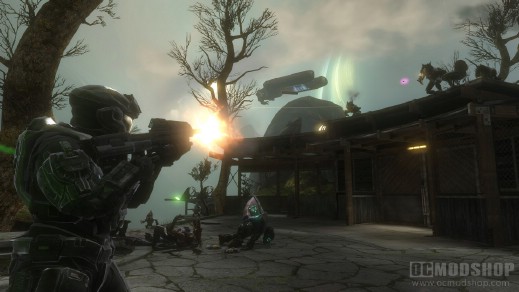
Stock up on ammo and move through to the other side, getting anymore ammo in the break room and in the room with the windows. Go out the right side and kill the grunts, then focus on the zealot and friends to the left. Chase him and all his buddies outside, where you will finish him off.
Stock up, maybe even go back to refill, because up ahead are two hunters with plenty of skirmishers at their sides. Any and all grenades need to go first here, and somehow, maybe with a hologram, you need to get to the side the hunters are on. From here you can use the containers as cover, and if your pal can play decoy or maybe use his gun, that may help. You could waste a lot of ammo taking them out, so work fast and make it count.
Head into the building and move to the left to pick up a DMR in the debris. Aside from the many jackals, watch out for the melee elite or you’ll die. Retreat to your pals when he shows up, and then use your hologram or sheer force to mow over the jackals. Head up the steps and clear the rest, then be ready for an elite with grunts out the door.
Moving to the landing pad area is one daunting task. First off, I advise you either put on headphones, turn the volume down, or something because the cannon fire could get you sick.
With that said, your only goal is to survive for an unspecified amount of time. I know I was pinned down with little ammo and it seems like the brutes just vanished or something. But anyway, you have ammo stored in the middle building and a DMR on the opposite end where a tree is.
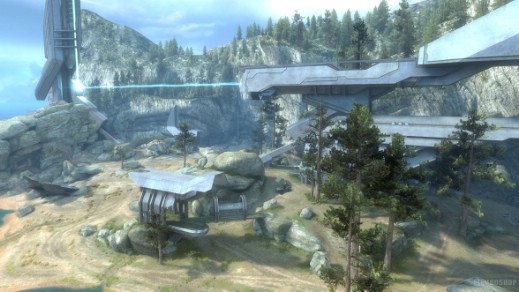
You just need to watch your back, as brutes can be anywhere at any given time, and the one melee brute could sneak up on you. There will be jackals on a side spot that need to die too. Toward the end you will have pure wave of brutes dropped down, and all you can do is keep pouring lead in their directions. At least one brute stands out as having a wicked gun. But throughout you need to kill anything that has a powerful, green burst weapon.
Eventually, a target will be inbound and all you have to do is mop up the rest of the enemies and then wait on the pad.
After the scene, your final task is in order. A few grunts and elites guard the doorway to enter the cannon building. These elites/zealots are extremely tricky because you need to balance out hunting them down with keep your distance because they are just as deadly at close range as you are.
In the side rooms are stashes of guns, and the grenade launcher is great for when one of them is hiding behind cover. Their aggressiveness may prevent you from moving up the stairs, but if can clear some of them out you should be able to walk up and finish off whatever is left. You have to be fast and relentless here, no wimping out.
Make your way up to the gun and get in. Blast the phantoms and banshees as they appear. You’ll see the huge ship coming down, but you can’t hit it until they tell you so. Just keep clearing away the trash until you see the big red circle around the red dot on the ship. Aim for the dot, not just the targeting circle. You have time for two shots at least, and it should take no more.
End. Scene. Game.
You can press A and then Y to skip the credits for another scene.
What the hell, “THIS IS SPARTA!!!” You’ll figure out what to do – just don’t leave the battlefield.


