

*NOTE: It should be mentioned that your LB function has thus far been for sprinting. That is an armor ability, and you can swap those for other
Just a few tangos when you are dropped off, but it rachets up very quickly when you move up. So go right from the start and use this bridge for cover, but don’t think you’re safe from damage, you still need to stay moving or the explosives will get you. You’ll start on the right side of the bridge and move your way up the left side of the back of this yard area, of course mowing down about 30 covenant in the process. The final push is down a drive way that only has a few bug to burn out.
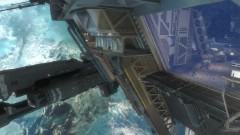
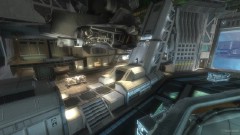
Head down to the target area and grab the highlighted targetting laser and a DMR. Down the slope you will use the laser on two enemy siege tanks, and of course don’t stand where those big blue plasma balls of death are falling.
*BREAKING NEWS: The AI still can’t drive.*
Hop in the hog and drive down the path, blasting a ghost and goons at the river. Approaching the complex ahead, the idea is to do circles around the back building with the enemies and along the sides so your gunner can mow down everything including that deadly revenant vehicle. If you’re good enough or you have no choice you can just get on foot and blast everything, but no use when you have a free gunner and you just have to drive in circles.
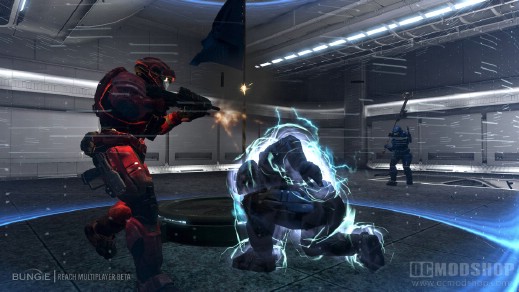
Once the building is clear, hop out and feel free to grab a power up and ammo before flipping the switch. Once you do, a dropship will dump a pack of grunts and snipers at the other building. So again, you can hop on the hog and let your gunner do the work, or you can go on foot. Once clear, take the steps, ammo if needed, and hit the button on the roof.
Go ahead and take the new hog that is dropped off and proceed. Hang a right and wind up the path until you are spilled onto what appears to be a huge battlefield, but you’re just at a single station. The best thing is to either use this hog until it’s fried or just clear a bit of enemies and hop into the hog here. The idea is to, again, just drive in circles as your passengers do all the shooting.
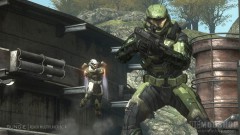
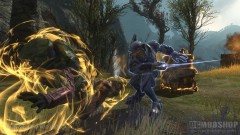
*NOTE: Sprint is the best ability to have. The shield is decent, but too limited.*
There will be plenty of heat already in this area, more will be dropped in, and two ghosts will appear, so even just chasing your tail in that little pond of water seems to work. Of course you will need to hop out and push a button, but do that well after you’ve made a few rounds on the place and there may only be a lone gunman on the roof. Hop out, shank him, and turn on the turret.
New hog, so hop in with your buddies, make sure you at least have Kat, and head back down the path you have been down (not the way you came). Make sure to do your circles on the slope to clear the four revs and one ghost. Then push the button to go back to base, without ride.
Hit up the ammo on the right and clear the driveway back up. Should be just three elites leading the several grunts. At the yard you’ll notice a new path, and down this path are two hunters along with a few tangos in the corner room. Use the corridor as your base cover, as it has a shotgun rack which is very useful.
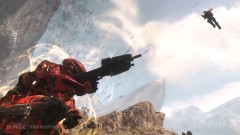
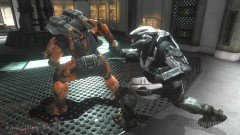
Hunters are not indestructible, you just don’t want to be wasting bullets on their heavy shields. Aim for their heads, gun, feet, belly, and esepcially the redish parts on their bodies. Flanking is best, but that’s very hard to do alone, so just run around the room, maybe out of their limited range of fire, and keep pumping careful bullets into them. Use the shotgun only when making goes around the room. Remember, you should have sprint which helps if they go berserk on you up close; sway to the side if nothing else.
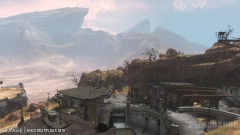
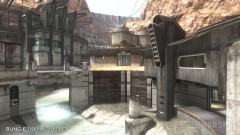
Clear out the corner room after the hunters are down to use the elevator. Just a few down the first hallway, then you enter the thick of a major gunfight in the foyer. There are two ways up, left or right. And both paths are equally infested with covenant. It’s best to move fast, take cover fast, and lob grenades whenever you feel like it. You should run into an elite or two, one being yellow-ish. The yellow one should elude you all the way to the top, so just follow him. Blast your way up and you’ll eventually hit the dark roof- top area.
Two shielded jackals to start, then elites, including stealthed ones, so have the shotgun ready, and just pour rounds into that yellow one. Now your final goal is to pick up the rocket launcher to the left and squeeze the trigger at the airship. Once it’s down, the level is over.


