

You start this level behind the eight ball. Swap to your DMR and start picking off grunts as they are distracted by their enemy above. Then focus on the elite before he causes too much trouble. Also, try to stay behind something that will keep your safe from the turret in the background; about where you start is a good spot to stay at, but you can move to the right if you want. Then pull out your grenade launcher (Terminator style) and go blast the two turrets. And a dropship should help you finish off the area.
Hop in the hog, as the driver of course, and move up the path to the AA gun area. Much like the last time you had a hog, and even more so, drive around in circles so your gunner can clear the place out with minimal effort by you. The catch is that with a rocket gun you have to be extra cautious not to be behind a nearby surface when he fires or else you will be caught in the blast radius. Avoiding your own fire and the explosives of the covenant make this extra tricky, but if you drive slow and in front of most objects you should be okay.
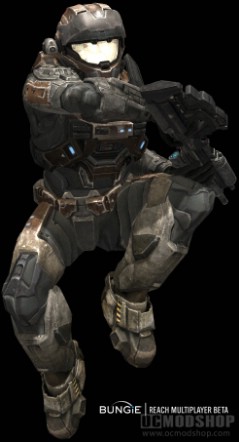
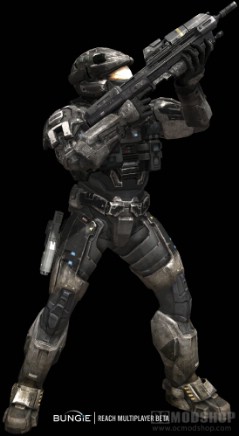
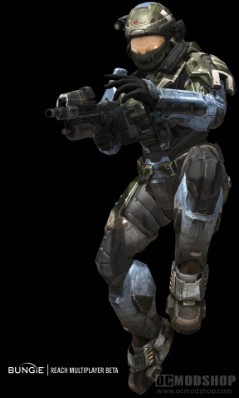
As for ground directly beneath the AA gun, try to avoid that for a while as the (I think they are called) Zealot there will be very tough to kill from a hog. So maybe make one sweep or in your hog to clear it out of secondary minions and then hop out to take out the zealot. One trick to your grenade launcher is that by shooting at the ground and letting it bounce off will negate his attempts to evade it. It takes a lot to bring down one of these guys, so don’t give up.
With the place clear, or mostly clear, enter the AA gun and find the little box on the circular chamber. Shoot that box and then blast the energy inside to turn the gun off.
Go back out and feel free to watch the show overhead. Get your team back into the car and drive down the path. There is a phantom over the bridge, as well as troops and a wraith guarding the bridge. Again and as always, drive in circles as your gunner blasts everything. Cross over and ignore the goons on the ground. Approach the mining facility and park your hog on the right side of the bridge, not where it will slide down of course. Quickly hop into the rocket gun and blast the covenant turret across the bridge.
Hop out and lead the troops over and up the steps. Reload if you must and watch out for jackals around the left corner. Head up the steps for more jackals and clear your way up the stairs to the top, picking up a nifty needle rifle if you want.
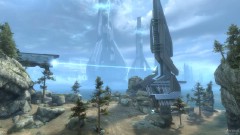
There is a turret at the top, so snipe the gunner from a distance. Grab that turret and move to the next area and quickly take out the zealot you see across the gap; you don’t have to jump down, I just poured the turret into him from the catwalk and got the achievement. Killing him fast will net you an achievement. Then just clear it all out. Move up, grab ammo if needed, and look down into the hole to pick off the grunts below.
Hop down and move to the end where two grunts will attempt to get on the ghosts, so stop them. Kat may or may not get in one now, but she will eventually. Just move up and take out the covenant along the path. LT for boost.
The second AA gun is much tougher to clear out. You have tons of jackals, two wraiths, and two hunters guarding it. For the first wraith down the right side path, clear the jackals and try to get close to the tank without making it boost to run you over, so the approach is key. If you get on properly you can beat the thing to death or frag it. Same tip for the second wraith ahead.
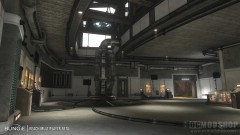
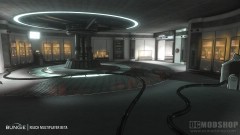
Lastly are the hunters which are not hard to handle if you don’t mind being cheap about it. Use your ghosts to lure the hunters out and stay out of their range and just pour plasma into them. It will take a long while, and being on foot will speed it up, but out of their range and in a ghosts is the safest, easiest, and cheesieast option you got.
Once the hunters fall, go pop the cover and blast the energy core. Then go to the marked point by the bridge and clear the few grunts as you wait for air support to pick you up.
The turret is an artillery shell launcher, so one well placed shot is all you need for troops. You get easy practice on the bridge up ahead with one mob, then single turrets along the river. You then hit an enemy installment with two turrets, elites, and a wraith, in that order of priority.
Inside the shield bubble, you should grab the jet pack if nothing else to at least test it out. Use the DMR to clear the grunts and jackals all over. The jackals have jet packs, so get them fast. Move up the left slope and another wave of jackals and grunts will appear. Careful of the turret bombarding the rocks, and make your way to the right, where some snipers appear on a ledge. Clear the area and hop up there to hopefully hit a checkpoint.
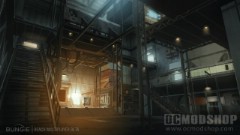
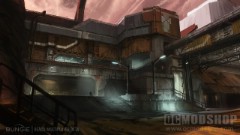
With your pal, jump on the buggy and let him be the turret. Drive around the circlular path at the bottom to clear out most of the trash. You’ll notice there is a path under the spire that goes from end to end. You can try to drive in, but you are better off hopping out and just fragging the tunnel.
Hop into the boost shaft to reach the top of the spire. Some grunts on the fringes, with one that is packing explosives and a sword-carrying elite. Just toss grenades into the control room and clear out what lives. Push the button to end the level.


