

You start by selecting your colors, for your armor and emblem. Only thing worth mentioning is that you can toggle the main emblem pic to remove it’s “shadow” or whatever it’s called. Basically, you can have a different main emblem, change the background image, and toggle the shadow of the emblem.
When you start your new campaign, unless you’re some crazy hardcore gamer that wouldn’t need this guide to start, just go with normal.
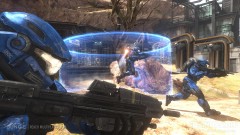
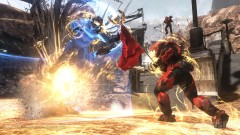
You can choose to invert the look, which is up to you – you can change at any time. Once you touch down, just follow your team as you move from place to place. You’ll eventually cross a bridge, you’ll go through a garden-like area after a red dot blips your radar, and then you’ll hit a pack of grunts from the second-story window and another when you attempt to exit the building. The grunts don’t die as easy as they used to, so a few more rounds are in order. You’ll pick up frags off a body heading down the steps, which you can use on the group inside the building. And exiting the building, flank to the left for cover.
*NOTE: Feel free to swap your pistol for any other gun; you can have any two weapons.*
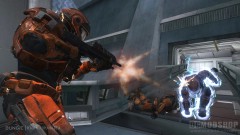
Once clear, the next covenant are down and up the hill. So just charge the boulder up ahead, and run to the cover of the bridge while firing and they should scatter up the other slope. Again, flank left and your team will finish them off.
*NOTE: I think they moved a few buttons around, but you do have a melee button.*
Move up and cross the river, then lob a few frags at the hay bales to hit a few enemies. Yet again, flank them from the left as best you can; maybe throw a melee or two. Hop down the nearby ledge and jump in the ride as you take two passengers.
You can skip the few couple of enemies without really concerning yourself. Once you cross the bridge, there will be a bad path to the immediate left, but you want the left turn a bit further up. Don’t drive down to the building, just hop out and walk up the estate that is crawling with covenant. This time, flank to the right as you can hop up and bring death from above. Should be a few elites inside the big building to clear out.
*NOTE: Driving in Halo is a bit tricky. You use the left stick for gas and brake while the right stick is for direction. It’ll always be goofy, so get used to it.*
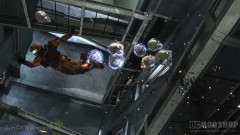
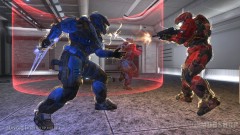
Once that area is clear, hop in your ride and drive through the garage and down the path to the next bridge, which you can either hop out or drive over to the second estate. Covenant here are a bit easier to clear out, as they don’t hide inside.
With this place clear, you’re told a down team nearby is under fire, and you can see the drop ship in the distance. So use either the old or new ride and drive up the path to the third estate. It’s empty, so hop out and move to the back where the team is under attack by grunts. Not hard to clear out, but then you are told to defend the LZ. The drop ship returns and drops off about 20 grunts and 2-3 elites. But first you want to pick up that DMR just inside the garage door (where the checkpoint is) and with it you can zoom for sniping.
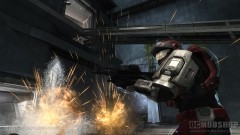
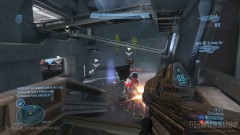
Take point near or on the slope just to the right outside the garage and from here just headshot as many grunts as you can, but the elites will take a few more than one round. Remember, damage will take you out of your zoom, so work fast, stay slim, and make every shot count for an easy evac.
You will be dropped in a hot LZ, and you could maybe try to lob a grenade behind the jackals before your team gets too close, or just after. Head inside the building and feel free to grab more DMR ammo for the upcoming defense. This defense will have shielded jackals, so save your explosives for them and pick off everyone else with your bullets. And stay inside the doorway, no need to leave its safety. You will have one light wave, a much harder second wave, and by the third wave it’s fubar and you just hide until the door closes.
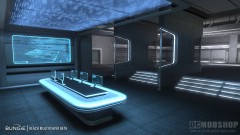
Toggle night vision and move down the path to the body. In the next area your vision is on, but your guns are reset, so grab a DMR to your right and start clearing the corridor. Frags on the shields, or just flank left. Remember, the jackals only face one way, and your ally will help your flanking efforts if you turn a shield around. Same story at the corner, only you may have to wait for them to come out. The final fight is in a server room. Your asked to play bait, so just run down the right hall and into the room with the popping servers. There is one elite with sword lurking, so eyes open and hopefully your friend will help you clear out. Then just push the button in the last room to end level.


