

Mission Briefing: There are fives X presses, so be alert through all the many screens and information. Sunny seems like the coolest character thus far. Oh yeah, and you can move around, of course at the expense of the story. You’ll need to press Square to get the Mk II screen up, then press Tri. to get it in the main screen, and then press L2, but you don’t have to press L2. You’ll find a camera behind the computer down here, an iPod song up the stairs, and more items upstairs. Then that’s it. You can press select to get all of the icons. There are also items by the chopper.
Cove Valley Village
*NOTE: Aside from a bunch of extra, lethal options at Drebin’s shop, you can now buy rounds for the sleeping sniper rifle if you have it.*
The first X press goes about 10 deep, and there is another one when you see Vamp. Once you are back in control, there are villagers in the process of being executed. You have time before the first one is offed, but you’ll need to work fast. For one, there is a guy in the first building (he’s looking at a Playboy) so put him to sleep through the window. Watch out for the guy that patrols the path in front of this building. Either put him to sleep and then crawl to the patch of grass under a wooden fence, or get wherever you can fire from. You simply start shooting the guys that are holding the prisoners and then panic will erupt. Help them kill off the bad guys as best you can.
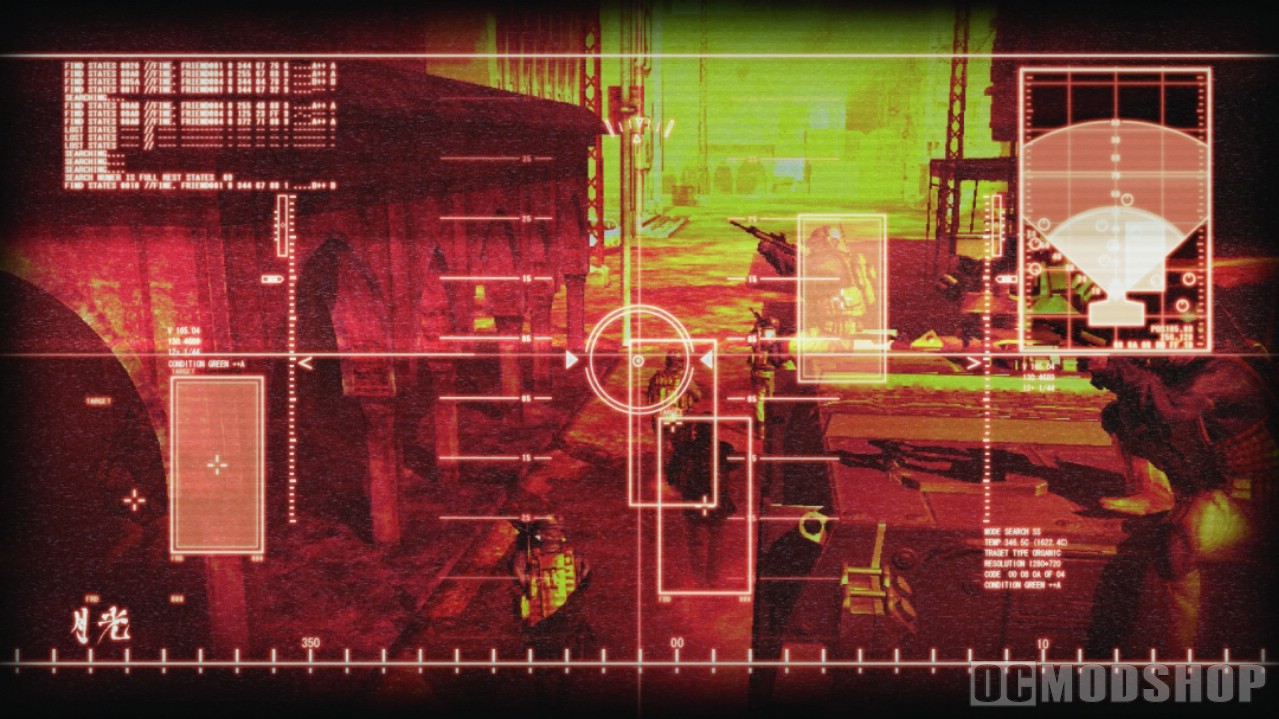
Another option is to just stay on this ledge and pick off enemies from afar, even using your sniper rifle if you want to. If you manage to help the hostages escape, then your search for items will be much easier.
*NOTE: If you didn’t realize by now, the tranqs don’t keep the enemies asleep forever. You have enough time to run around, just don’t stay too long. And if you didn’t realize this also, the dots on your radar are enemies.*
Regardless of what happens, you now have at least two buildings here of interest. Please note that there are probably more enemies among the buildings, so if in doubt just crouch or lay down so you can see the humps in the threat ring around you. There is an iPod song in teh building to the north, and there is a rifle in the upper area in the barn on the left side. To get the rifle, go up the ladder and roll over the gap. There are also a ton of items all around, so feel free to use night vision and such.
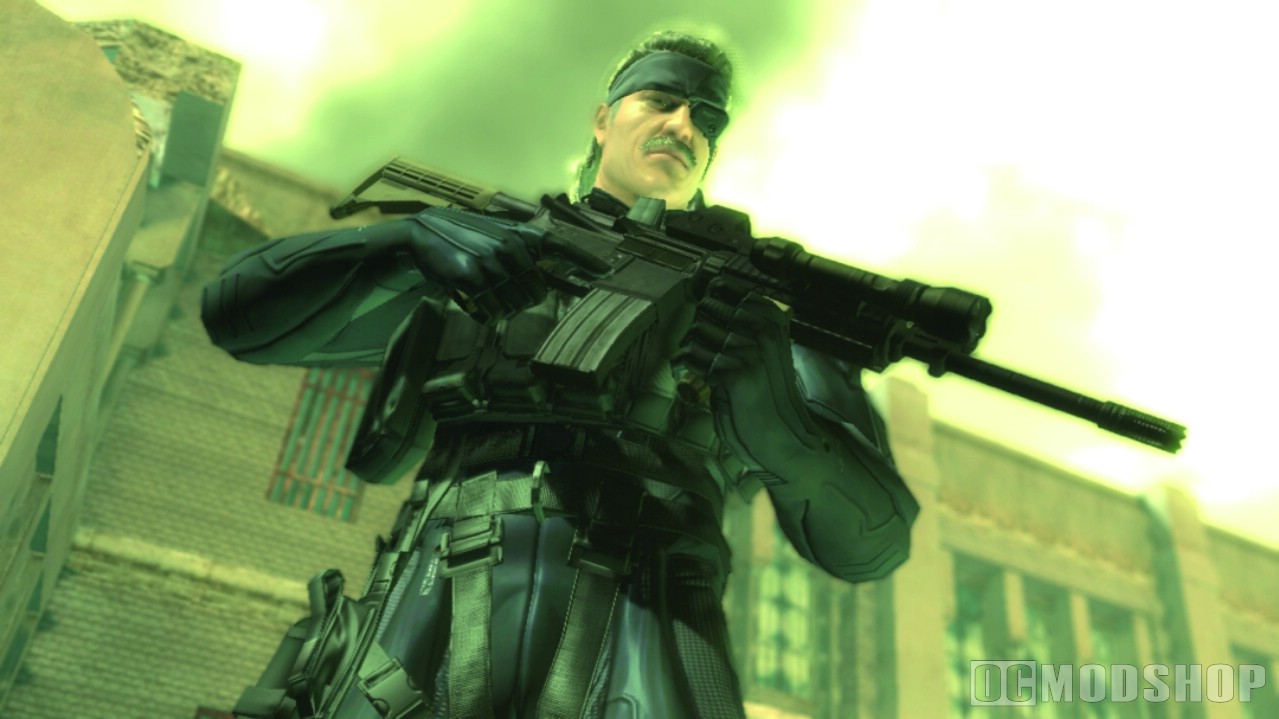
*NOTE: If you didn’t know, you can play dead by lying down and press Tri. and Snake will put his head down on the ground. It’s not guaranteed to work, but it’s better than nothing when cornered.*
So you’ve checked out this first village, now make your way eastward. If you heard gun fire, or you see the guard yourself, there is one guard here on patrol along a ridge. Either use your threat ring and radar to find him, or if you see a dead body you know it’s safe. Now in the open you should hear more fighting, probably the guys you helped. Either help them fight the enemy, or just stay back and let it all resolve. Whatever happens, you need to start climbing the ridges on your left to get up to the top. There should be about five or so enemies, all of them patrolling on the various levels. You should stick close to the rock wall on the left as you make your way up, putting enemies to sleep and slowly creeping up.
If you make it to the top, go along the path and you’ll hit a transmission. When you go around the corner you will see some rebels, but don’t put them to sleep, or be seen by them. Let them move along as you sneak along a path to the left. You’ll come around and you should see two enemies. Put them out and then go along the rock wall to put out another guy by a shack.
If you continue up the path you’ll see the rebels continue to sneak along. Somehow they manage to avoid detection from the three remaining guards, but either way you need to be careful of the three enemies down this narrow stretch of path. You probably can’t see them as they are on the other side of a rock in the road. You could even just sneak all the way up to the end of this section if you want.
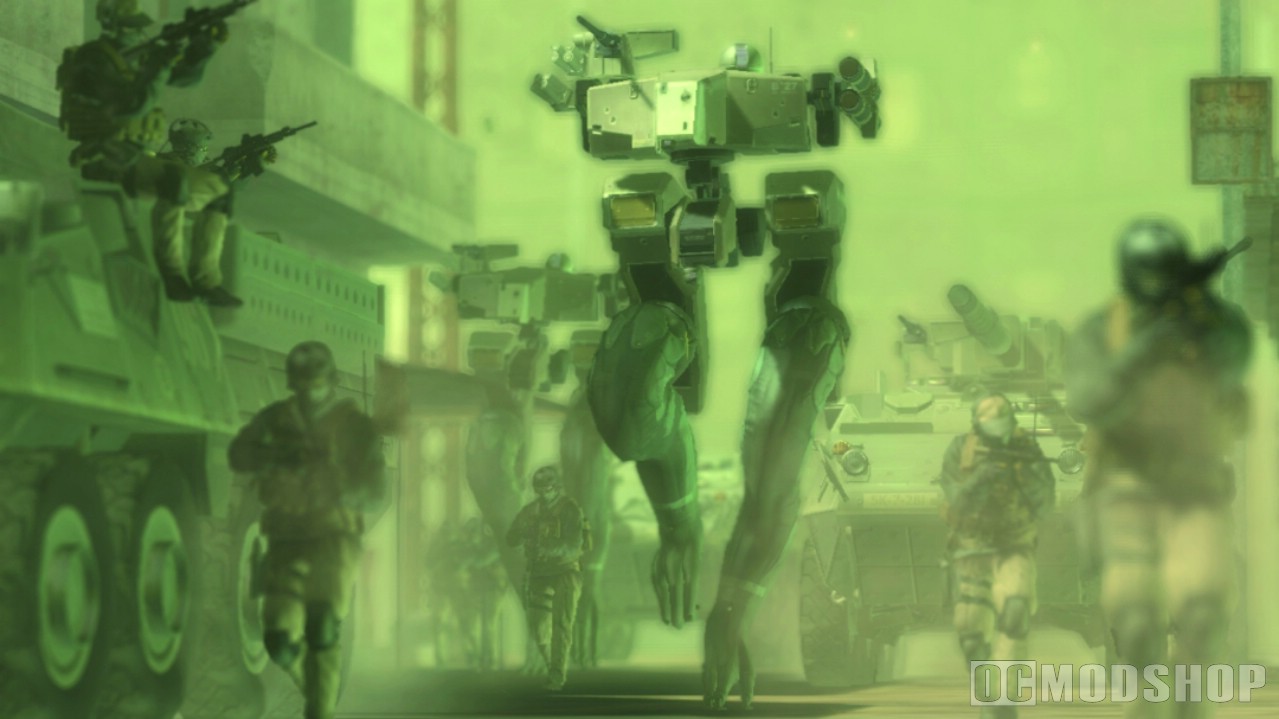
Power Station
*NOTE: Please get the Mosin-Nagant if you’re going no kills, or any other rifle with long range if you don’t care.*
*NOTE: Remember, if you ever need ammo, visit the shop. Also, the Wednesday and Sunday discount is legit. If you play on those days you get 20% off any item in the store. I would advise against planning your game around these, but it’s interesting to note.*
You’ll get a call warning you about the snipers up ahead. Move with the rebels and stick to the left. When you get to the end of the rock get out your rifle and peek around the corner and look up high to the right. You should see two snipers perched up, waiting to pop your guys. Put them out and you are free to move up.
Next is a fight in front of a fortified base. Help your guys with the sandbag enemies, watching up high to the left for a enemies on the tower, and then make your way right to find a sloping dirt path – don’t worry, the enemies will spawn at the sandbags until you go up this path. There is a mortar up here for you straight up killers, otherwise use this position to take out any more tangos on the ground.
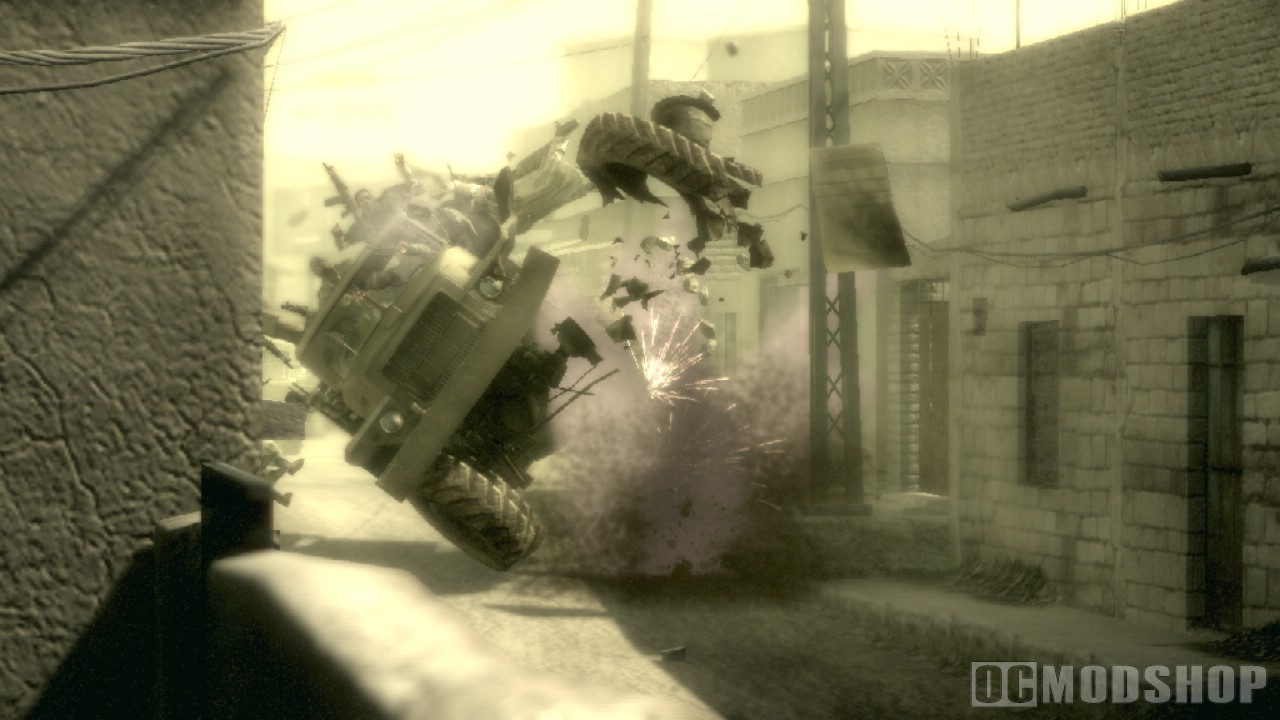
Now go down the other side of the slope and some of your guys should be on this side. Enter from either side of the facility, probably from the sandbags is best, and watch out for enemies as they will spot you if you get close. You mainly need to worry about one guy at the north end, inside of the building the rebels need to get in. If you don’t want him to see you, either sneak in from the north end, or maybe toss in some smoke or a stun to his side. Once you get in and clear the building, the rebels will come in and crash the power.
Go outside to the north end and move toward a truck to trigger another long scene. Watch for the two L1’s and the three X’s; one of the X presses is hard to see.
*NOTE: There is a closed off area along the complex that has a power line tower, but I have no clue how to get inside of it.*
After the scene, follow the rebels down a path, which is clear of enemies and parallel to the road. You’ll hit a cache with tons of items, mainly two new guns up by the wall. Keep along the path and you’ll end this section.

