

You are on the rock path if you entered from the rebel path in the last area. If not then you’re on the road. Either way you need to watch out for three guards that are watching the road. You can take them out or ignore them, but stay on the rock path. Stay on the path and you’ll hit a little encampment.
You can ignore what’s going on and just try to move on. However, there are some rebels being held inside a tiny building. If you’re on the rock path, just crawl forward and you’ll see some bars on the window of the tiny building. You can look through the window to see some rebels being held by one guy on the outside. However still, there are too many guards around for just freeing the rebels to work.
You need to take out if not all, most of the enemies. There’s one on the road, one holding the rebels, one in the big building, one behind the big building, one in a tower, and one patrolling between the trucks. You should put out the guy in the big building, then to around and put out the guy in the back. Then go and snipe the guy in the tower so you can sneak around and pick off the two guys in the front. Then go free the rebels. If you want to do not so much work, maybe leave the two guys that are patrolling in the front, but feel free to do as much or as little work as you please.
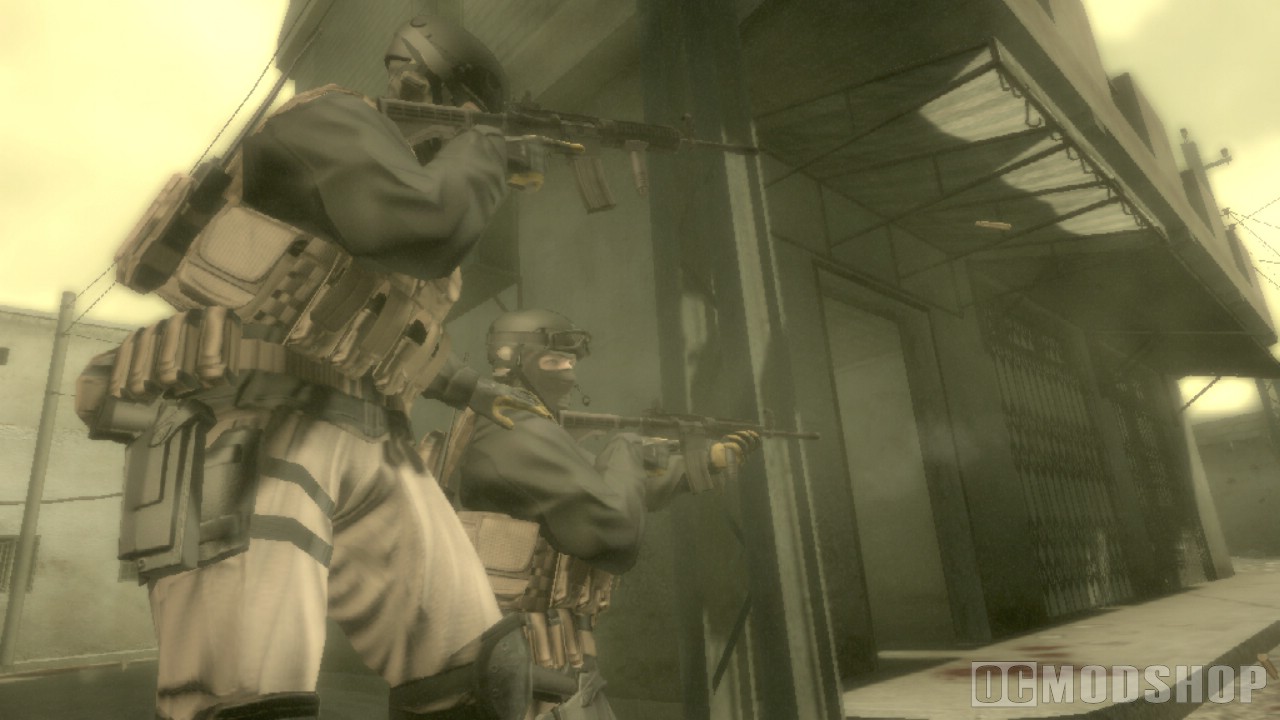
There are some items you may want to grab in the big building. If you don’t have the area cleared, there is a crawlspace in the back corner of the big building and you can crawl under to a hole and then stand up to easily get the cool little rifle. Then head out.
Vista Mansion
You’ll be along a ridge that has you in prime sniping position over this battle. You’re goal is to make your way along this path to the end, where a scene will trigger. But along the way you need to whip out that Mosin Nagant and help the rebels as they fight the enemies. Snipe the guys by the sandbags to the right and then you’ll need to hold off the guys that come from the left, and they just keep coming, so it’s best to just crawl along the path until the scene with the dozer goes. I think that so long as you’ve helped the rebels clear the enemies around, the dozer will just mow through and into the mansion.
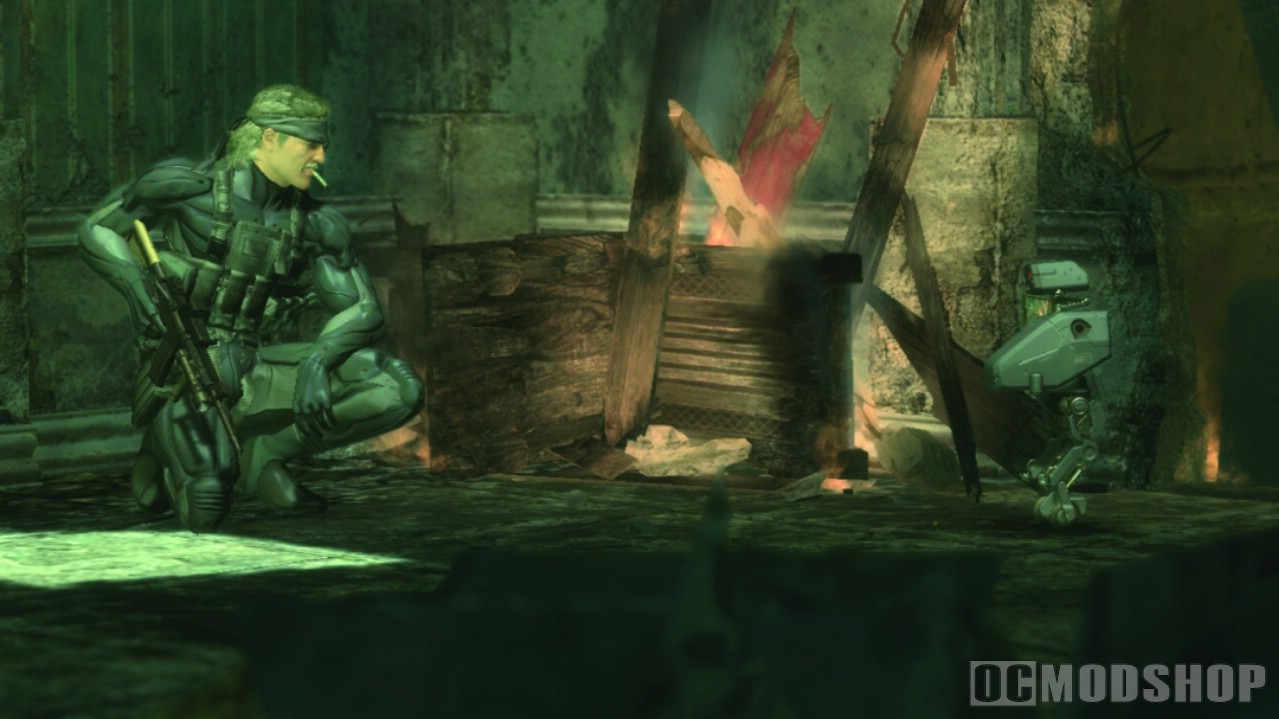
Now follow it up and make your way to the left. Remember, if you keep your distance the enemies won’t see you to cause an alert. Help the rebels clear out the bad guys along this south end of the mansion. Inch your way to the left so you get to the back of the mansion along a wall. Follow it and you’ll find some hedges with a muna behind one and some grenades in the corner by a window. Make your way to the front of the mansion and help you guys clear it out. Don’t worry about helping them too much, just enough so that you can go inside one of the doors.
Go inside from the east end and you’ll be in a dining room. Go to the left side and move along to the stairs. You’ll hear some guys coming down the steps, so either get in your box/barrel, or just hug the wall of the stairs and let them pass; putting them to sleep is optional. When they go by, sneak up the stairs and around into a room. Go out the door to the rooftop, and hopefully you’ve already cleared it. Just go around and you’ll find an open skylight. Hop down and then follow the stairs into the basement. Just rats down here, so no worries. There is a room with a lot of items, some claymores at the start, and then make your way to the hidden lab.
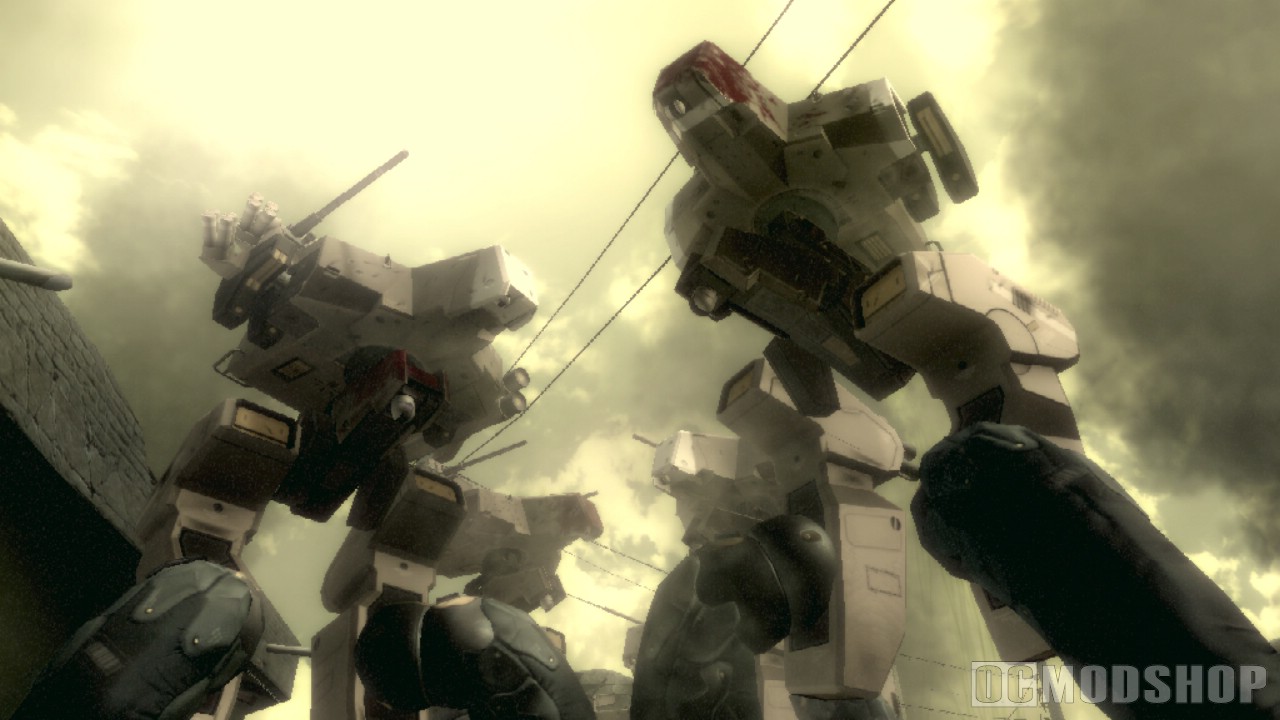
Research Lab
You two long L1 presses, and I hope you realize you can move the camera in L1 presses. After the little computer movie, there is a hidden L1 scene, and yes, you can move the camera for a nice little upskirt (how sad). Two more and then you save. After the save wait for you to lose some psyche and then press L1 to regain it soon after. Then it’s two X presses and you wait for the first boss battle.
BOSS: Laughing Octopus
Beast Mode
*NOTE: If you want to, and what may be a ton quicker, buy a shotgun and then buy ammo for it called the V. Rings, which are air rounds. When you equip the weapon, just press O until you have the rings.*
For one, if you are going for the no kills and no alerts, you need to sneak straight up and behind the CAT scan machine. From here you should blend in and either crouch behind it, or go prone and look out an opening below the bed. There are about four Frogs to start off, and after you put them out there will be two more waves of pairs. Just use your Solid Eye to find them, wait for them to get into view, and then tag them. And if you don’t care then have at it. When all is clear, go to the right side and you should trigger the scene to bring her out.
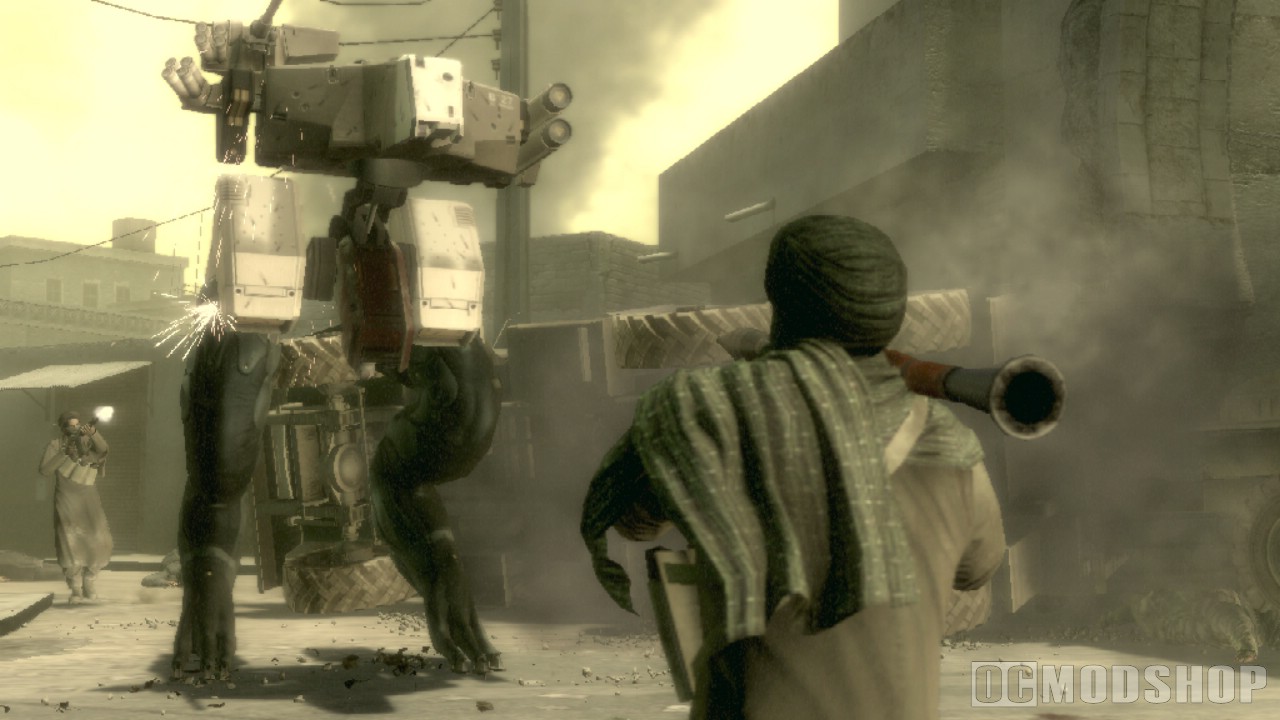
There are a few things you need to know. You have two opportunities to get damage on her. You can hit her while she is shooting, and you can also hit her when she is hiding. You also need to avoid her when she balls up and shoots ink, and if you are inked you can roll to shake it off.
When she is “hovering” around, just follow and wait for her to pull out her gun, then fire back. For you none-kill players you can only use the Mosin, Mk2, and stun grenades. You can also stun knife her (R2 attack) when she is hiding and on the floor. Speaking of which, after she disappears you first need to avoid the little missiles she sends your way. They are hard to see, but you need to run away from them, or lead them into a wall so they stick. Now when you cannot find her, that means she is hiding as either something or just blended into the walls. This is when you put on your Solid Eye and follow the red threat ring to her. She could be anything, anywhere, or in plain sight. Either way, you can snipe her, toss a frag, or whatever to bring her out. But if you take too long she may grab you, Resident Evil 4 style and you’ll need to shake yourself free. If you can’t find her, usually means she’s above you.
Yeah, she might be a box, that human body figure, MK II, just anything. Be sure to check bodies, like if you put all the Frogs to sleep, if you see one without Z’s over it then that’s her. You could even try night vision. And she usually doesn’t pop out unless you are too close. Don’t be fooled when she is Naomi either, I’ll spoil that for you right now.
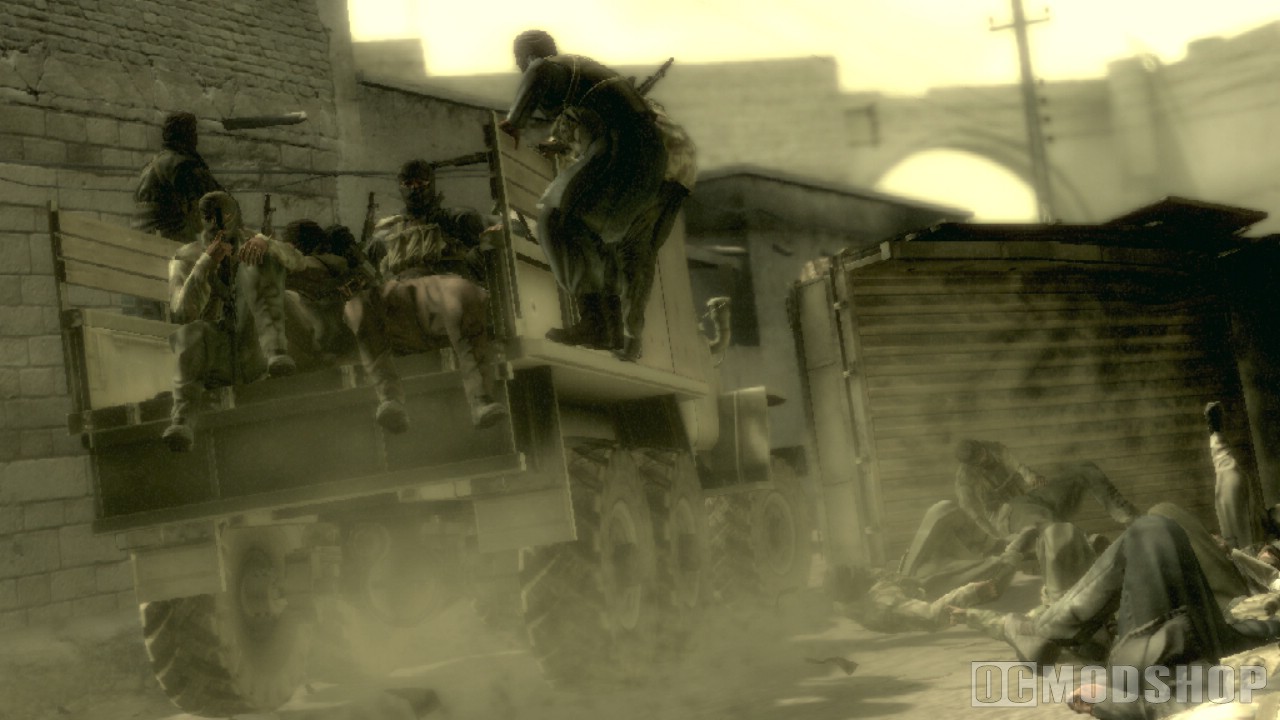
So let us recap: shoot when she is hiding or shooting at you, and use your solid eye to find her when she laughs, and if you’re going for no kills (which gives you an item) then use the Mosin-Nagant.
*NOTE: Remember, more ammo in the show, keep an eye on your health to use rations, and it takes longer to use the tranq method, but stick with it and you’ll pull it off.*
Beauty Mode
So after the scene, you fight her true form, but nothing to fear. Just two things to keep in mind: she will slight move from where you are aiming, and the stuff going on around you is just for show. There is nothing else going on. Just keep your gun on her, shoot after she moves or whatever, and keep backing up. There should be no reason to not use the Mk2.
*NOTE: Also, look on the bed for a doll during this mode.*
*NOTE: Also, I hear that there is a third mode for killing her beast mode, but I didn’t do that. So, have at it.*
Mountain Trail
More presses during the scene outside. Now you will follow some footprints to track down Naomi. Use night vision (NV) sparingly, not just to keep the hum noise down but also to save battery life. Follow the prints to the first intersection, then go left. You’ll cross a bridge, but there is one guy making the round across the bridge. Pop him and follow the prints right at the three- way intersection.
*NOTE: You’re tracking the prints with the tiny triangle points in them.*
You’ll hit a purple scarf in the ground, so sneak your way right. Along the path you’ll hear a guy detect your prescense, so crawl to the next footprint intersection and peek around the right corner to pop the guy. The prints intersection by the crates the guy was hiding behind, and the tiny heel prints go left toward the stream.
Mountain Trail Riverside
Otacon tells you her prints disappear. Follow the prints left, but either trail takes you to the same place. It’s hard to decipher, but if you look you’ll see the tiny heel prints going up the middle path. If you sneak along it, you’ll come up behind an enemy, so put him out. Go around the path and you’ll be out in the open, but be careful as there is a guy to the right, behind the rock. Put him out and then send the MK II to disarm the claymore he was setting up.
From here you see that the heels take the middle path yet again. Go up the path and at the intersection the heels to right. However, if you go straight and around, you can sneak up on the Frog waiting for you to bite on the heel trail. Take her out, and then go investigate the heels on the ground. Send your Mk II in to the heels to disarm the claymore on the left. Follow the path up and around the corner of the path is a guy, so go prone and peek around the corner to pop him.
If you notice, there are heavier footprints in the ground. Follow them right up to another fork in the road, then follow them left. You’ll hit a narrow path, and if you peek around the corner to the left you should see a guard. Pop him, follow the prints left, and you’ll hit the cave entrance. Go in for a scene.
The Escape
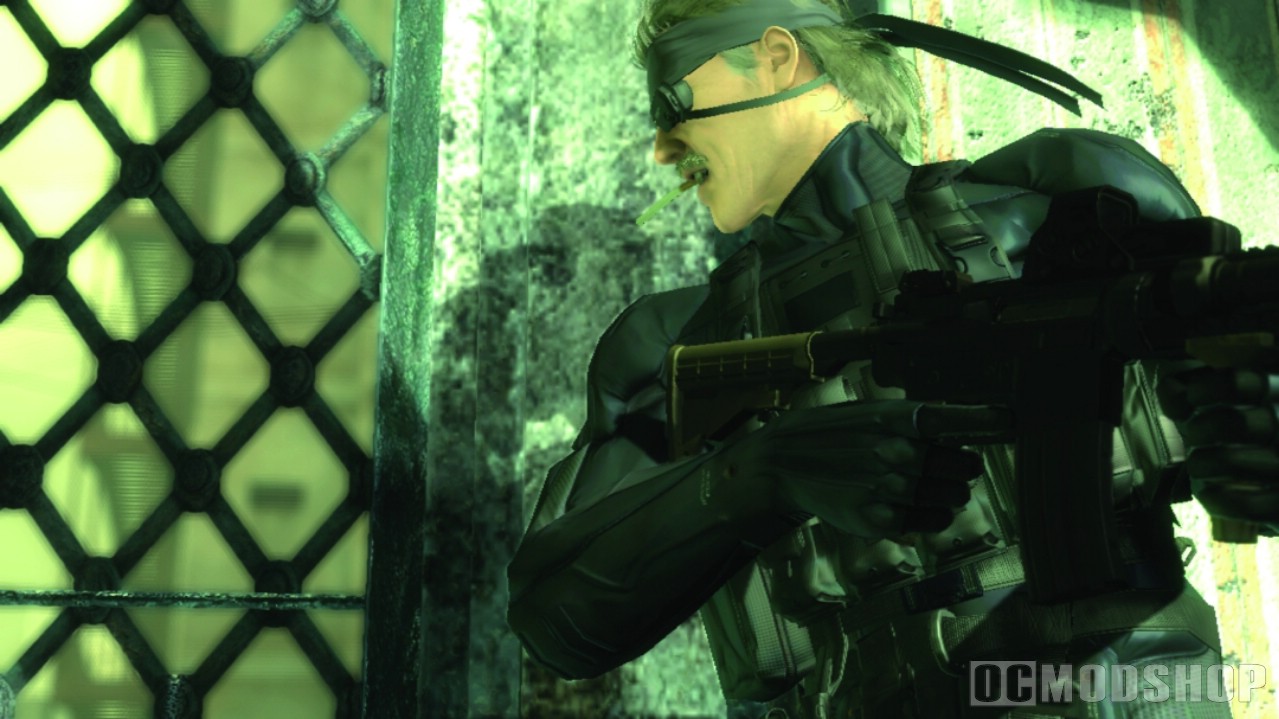
*NOTE: For you no killers out there, you cannot target the PMC zombies or the suits. The Gekkos are fair game, but that’s it as far as your turret is concerned.*
First, just move up and get on the turret, duh.
The first area, the mansion, is just keep the guys off your tank and then shoot the suits in your path. Mow down all the enemies around you or else they will swarm the tank and get up close. So use CQC on them, of which you can check your briefing menu for some moves if you don’t know any. For the Gekkos, the big things, aim for their tops, simple as that.
In the next area you will have a tank following you, so target it and fire, but there is a gate in your way of advancing. You need to shoot the gates, both of them, and take out the tank.
This next section is just you and Gekkos, a ton of them. Just aim for the tops of the ones in front of you. After Drebin rams a tank off the road, you’ll need to look behind you to shoot down the ones following you. And then that’s pretty much it.
Marketplace
During the cool scene, a long X press during the guy’s intro. Then you’re in control. What you need to do is run, and don’t stop. Run forward and then left over some rails and you will avoid the stalls. Just keep running down this alley, past the people and past the Gekko that comes for you. Run back out into the street and go up. You’ll see a Gekko in your way, and he will swipe at you and kill you, but oddly, you can just roll into him and you’ll trigger the scene that ends the level. I guess you were supposed to blast him, but no point when this glitch works.
And that’s it for this act, finally. Remember, if you screwed up and killed some of those “zombies”, save in a different file and consider starting from a prior save, like at the mountain trail if you must.

