

First, set your magazine (the empty cartidges) to a weapon slot, as well as something to cause sleep (Mk2). What will happen is you’ll approach the door and the Mk III will open it, but a Gekko will arrive. Your job is to distract the thing while your buddy opens the door. It’s not so easy if you want to stay stealthy, or maybe it is. You want to toss empty magazines all over the south end of the room, mainly opposite the gate being open, just to have a clearer shot. When the Gekko goes to investigate, tranq his leg and he’ll be down for a good long time. You just repeat this at that end of the room, maybe tossing mags to each corner. If all else fails, just tranq his legs, simple as that. Run through the door when it’s open.
Snowfield & Communications Tower
Two ammo boxes up ahead, then take the ramp and into the little shack for a lot of items. Then hop on down to the open field.
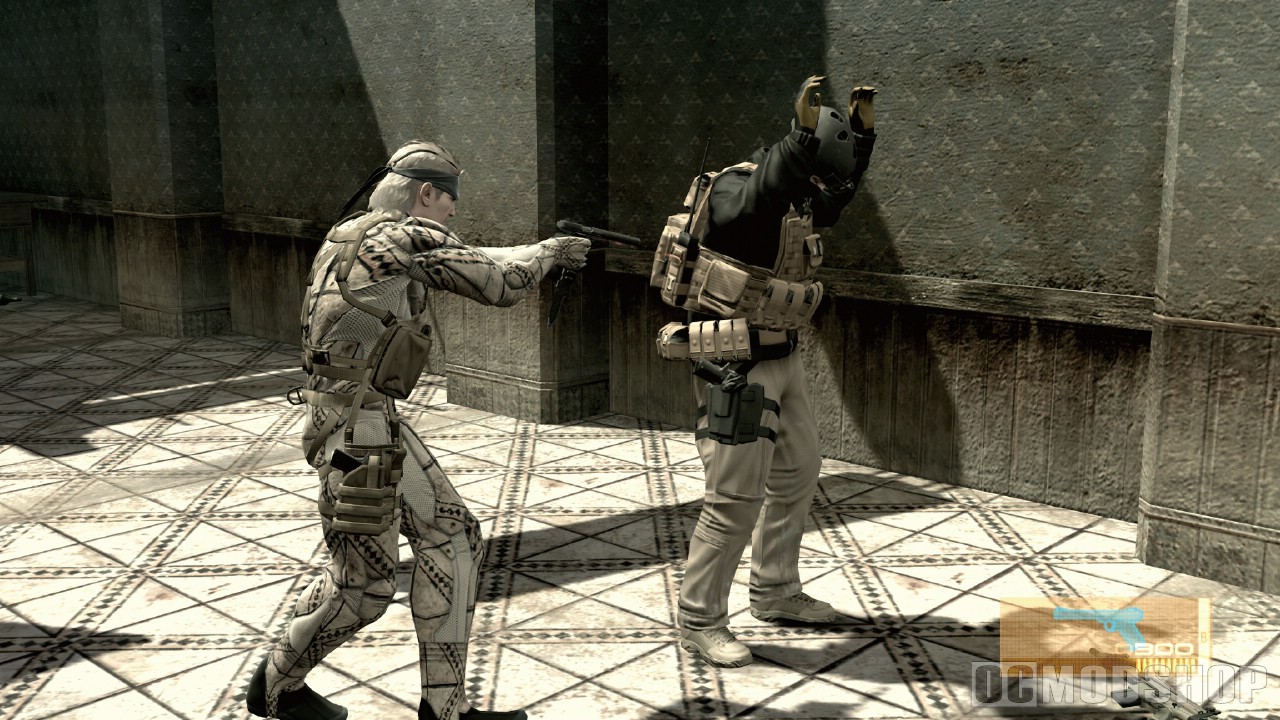
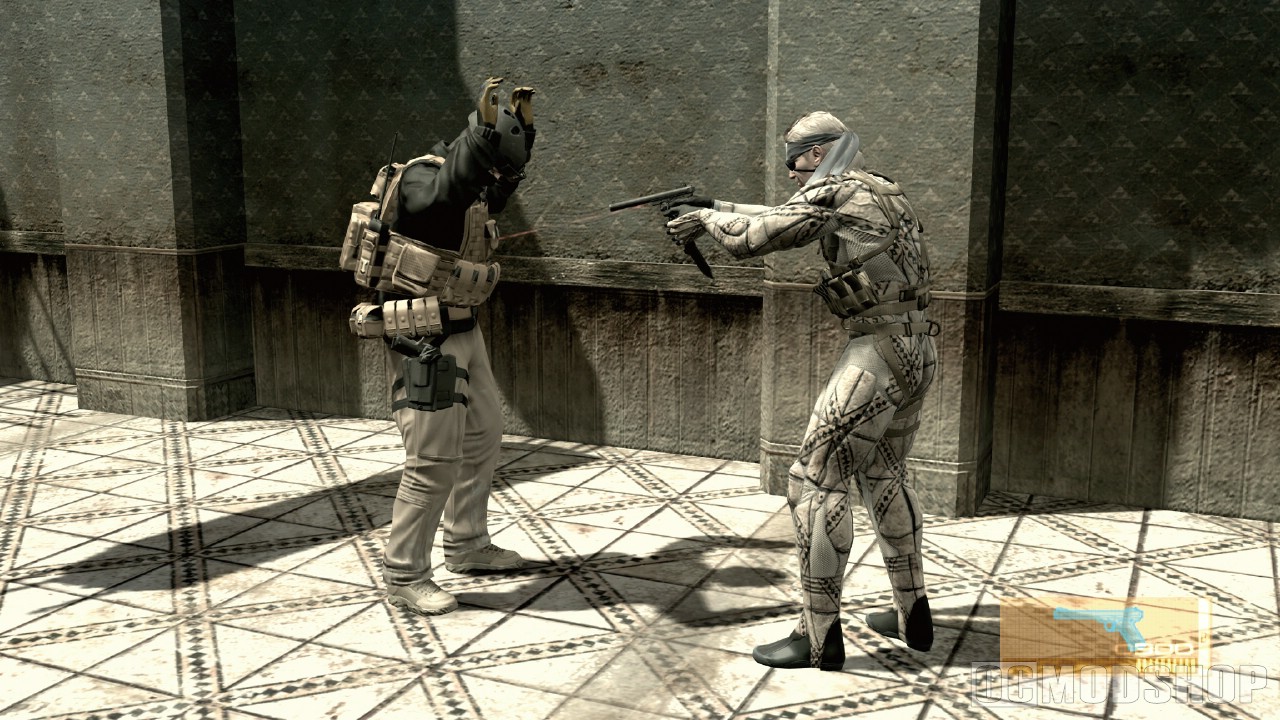
BOSS: Crying Wolf
Beast Mode
We will cheat our way through this one. First, either snipe or pop the two Frogs to the right, the ones around the truck. Then get under the truck. Now we play the waiting game. Crying Wolf will come to this truck and take some whacks at you, but never send it into an alert. Then she runs away. That is when you turn on the NV, find her, and then snipe her before she snipes you. You should get at least two hits, but try to stretch it out to four if you can. Of course, you are aiming for her, not the suit. You can only attack when she is sniping.
And that’s about it. There are minute long intervals between her appearances around the truck, and when she howls she is close; she’ll actually be far away, but you can see her and she will get closer. You can try to hit the things on her hind legs if you want, but it’s hard.
As far as the Frogs, well, that is why we are under this truck. There are just too many and they seem to spot you pretty easily in the snowstorm. By staying under the truck you are just having to keep the two near you down. You can snipe the other ones as you see them, but it’s up to you.
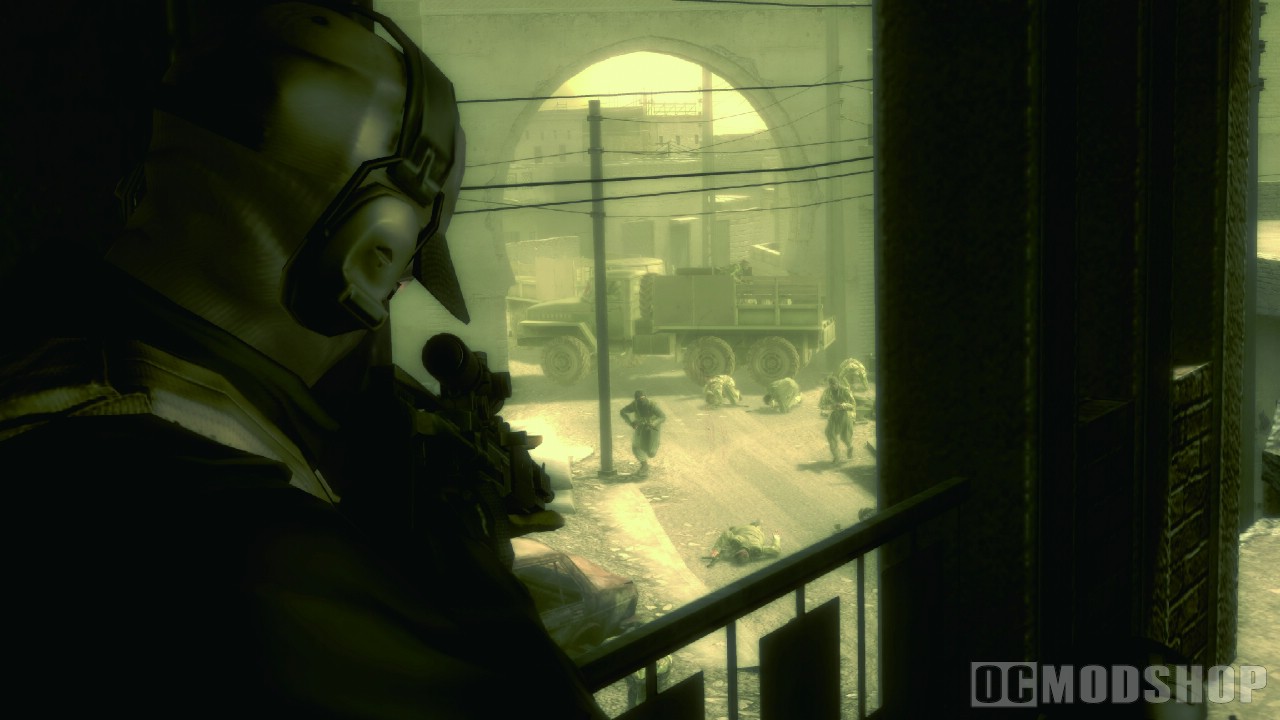
If you want to venture out and test your luck, good luck. Again, the Frogs can see you pretty easily. You may be able to track down Crying Wolf in the snow, but after one shot, unless all the Frogs are down, they will probably find you.
So to recap: just stay under the truck, you’ll have to wait a while for her to show, and then you need to get at least two hits on her when she is sniping you.
Beauty Mode
*NOTE: Just turn around and there is the figure by the wall.*
Again, use a shotgun with V Rings and you’ll take her out quick. Just let her move and then shoot. Takes three shots.
You can now comb the battlefield for items, but more importantly you can trigger the various little “flash voices” that should remind you of points from the first game. Mainly, there is a helicopter to the right of the door you need to go through. There are about five of these all around, and no worries about the wolves.
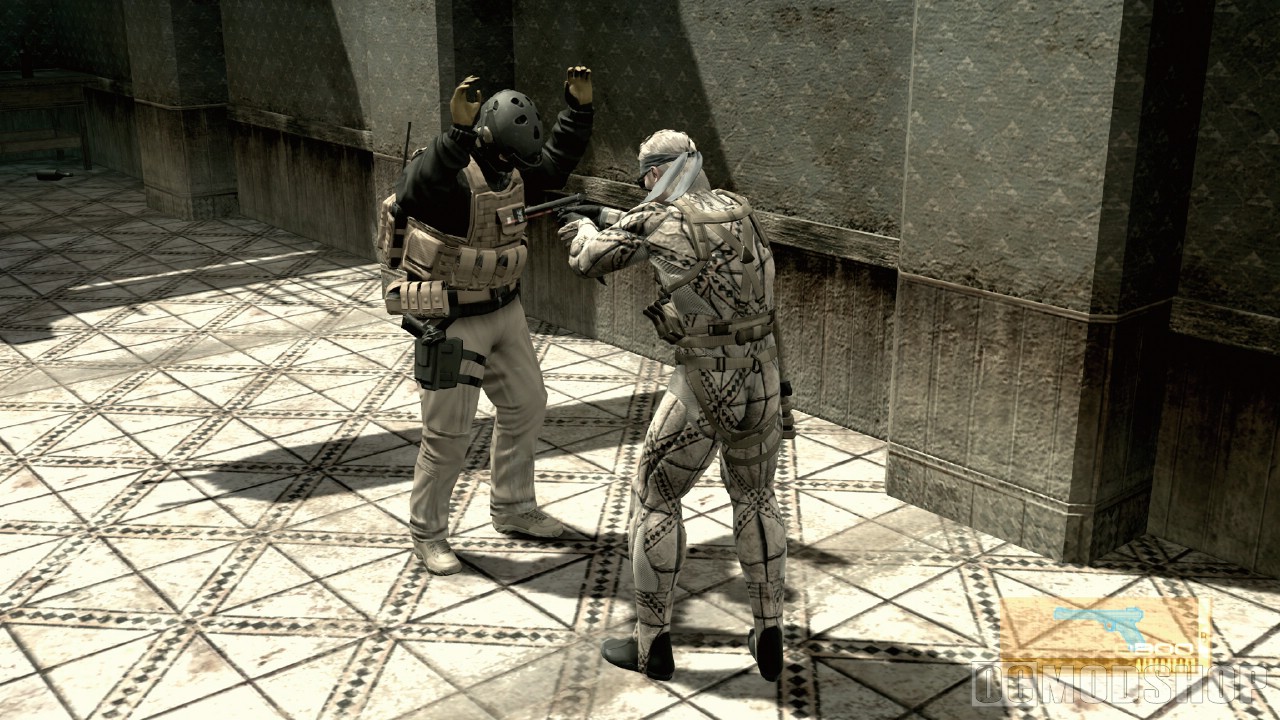
When ready, go in the door, grab the iPod song, hit the funny little scene, and then move on.
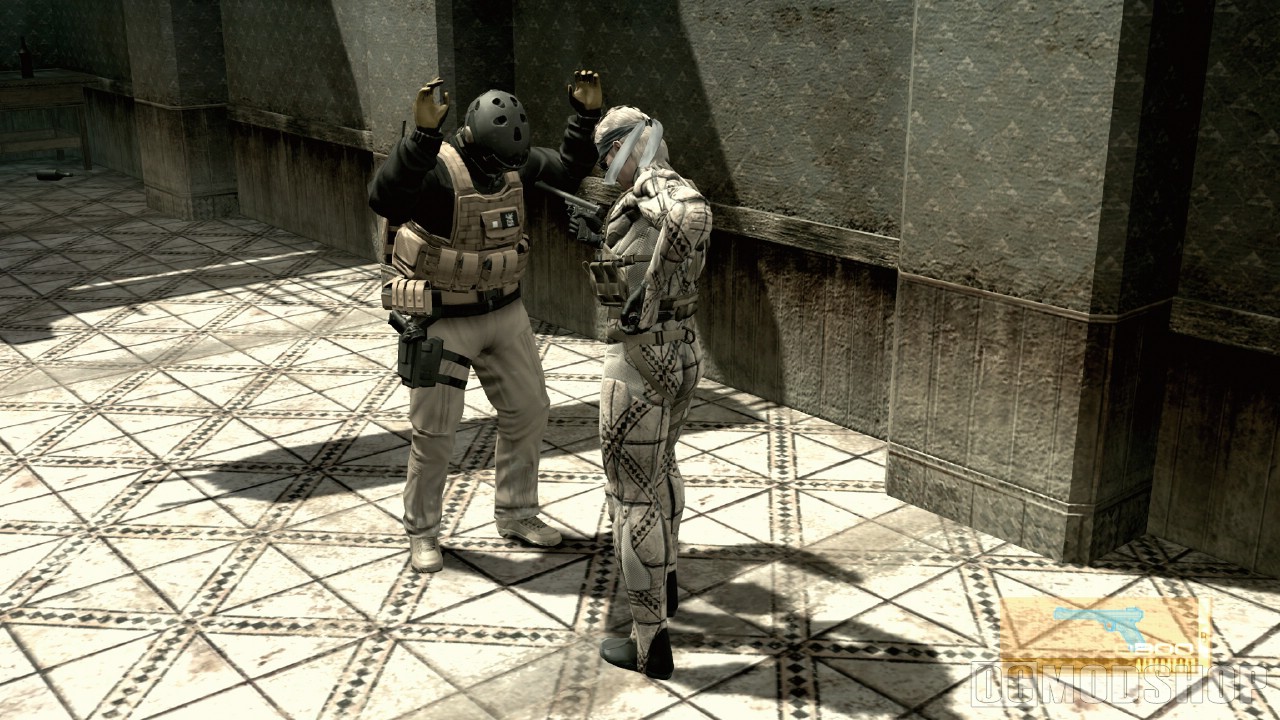
Blast Furnace
This may look intimidating, but it’s hella easy. Just run up to along the walkway to the wall. Hug the wall and then shimmy right to another walkway. Walk by the birds and then you should look below you. Wait for the Scarab to go away and then get to the corner of the railing and the wall. Hang over the rail and drop down, then drop down again and you’ll be right next to the door. Your only option is B5.
Casting Facility South
A Gekko in front of you, but tranqs don’t seem to work. You can just let the thing walk away and then sneak straight ahead. Either side of the room works.
Casting Facility North
Things get a bit more complicated. There are Gekko at both ends of the “conveyor belt” thing, and them numerous Scarabs watching various spots. For one, you are going to be zig zagging around this room. There are lots of ways to get caught, but if you see an opening, just shoot – just like in football, if you see a hole, pass.
So you’re on the left side, right? Well, you need to go right, from the start. Just let the Gekko walk away, sneak to the raised belt, get on, and then sneak to the other side. Get down and then watch for the gang of Scarabs nearby. They just go around the barrels, but they scan a few areas. You can wait behind the barrels if you want, and when the Gekko is looking left or back and the Scarabs are scanning away, sneak to the belt and get on. Quickly crawl into the space on the right side. Should be ammo you don’t need.
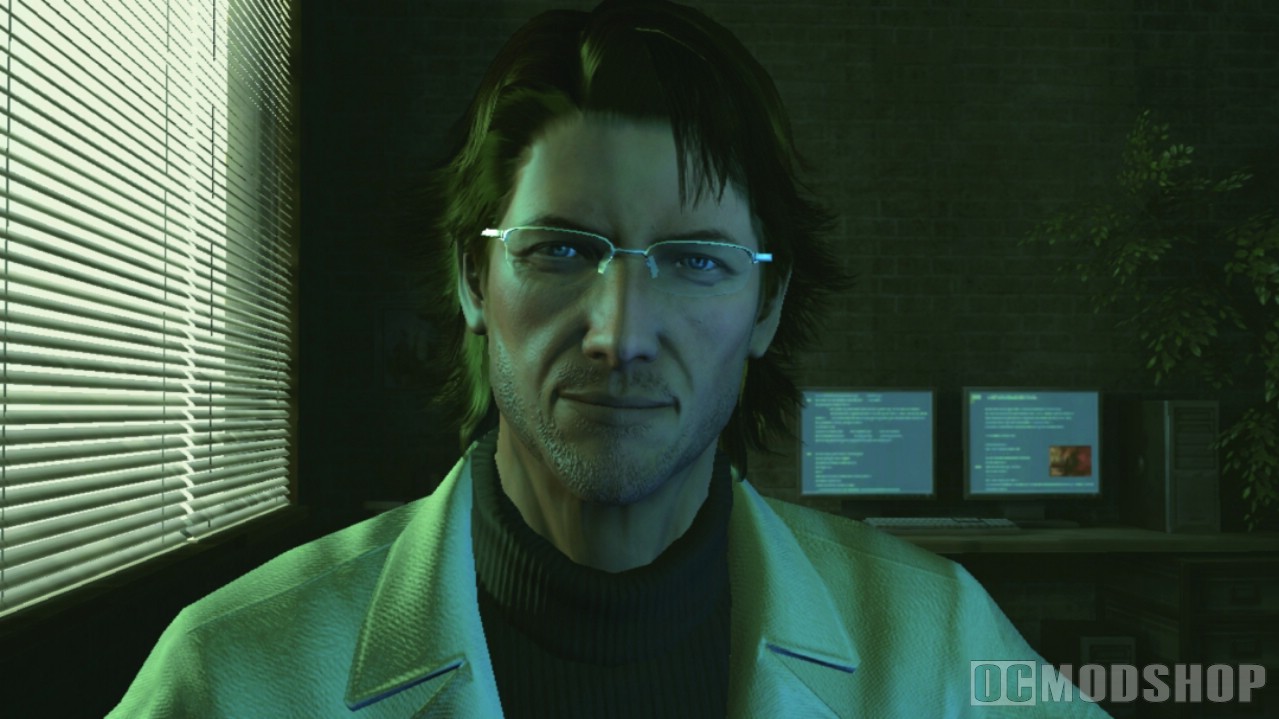
Okay, so you’re to the second half of the room. It’s actually much easier. The door is on the right side. You just wait for the Gekko to be walking away. Come out and look to see where the Scarabs are scanning on the ground, and if they are not looking just hop down and head to the doorway. Glance at the Gekko, but if the Scarabs over the doorway are not in the way, just head through the door. Hop down the ladder, grab the ammo if you need it, and leave.
Underground Base
Move up and crawl through the space. There is a Scarab, but he will roll away soon; watch out for those holes in the floor. Okay, so your bail out card is when you’re about to be spotted you just press over and Tri. to hang off the side of the railing. You want to wait on the bridge, let the patrolling one to make his way back across the bridge, and then get back up. If you go right and up the stairs there are a bunch of supplies. When ready, and hoping you have moved quick enough to keep the patrolling Scarab out of the picture, you’ll notice a Scarab scanning in front of the door. Wait for the beam to look away and then quickly sneak inside the door. If it spots you and you don’t care about the alerts, just run forward to the next door.
Underground Supply Tunnel
BOSS: Vamp
This fight is way easy. For one, you better get a shotgun and the V Rings, or I’m pretty sure anything would do, even grenade rounds, but for the sake of us, just use V Rings. Blast him in the face area until his psyche is down. Then run up to him with no weapon equipped and have the syringe in your items menu. When he gets up, get behind him and hold R1 (the CQC button), and you’ll grab him. There is either the red knife icon for Tri., or the yellow syringe icon. You want the syringe to end the battle.
As far as his attacks, he has quite a few. You mainly want to avoid his daggers when he is spinning on his knees. He tosses three and you can either hide or just run to the sides. He will also run up to you and when he gets close he does a twirling spin kick, so just rolll away when he is close. When he jumps on debris, watch out for daggers as he jumps. At late in the fight he will just toss daggers as he jumps around, so just be ready to roll.
If you for whatever reason have to keep fighting longer, he loses his psyche faster, or maybe it’s just on headshots. Either way, keep blasting and remember: syringe in one hand, nothing in the other, hold down R1 after you down him, and hopefully you get the syringe icon to press Triangle.
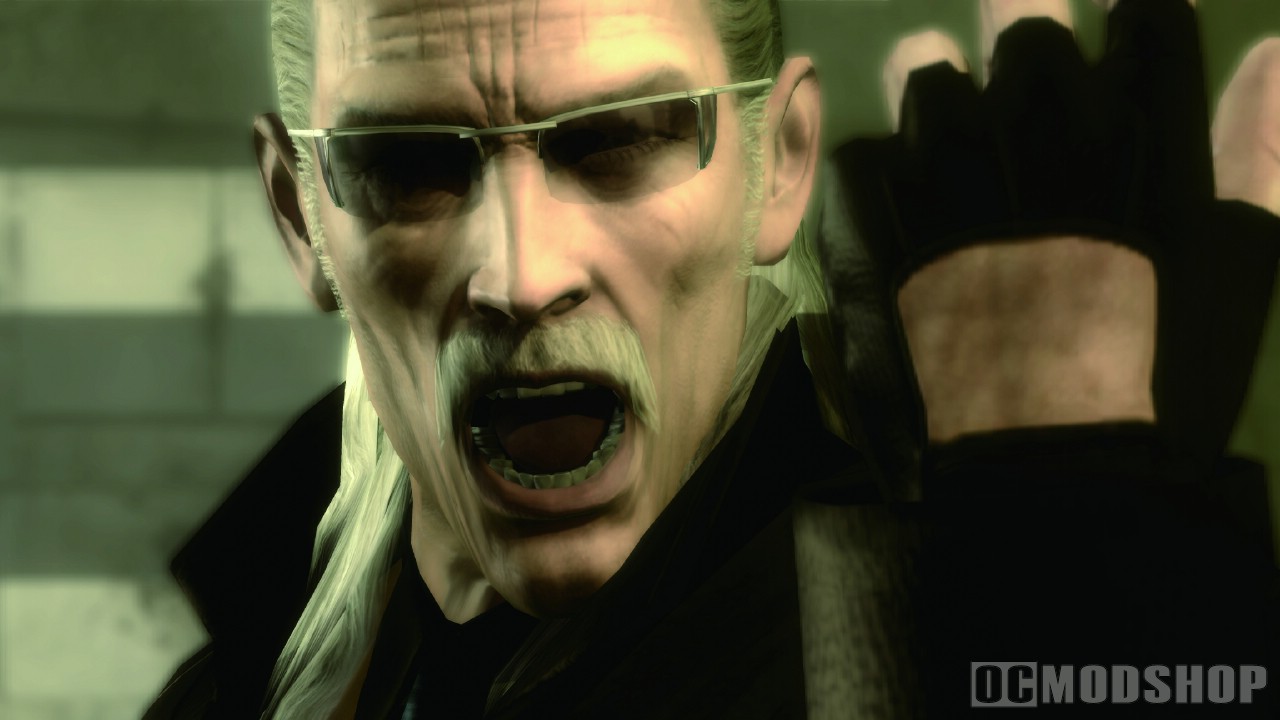
Now is a defensive fight where every bullet counts. The key is to look down the scope. There is a meter in the sight that tells you the charge level, and when the thing is to 3 you are given a one-shot kill. Just stay down the sights, wait for charge level 3, and fire directly into the Gekkos’ heads. Make sure you hit the ones that eventually come from behind, otherwise just stay under REX and wait, you can even check out that cool fight as the gun charges up. There are three items behind REX if you want them, one down a debris path. When the fight between Raiden and Vamp is almost over, so is this sequence. And if you didn’t realize, you need to really put the Gekko that have big timers over them as a priority, duh!
One X press after the… passing, during the cutscene – just die already!
The Escape
Okay, so you need to go straight. You can press L1 to aim, and then R1 to fire. You have three weapons you can select using R2, but there is no need to use the other two right now. You just move and shoot, and when you hit a room that is way crowded, just stop and shoot them down. Be sure to fire in bursts or else you’ll overheat it. You can shoot the side walkways to knock down the ones on the sides.
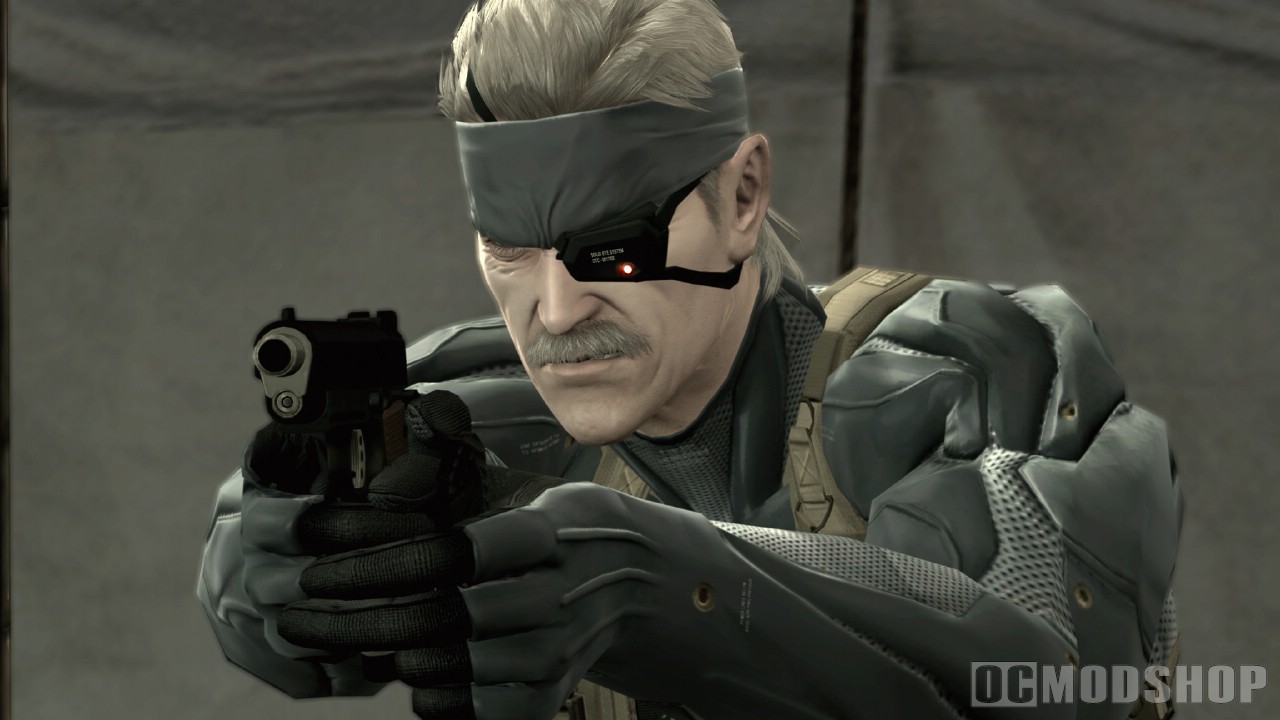
Port Area
BOSS: Metal Gear Ray
Okay, this battle can get hectic, but just stay calm. For one, switch to either the laser or the rockets. Here is how you use them both.
Rockets – just hold the sights over the enemy until you have a few locks, and then fire. You can fire at multiple points on his body.
Laser – aim, hold the fire button, and when charged press the fire button to let the beam fly. You have like two seconds of beam to get a hit. This is the main weapon you want to use as you have more room for error. You’ll run out of power after a while, so switch to rockets for a while.
As far as the fight, well, stay away from him. I found it easy to go to the upper right corner, along the water’s edge, and after all the buildings are gone he will not have many places to hide. You just keep the laser pressure on, and when out of power switch to the rockets.
Don’t bother ramming him, it won’t work. And if he gets you you’ll just have to take it and wait until you can move again. He will at some point launch rockets into the air, and then you need to maybe dodge to one side (press X). Other than that, just keep firing.
I was able to beat him on the first go, and he beat me up to a sliver of health. So don’t give up.

