

Head forward down the hall. As you enter the large room, Ryan will turn out the lights and send you a radio message. While he’s ranting, turn left. On the table next to the Vita- Chamber is an audio-diary (The Vita Chamber). Once the lights come back on, there’s also a Gene Bank, a U-Invent, and a vending machine if you need to stock up.
Ryan is trying to destroy the city: he thinks that Atlas is trying to take control of it from him. Head over to the east side of the room, and climb the stairs up the scaffolding thing. You’ll see a crawlspace on the east wall: head through and drop down into the next room (you’ll have to bash out the grate with your wrench). Grab the two audio-diaries (Mind Control Test and Baby Status) on the on the counter in front of you. Loot the room, and head through the south door. Follow the hallway to the large room at the end – meet Andrew Ryan. When he opens the door for you, walk up to him, and then watch the cutscene. “A man chooses – a slave obeys.” Ryan chooses death – maybe the fact that he chooses it makes it easier for him to accept. You obtain the “Defeated Andrew Ryan” achievement here, worth 30 GP.
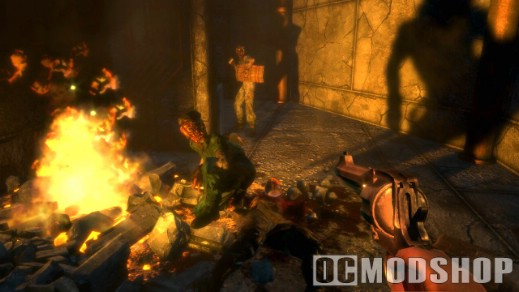
Search Ryan’s desk for a bunch of cash, and then head into the little room with the organ-looking thing and the Ryan Industries logo on the video screen. Use the self-destruct override, and watch the cutscene. It appears that Atlas has been lying to you all this time. Meet Frank Fontaine. Seems that he was using you all this time as a plot to take over Rapture. The door at the back of the room will open for you, and Fontaine triggers an alarm to try and kill you You’ll see a Little Sister calling to you. Follow her, she’ll lead you to a crawlspace back in the hall to the Would You Kindly room. You’ll black out once you’re in the crawlspace, ending the level.
OLYMPUS HEIGHTS
When you wake up, you find that Tenenbaum has sent her little girls to rescue you. While you were asleep she’s undone some of the genetic conditioning that bent you to Fontaine’s will. When she finishes her speech, follow the little sister upstairs and wait for her to unlock the door for you. Head up the stairs and you’ll come to a sewer type area. You’ll get another transmission from Fontaine, trying to get you to kill yourself. When that doesn’t work, he uses a code that slowly makes your heart stop working. Your maximum health will slowly decrease over time until you find the antidote to Fontaine’s mind control. We need to find the antidote at Suchong’s apartment.
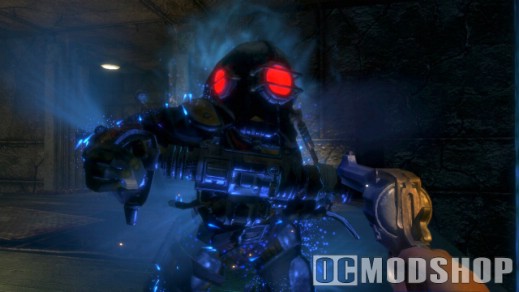
Head to the alcove at the NE corner of the sewer area. You’ll find a wheel glowing gold – pick it up and attach it to the control console by the gate blocking the way out of the sewer. Turn the wheel to raise the gate and head up to the main street area. There’s a little sister patrol route in this area, so watch out for big daddies.
Directly ahead of you as you come up the ramp will be a crashed streetcar with some splicers milling around. Kill the splicers and loot the area for some ammo.
Turn around and head back up to the barricade with the “Who Is Atlas?” posters. As you round the corner, there’ll be a turret shooting at you – when you get a chance, zap it and hack it. Clear out the Bistro Square area. There’s a LOT of splicers, some turrets, and a security camera on the east wall above the bulkhead to Apollo Square, so be careful. When you’re done, check the restaurant in the center of the square – there’ll be an ammo bandito and an audio-diary (Mozart of Genetics) on the counter. On the west side of the square is a Gatherer’s Garden.
Head through the north archway to go to Mercury Suites, where Suchong and some other Rapture notables live. Head down the road – watch out for splicers. There’s a U-Invent machine about halfway down if you have any spare junk.
When you get to the end, head up past the barricade and into the Mercury Suites area. There will be several splicers guarding the entrance, as well as a security camera in the corner to your left. Take everything out, and then head through into the main Mercury Suites area. There will be several splicers, as well as a security camera on the north side of the elevator shaft in the center of the room. On the wall underneath the camera is a Power to the People machine. There’s also a big daddy/little sister patrol route on the ground floor here. Stock up at the vending machine if you need anything.
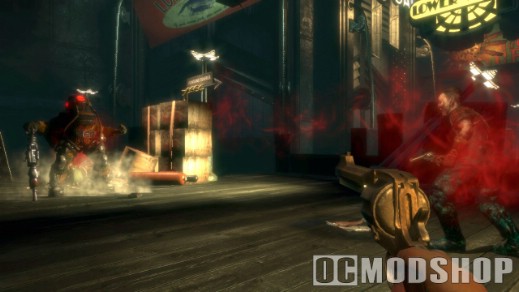
Time to revisit an old friend (and get some achievements). Go through the east door, into Sander Cohen’s apartment. You’ll get a message from Cohen welcoming you to his home and telling you not to interrupt the splicers dancing by the piano – so of course, that’s exactly what we’re going to do. Knock over the record player and kill the two splicers. Cohen will fly into a rage and come out of his secret area to kill you. Take him out, and snap a photo of his corpse to get the “Irony” achievement (10 GP). Walk up the stairs he came down to enter his secret area for the “Found Cohen’s Room” ackievement (10 GP). You can also grab his muse box key off his body, so if you ever head back to Fort Frolic you can find out what was inside of it.
Go through the north door on the main floor to enter Anna Culpepper’s apartment. Head forward into the second room – on a coffee table to your right is an audio-diary (Artist Woman). Turn the corner and zap and hack the security camera. Watch out for splicers. Turn right at the camera and search the kitchen area for loot, and then head up the stairs. There’s some loot in the bedroom area, and in the bathroom there’ll be a splicer crouching over what’s left of Anna Culpepper. Head back out to the main lobby area when you’re done.
Follow the quest arrow into Suchong’s apartment, on the west side of the main lobby.
Head left and down the hall to the dining room once you enter the apartment. Crouching behind the tables there’ll be a splicer with an audio-diary (Fontaine’s Human Jukebox). Head back out to the main area, but continue going straight into the kitchen. There’s a splicer doing something with a corpse on the counter, and some loot.
Follow the quest arrow to the back room. You’ll find a gene tonic (Clever Inventor) and an audio-diary (Mind Control Antidote). Tenenbaum tells you that she stole a sample of the stuff you need, but that Fontaine’s goons might have taken it back to his apartment.
Head back out to the main lobby and up the ramp looping around the elevator shaft in the center of the room. When you reach the second floor you’ll see Tenenbaum’s apartment directly in front of you, but the door has been blocked from the other side, so we’ll have to find another way in.
Go into the apartment entrance on the second floor on the opposite side of the room from Tenenbaum’s apartment. Kill the splicer inside, and loot the room. Head to the left door on the back wall – behind the bed is a safe. If you head back out and into the kitchen you’ll also find some health and ammo. It’s a sad commentary on the state of society in Rapture when the average family is forced to keep stockpiles of napalm in their apartment
Head back out and up the ramp to the third floor. Directly across the walkway to the balcony ahead of you will be a security camera – zap it and hack it. Turn right and continue around the balcony.
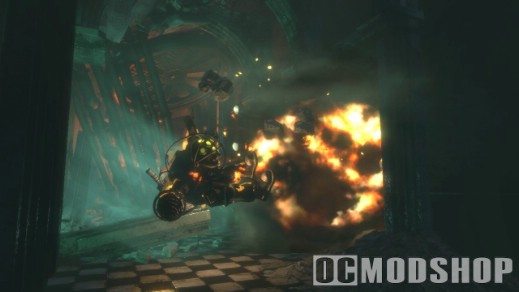
Go into the apartment on the east side of the floor. There’ll be a nitro splicer dropping grenades through the hole in the ceiling down at you. Jump over the furniture barricade and the trapwires ahead, and turn left (watch out for splicers coming down the stairs behind you). Go left in the large room and check out the bathroom (the door at the far end of the left wall). There’s some ammo and other loot (also make sure you check out the corpse in the far left corner of the bathroom). Head up the stairs by the trapwires. Kill the splicer, and search the room for some loot. Head back out to the balcony.
Continue around the balcony. On a storage crate near the U-Invent you’ll find an audio-diary (Fontaine’s Breakup) that has the code to Fontaine’s apartment (5-7-4-4). Continue around the balcony until you get to the giant hole in the wall. This leads you into the bathroom of Tenenbaum’s apartment.
Use your telekinesis plasmid to grab the corpse by the bathtub and drag it through the trapwires to set them off. This’ll let you grab the loot by the tub.
Head down the hall into Tenenbaum’s apartment. Just past the staircase is the library/study area you need to visit – you’ll hear a splicer banging around inside. Kill him and head in, and you’ll get a radio transmission from Tenenbaum updating your objectives. Head down the stairs into the flooded area on the lower floor of the apartment. In the room to the right of the exit door is a turret – try not to use electrobolt on this one as you’ll likely hit the water and electrocute yourself. There’s a safe next to the turret as well. Bash the lock off the door and head back out to the lobby. Kill the splicer and head back down to the ground floor.
Go to the elevator shaft and input the code (5-7-4-4) into the combination lock. Take the elevator up to Fontaine’s penthouse. There’ll be some splicers wandering around, as well as a turret in the center of the room (behind the gigantic rocks) and a security camera above the door at the far end of the room. Kill the splicers and zap and hack the turret and camera. Head through the door and up the stairs.
Turn right at the top of the stairs – you’ll see an audio-diary (Sad Saps) on the coffee table. Search the dining room and kitchen for loot.
Head up the stairs and turn left at the polar bear (not often you get to say that). Check out the nice view from Fontaine’s windows, and then head left into the bedroom and through the door on the east wall. Hop over the trapwires and you’ll find the antidote for Fontaine’s mind control and a gene tonic (Electric Flesh 2). The antidote will restore your hit points, but as a side effect it makes you temporarily unable to control what plasmid you have selected. Every minute or so you will randomly cycle to a new plasmid (even ones which you haven’t yet learned) and you won’t be able to select any new ones. This is pretty annoying, but Tenenbaum thinks you can get rid of it by finding another dose of the antidote, in Suchong’s labs in Artemis Suites in Apollo Square (the next level). Note that you will also be unable to use Gatherer’s Garden or rearrange your plasmids while this effect is active. You will earn the “Broke Fontaine’s Mind Control” achievement for 30 GP when you pick up the Lot 192.
Head through the other door in the office and across the balcony. Enter the door on the other side. There’ll be a turret to your right, on the other side of the bar – just destroy it since you likely won’t have your electrobolt plasmid available. Hack and loot the safe by the pool table and head out.
Go back down to the elevator area – watch out for splicers. Take the elevator down. We’re done with this level, so just follow your quest arrow back to Bistro square. Go to the east side of the room and head through the bulkhead door to Apollo Square, the next level.

