

Ryan will send you a radio message and trigger an alarm as soon as you enter Arcadia. Try to zap and hack one of the bots, this will take some of the heat off of you so you can run. Follow the quest arrow back to Julie Langford’s offices in the Rolling Hills.
Once you’re there, head up to her office on the top floor, and put the vector into the contraption by the window. Ryan is sending some thugs your way, so settle in for a good fight. Follow the quest arrow back down to the front entrance and hit the switch to seal the door. Now you’ve got a few seconds to set up some defenses – use proximity mines, the cyclone trap plasmid, the security system elements you hacked, etc. You can even hypnotize a Big Daddy if you have the plasmid ready.
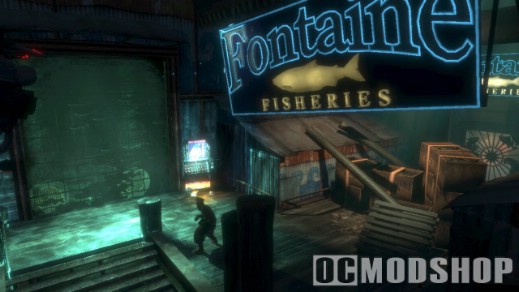
Once the splicers break in, just try to stay alive. You’ll have to keep killing splicers to get the event to progress. About half way through, Atlas will send you a care package of stuff through the pneumo tube by the entrance. When the vector finishes cooking, you’ll get a transmission from Atlas – run back upstairs and hit the switch on the right side of the machine to release the vector back into the forest. This will earn you the “Restored the Forest” achievement for 15 gamer points.
Follow the quest arrow back out to the Rapture Metro entrance, near the door to Langford’s offices. On a bench to your right as you enter is an audio-diary (The Great Chain). Pick it up, head down to the bathysphere, and pull the lever to head to Fort Frolic.
FORT FROLIC
Head on in once the level finishes loading up, and you’ll get a transmission from Atlas instructing you to head to the Metro station directly in front of you down the hallway. There’s a U-Invent and Gene Bank in the alcoves to your left, as well as some gambling and fortune telling machines scattered around. Near the Metro entrance, to the left, are some display cases with health and EVE inside.
Head into the Metro station and walk up to the bathysphere. This triggers an event – meet Sander Cohen, your antagonist for this level. At least you get a respite from Atlas and Ryan’s bickering for a while. Head back out into the main hall.
Once you get out you’ll notice the way back is blocked a LOT of trapwires. Cohen will spawn a bunch of spider splicers, which will come crawling at you across the ceiling – if you’ve still got some spider splicer research to do, now’s the time. Kill them all, and Cohen will open the doors to the rest of Fort Frolic for you. Head on in – stop to stock up at the vending machine if you need anything, and then walk into the main atrium.
Listen to Cohen. He’s waiting for you upstairs in the Fleet Hall, but there’s some optional content to explore here first. You may also find a big daddy/little sister in this area.
First, head to the south end of the atrium, by the vending machine. Zap and hack the security camera, and then continue on into the southern mall. As you walk in, you’ll see some splicers duking it out. Kill them all, and pick up the audio-diary (Come to the Record Store) sitting on the stool by the flaming sign. Check the women’s bathroom for loot (watch out for the turret), and the men’s bathroom for a rather creepy statue. Head back out and follow the hall to the west. There’s a Gene Bank ahead of you if you need to make any upgrade switches. Head into the Sofia Salon (the door on the right side of the hall). There’s some loot, and if you head to the room way in the back there’s an audio-diary (The Wild Bunny) by a frozen guy sitting at an armoire (be sure to check out Cohen’s brilliant poetry in the diary). Head back out and continue down the hall past the Gene Bank. In the corner of the bar up ahead is a security camera – zap it and hack it. Sitting on the bar counter is another audio-diary (Artists’ Feud). Continue heading down the hall – there’s an ammo bandito up ahead. Across from it is the entrance to the Marquis D’Epoque cigar store. Head in, and zap and hack the turret. Head down the stairs – you’ll find a U-Invent machine, and in the other room is a Power to the People machine and another audio-diary (Fancy Cigarettes). Note the code on the ground next to the corpse (7-7-7-4), you’ll need it later on. Follow your quest arrow back out of the south mall to the main atrium.
Head on up the stairs to the upper part of the main atrium. There’s an audio-diary (Stood Up Again) by the trashcan at the top of the stairs, near the entrance to the Fleet Hall. There’s also a Gatherer’s Garden machine up here if you have any spare ADAM.
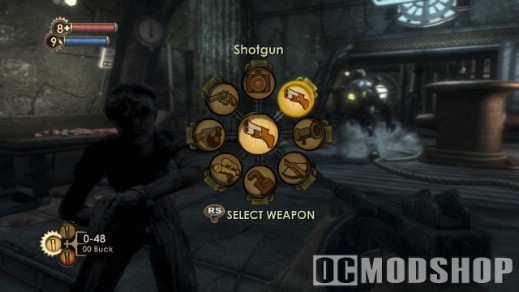
Head into the Cohen’s Collection art gallery, on the south side of the upper atrium. Turn the corner and there’ll be an audio-diary (The Doubters) on a table with some bottles. Head up the stairs and zap and hack the turret. Open up the safes for some loot – this will spawn a houdini splicer behind you. Let the turret take care of him, and head back out to the atrium.
Go through the door into the Fleet Hall. You’ll first head into a concession area with a security camera. Zap it and hack it.
Head up the stairs to your right as you enter the room. There’s a Gene Bank machine halfway up, and at the top of the stairs is a room with a bunch of film, some loot, and an audio-diary (Musical Insult). Sander Cohen is in the room just across the hall, but he won’t talk to you yet or let you in. Head back down the stairs.
Go to the elevator on the south side of the concession area. Pressing the call button will trigger a spawn of a bunch of splicers behind you – let the security system take them out. Go up the elevator, and turn left to enter the main theater area. Watch the scripted event – Cohen wants you to take a picture of the corpse. Snap a photo of the unfortunate pianist, and Cohen will tell you to head back down to the atrium.
At the top of the stairs, near where you entered the theater, is a hall which takes you to the boxes along the sides of the room. Search them for some loot. If you head to the south wing, you’ll find that one of the boxes is locked – the one next to it, however, is not. Head into that one, and then hop over to the balcony of the locked box. You’ll get a sarcastic message from Cohen congratulating you on your athletic prowess, and a free gene tonic (Alarm Expert).
Hop down from the balcony with the gene tonic, and head through the door directly behind you. Following the hallway you’ll get to an area guarded by two turrets. Zap the turrets and quickly run and hack them – in the alcove behind them is a safe. Check out the vending machine – all it sells is film and food, however. You can go through the sliding door across from the machine to get back out to the concession area.
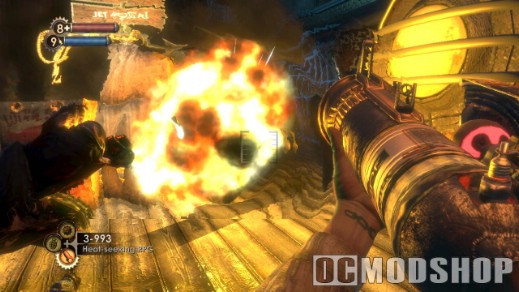
Follow the quest arrow back out to the atrium – Cohen has unveiled his, ahem, “masterpiece”, a statue with four picture frames. Use the statue – this will install the picture you took of Fitzpatrick in one of the frames. It turns out that Cohen wants you to assassinate three more of his enemies, take pictures of their corpses, and install them in the quadtych. If you do this, he’ll reactivate the Metro so you can go face down Andrew Ryan. Your status menu has the details on where to find these guys.
Time to tackle Martin Finnegan. Head up the stairs to the upper atrium, and Cohen will unlock the hall to Poseidon Plaza for you. Head on in. On the left wall a little down the hall is an audio-diary (The Iceman Cometh). Go through the door and turn left down the hall. Finnegan is a Houdini splicer and disappears quickly. You get frozen solid briefly after you enter the hall, but quickly break out. When you do, you’ll see a row of frozen statues – Finnegan is the one on the far left, near the door. Walk up to him and kick his ass when he thaws. He drops a new gene tonic (Frozen Field). Snap a photo, and then head back out and add it to Cohen’s work of art.
Use your incinerate plasmid on the ice piles in the freezer to find some loot, including a new weapon (the crossbow).
Next on deck is Rodriguez. Head back to the tunnel to Poseidon Plaza, and use your incinerate plasmid to melt the ice blocking the door. Head through into the plaza. You’ll be attacked by a bunch of spider splicers – watch the ceiling to see where they’ll drop down. You may also encounter a big daddy and little sister in this area. Stock up at the vending machines if you need anything.
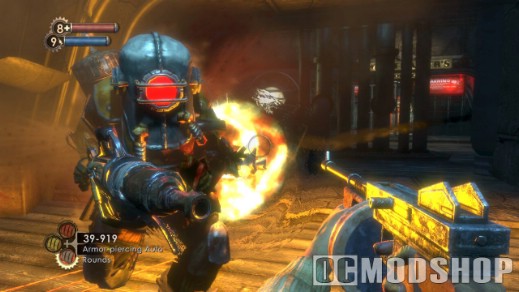
Head to the south end of the main hallway area, into Sinclair Spirits. Zap and hack the security camera in the corner above the entrance hall, and then look behind the counter – you should see a button. Press it to open a door which will let you down into the flooded basement of the store. In the basement you’ll find a safe and a Power to the People machine. The “statue” in the basement here is actually a spider splicer, so kill it. Head back up to the main hall – you’ll notice that the “More Items Downstairs” sign has now lit up, and you can head down the stairs to a flooded area. Head down the second staircase, you’ll come to a large open room. Way back in the corner is a free gene tonic (Extra Nutrition 2) and some other loot.
Turn left past Sinclair Spirits and down the side hall. On the left side of the wall you’ll see the entrance to Robertson’s Tobaccoria. Inside you’ll find an audio-diary (Guns Blazing), and an area secured by a combination lock. The code is 7-7-7-4. Zap and hack the camera inside and to your left. Collect your loot and head back out.
Continue down the hallway to the east, and enter the Eve’s Garden strip club. You’ll see a ghost cutscene as soon as you enter.
Head down the hallway behind the stage. You’ll see another ghost scene, and when you get to the door there will be an audio clip played. When it finishes, the door will open to let you in. Search the room – there’s a safe, some money, and an audio-diary (Pregnancy). Head back out, and you’ll hear Hector Rodriguez shouting drunkenly out in the bar. Rodriguez is a nitro splicer – he’ll take off, running away from you back towards the main Poseidon Plaza hall while tossing explosives at you. Just follow him and shoot him in the back until he dies. Snap a photo and head back to the main atrium to add it to Cohen’s work of art.

Cohen, perfectly fitting his role as the temperamental artist, flies into a rage, and sends a few waves of spider splicers after you. Kill them all. Eventually Cohen will calm down and apologize. Head back to Eve’s Garden in Poseidon Plaza.
On the bar where Hector Rodriguez was sitting is an audio-diary (It’s All Grift). Head through the door next to the bar and go up the stairs. Go through the double sliding doors – there’s two turrets right there, zap ’em and hack ’em. Go straight down the hall to the balcony area – you’re now above the main Poseidon Plaza hall.
Head into the Pharoah’s Fortune casino, directly in front of you. Watch out for the security camera on the second floor – it can see you on the first. Head up the stairs and zap and hack the camera. There’s a bunch of loot lying around, and an audio-diary (Bump Culpepper?) on one of the pool tables. Head back down and out when you’ve got everything. You can also try your luck at the slot machines if you’re feeling lucky. If you hit the jackpot you’ll earn the “Lucky Winner” achievement for 10 GP.
Go into the Sir-Prize Casino at the NE end of the hall. You’ll find a crossbow and some ammo in the corner of the room. Heading downstairs you’ll find an audio-diary (Fontaine’s Army) in a box on the lower floor, and a safe behind the counter. Loot the room and head back up to the upper floor and out into the hallway.
Head into Rapture Records in the NW corner of the hall. Underneath the counter to the left of the entrance is an audio-diary (Ryan’s Stableboy). Hop down to the lower area, by the body in the chair. When you hear the clicking noise start, move away from the body – it’s about to explode. Cobb will start yelling at you from the upper part of the room. He sends some spider splicers dropping from the ceiling to attack you – kill them, and then go into the crawlspace at the SW corner of the room. This takes you back up to the entrance to the store. Walk out the door – Cobb will be standing right there. He’s a nitro splicer, like the other two you’ve killed so far, and not very tough – just watch out for additional splicers wandering into the fight. Snap a photo of the body and head back to the main atrium. If you’ve done all the optional stuff so far you should have already completely explored Poseidon Plaza, so don’t worry about poking around any more.
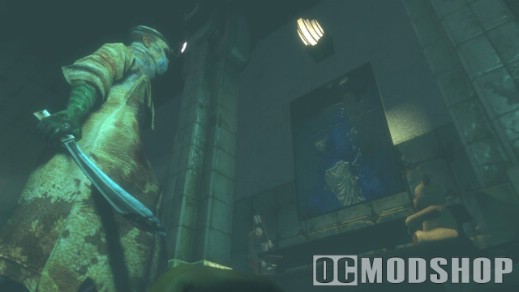
Head back to the main atrium and add your last photo to the quadtych. Cohen will (finally) make his grand entrance down the stairs to admire his work. Sander will thank you for your help and give you a gene tonic (Medical Expert 2) as “a token of our time together.” Atlas will send you a radio message – you can use the Metro again, and he wants you to get moving towards Ryan. Completing the work of art also earns you the “Completed Cohen’s Masterpiece” achievement for 30 GP.
Now, there are several achievements relating to Sander Cohen, but one of them requires you to leave him alive for now. You also need to leave him alive in order to get the achievement for fully upgrading all of your weapons, because one of the Power to the People machines is in his apartment (he needs to be alive in order to let you in). So don’t attack him now, just let him live, we’ll deal with him later.
Head back up into the Fleet Hall, and climb the stairs to the room where Cohen was hiding earlier. The door will be open now, letting you inside. There’s a bunch of film, an audio-diary (Requiem for Andrew Ryan) and a free gene tonic (Electric Flesh). Head back down.
Once you’ve dealt with Cohen, head out of the atrium and back down to the Metro (make sure you go to the right station). Hop in the bathysphere and pull the lever, and off you go to Hephaestus.

