

Turn right at the entrance hallway and head down to the foyer. There’s a vending machine against the east wall to your left – time to spend some of your hard-earned cash. Look behind the receptionist’s desk for a whole bunch of goodies. There’s also an audio-diary sitting on the desk.
Turn around and head to the door to the right of the vending machine, which leads to Emergency Access. Hack the security bot to get through. Take the bot around the corner and you’ll find two splicers arguing. Kill them and head back to the desk at the back of the room, where there’s some health, ammo, and an audio-diary (Adam’s Changes).
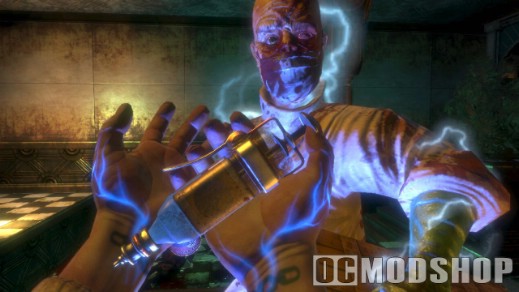
Head up the stairs to the balcony area, and hit the Emergency Access Control switch. Access will be denied, and the door behind you will open. Atlas explains that you need to get the key from Dr. Steinman before you can continue on.
When you flip the control switch, the door behind you will open, releasing a splicer. Kill her, go through the door, and turn left down the hall. There’s a little room at the end with a machine gun and an electrical override switch that returns power to the Medical Pavilion foyer. The door at the back of the room will open and a bunch of splicers will spill out. Unleash your security bot, and head back down the hallway to the foyer.
Take out the splicers on your way back to the foyer, and climb up the stairs at the back of the room. The door to the main area of the Medical Pavilion should now be open. Head on through and follow the hallway down to a door, where there’ll be another ghost scene. Use the door control to the right of the door and head through.
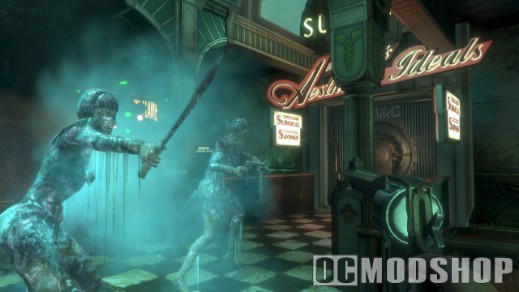
Pick up the audio-diary (Higher Standards) on the wall in front of you. You’re now in the main Medical Pavilion area, which has a number of different businesses and areas. On the other side of the wall, once you round the corner, is a turret, so zap it with electrobolt and hack it. On the right side of the room is a storage closet with another turret for you to hack.
On the south wall of the room (left from the main entrance) is a knocked over directory sign with the names of doctors and businesses on it. On the wall next to it is another audio-diary (Limits of Imagination). There is also another audio-diary (Love for Science) on a crate near the health station in the middle of the main area, and another one (Parasite Expectations) on the desk behind the wall at the entrance to the main area (i.e., directly across from the turret). There is a fourth audio-diary (Vandalism) in the little alcove on the north side of the main area, sitting on a chair next to a vending machine.
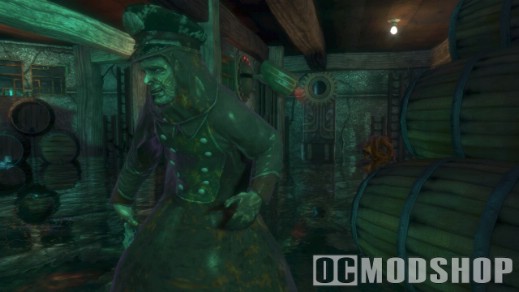
Head to the west end of the room and go through the door marked “Dr. Steinman’s Aesthetic Ideals”. Go through the tunnel and enter Dr. Steinman’s area. Rounding the corner you should see him crouching on the ground muttering to himself, but as soon as he sees you he takes off down the hallway to the right and explodes it behind him, leaving a huge pile of debris. There’s a nitro splicer standing on the balcony above you tossing grenades.
You need to get the Telekinesis plasmid so you can grab a grenade from the nitro on the balcony and use it to blow up the debris blocking your path to Dr. Steinman. There are ads on the wall advertising that the Dandy Dental clinic is giving away the telekinesis plasmid as a promotion, but heading back to the main Medical Pavilion area and finding the Dental Services area (down the stairs right by the tunnel to Dr. Steinman’s area) reveals that it’s completely frosted shut. There’s an audio-diary (Freezing Pipes) at the lower left corner of the ice pile that reveals why.
At the southwest corner of the Dental Services entrance area is a supply closet with a door that’s shorted out. Hit the switch to the left with your electrobolt, and head in to collect your loot.
So we need to find some way to melt the entrance to Dental Services. The name of the crematorium should give you a hint that that’s where we should be looking. The entrance to the crematorium is in the SW corner of the main Medical Pavilion area, so head up there. There should be a lady pounding on the door who soon meets a grisly end. Kill the splicer who comes through the door, and head on in. There’s an audio-diary (Surgery’s Picasso) hanging under the… ahem… “creatively” rearranged photo on display to your left.
Head into the back of the crematorium. There’s a security camera at the south end of the room, near the furnace – zap it and hack it.
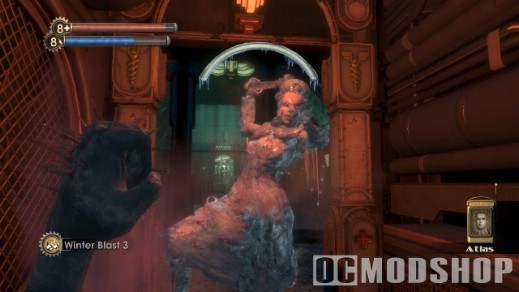
Find the furnace control on the side of the furnace, next to the gurney with the corpse on it. Press it and wait for the body to be cremated. When it comes out, it should have a gene tonic (Hacker’s Delight) sitting in the ashes.
Head up the stairs in the SE corner of the room. Terminate the splicer, and then crouch and crawl through the little hole in the wall next to the jammed doors. Your Incinerate plasmid is on the floor next to the broken Gatherer’s Garden machine. Put it in your empty plasmid slot, and then get ready to use it, as you’re about to be ambushed by splicers. Fortunately for you, they’re stuck outside the storage room, and unfortunately for them, they’re standing in an oil slick. Light the slick on fire.
Head back downstairs and go down to the Dental Services area. Use your incinerate plasmid to melt the ice blocking the entrance, and head on through. Kill the splicer in the entrance area, and head through to the right. There’s a shotgun and some ammo sitting in the middle of the room, but as soon as you pick it up the lights go off and you are ambushed by splicers. Kill them all and the lights will come back on, revealing that you’re in the main lobby for the dentistry area. The business we need to go to for the Telekinesis plasmid is Dandy Dental, at the east end of the lobby. There’s an audio-diary (Useless Experiments) by the entrance.
Head on through into the lobby of Dandy Dental. If you want you can hop over the receptionist’s desk for some goodies. Head into the main area and check out the view from the windows. The plasmid you need is at the broken Gatherer’s Garden machine, at the end of the tennis practice area at the north side of the clinic. Pick it up and equip it – you’ll have to replace one of the plasmids you already have. Personally I’d suggest keeping electrobolt, since it will be useful for dealing with security systems once you get back to Steinman’s area, but the choice is up to you. You can always swap your plasmids out later once you get to a gene bank machine. If you want to practice your telekinesis skills you can activate the tennis machine and practice catching and throwing the balls it launches. There’s also an audio-diary (Testing Telekinesis) leaning up against the tennis machine’s control panel.
Head back out to the Dental Services lobby. There should be some splicers entering the clinic just as you’re leaving – you might want to try getting creative with the telekinesis plasmid to kill them.
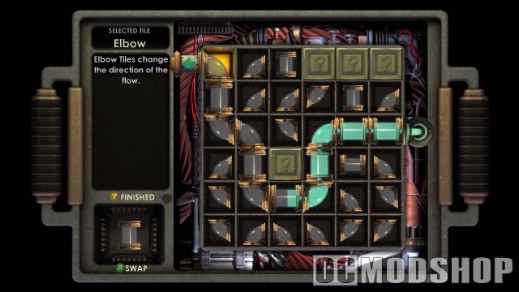
Head southwest past the Painless Dental sign and round the corner. You’ll pass a row of windows which will be shot out by a turret trying to kill you. Hop through the windows (you’ll have to crouch) and either destroy or hack the turret. You can unlock the door to Painless Dental with the control on the north wall. Head through to the surgery room. In the SE corner is a desk with an audio-diary (Plasmids are the Paint) and a gene tonic (Speedy Hacker). On the east wall is a crawlway with a grate covering it. Crouch and whack the grate off with your wrench. Follow the crawlway to a storage room with some nice goodies in it. You can unlock the door with the control on the wall and go directly back out to the main Dental Services area lobby.
Past the windows you went through to get into Painless Dental is another clinic, Chompers Dental. The door to this clinic is also locked. Use your telekinesis power to grab the key off the hook on the wall that you can see through the broken window. Use it to unlock the door and head in. Zap and hack the camera in the left corner of the room. Go through the door on the far wall, kill the splicer, and zap and hack the camera. Hack into the safe under the camera for some nice goodies.
Back near the entrance to the Dental Services area is the entrance to Kure-All. Open the door and head on in, but make sure you have your telekinesis plasmid selected and ready to go. If you practiced with the tennis machine at all, this is where it pays off. As you enter the clinic, turn right. You’ll see a turret launch rockets at you. Grab them with your telekinesis power and fling them back at the turret to blow it up. Go through the door to your left. If there are any splicers in the clinic clear them out, and hack the camera in the far NE corner. In the NW corner of the room with the camera is an audio-diary (Enrage Trial). Along the wall to the left should be a crawlway covered by a grate. Bash the grate in and follow the crawlway to the storage room. On one of the cabinets there should be a new gene tonic (Wrench Jockey). Head back out to the dental services area.
So you’ve got your telekinesis plasmid, time to head back up to Steinman’s area. You’ll probably hear the nitro splicer still banging around up on the balcony. Use your telekinesis plasmid to grab one of the grenades, and then launch it at the debris covering the door that Steinman fled through. This will clear the path for you, allowing you to continue on.
As soon as you enter the hall, there’s an audio-diary (Symmetry) hanging on the wall to the right of the corpse in the wheelchair. Continue on down the hall. The way will initially be blocked by a gate, but Steinman will come running out of one of the side rooms and send a bot after you. A turret also appears out of the floor. The gate opens, and Steinman runs again. Either kill or zap and hack the bot and turret, and continue on. If you check the hole in the wall with water pouring out of it on the left side, you’ll find some ammo and other loot. There’s also a free gene tonic (Static Discharge) sitting by the corpse leaning against the wall across from the hole.
Enter the side room on the right (north) side of the hall. Watch out for the camera at the far end – zap and hack it when you get a chance. Hack the safe under the camera for some nice loot. There’s also some ammo and other items on the desk in front of the camera. On your way out, pick up the audio-diary (Aphrodite Walking) from the cabinet by the surgery table.
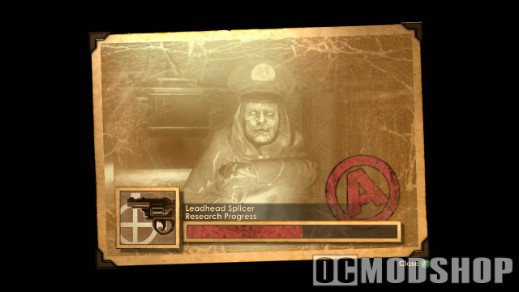
All right, time to put an end to Steinman’s insanity – for good. Head through the doors at the end of the hall and watch the scripted event. Dr. Steinman is basically a Leadhead Splicer with a whole ton of hit points. Other than that he’s not particularly tough or difficult to kill. Anti-personnel ammo is very effective against him. If you have your incinerate plasmid slotted you can also make use of the oil slick behind the operating table to light him on fire. Killing Dr. Steinman earns you the “Defeated Dr. Steinman” achievement for 15 GP.
You should get a radio message from Atlas reminding you to get the key and head back to the Emergency Access area. Search Steinman’s body to get the Emergency Access key, and check the corpse on the operating table for an audio-diary (Not What She Wanted).
Head down the stairs to the flooded area underneath the observation area. There’s a desk with a safe on it which contains some first aid kits.
Follow the arrow back out of the surgery room and towards the main Medical Pavilion area. There should be some splicers coming out to greet you – if you hacked the turret in the hallway it should take care of them without much difficulty. Continue on until you get to the tunnel heading back to the main Medical Pavilion area.
Heading into the tunnel you’ll hear the door leading to the main area collapsing, blocking you in. Thankfully the other door on the north side of the tunnel (which was previously blocked) has opened up. Head on in – you should be just in time to see a Bouncer get blown through the window and land in a flaming heap on the floor. Head through the door and watch the cutscene – Atlas wants you to kill the little sisters, while Tenenbaum wants you to rescue them. Harvesting her will give you 160 ADAM, while rescuing her will give you only 80. However, if you rescue several little sisters, Tenenbaum will send along a care package with 200 ADAM and some other treats (note, however, that you will still gain more total ADAM from harvesting than rescuing the girls). The choice is up to you, and has storyline consequences down the road, about which I’ll get into more detail in future versions of this guide.
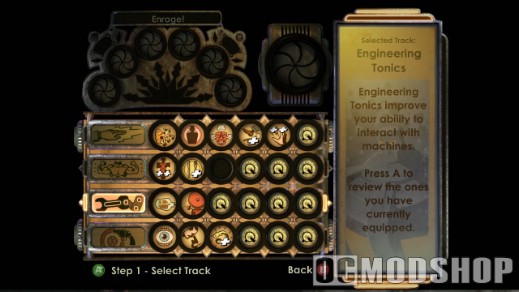
Atlas encourages you to visit the next Gatherer’s Garden machine you find to pick up some new Plasmids, and lo and behold, one appears at the north end of the room. Time for some shopping. This GG sells the Enrage plasmid, armored shell and EVE link gene tonics, and maximum health and EVE upgrades. There’s also an audio-diary (Gatherer Vulnerability) on the floor next to the GG machine. Pick out which upgrades you want and head through the door on the east side of the room.
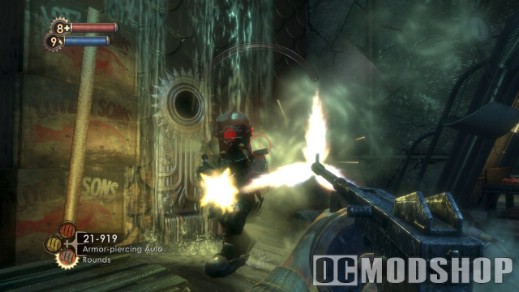
This takes you back out to the main Medical Pavilion area. There may be some respawned splicers wandering around. Head back to the east end of the room. On the way to the foyer, you will encounter another little sister and big daddy. This one is a Bouncer – the melee type with the gigantic drill on his arm. If you hacked the turrets in this area earlier, try to fight the big daddy where the turrets can shoot at him. Use whatever explosive or armor-piercing ammo you have, and try to keep him at a distance. Be generous with the use of first-aid kits as well. 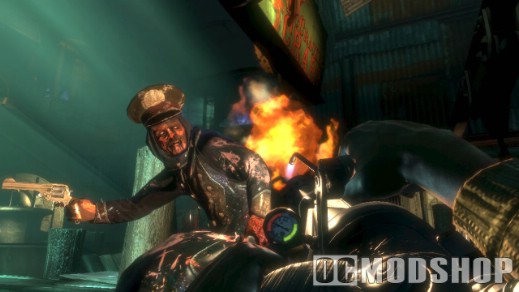
When you’ve killed the Big Daddy, rescue or harvest the Little Sister. You can head back to the GG machine in the lounge and pick up some new upgrades. Otherwise, head back through the doors at the east end of the main area and down into the foyer.
Head down the stairs and through the door to emergency access at the far end of the room, killing any splicers you see. Go back up to the emergency access control switch and flip it using Steinman’s key. The door opens up, revealing a bathysphere. Hop in, pull the lever, and head off to Neptune’s Bounty.

