

Start out down the tunnel, and grab any loot you need. Ahead of you is a flooded area with a Vita-Chamber and a Gene Bank machine if you need to switch your upgrades around. Continue to the end of the flooded area and up the ramp. There’ll be a turret shooting at you from behind some crates – zap it and hack it. Grab the audio-diary (Meeting with Fontaine), and continue on down the other ramp. This takes you to a ledge with a view of the submarine, where’ll you get a transmission from Atlas asking you to press the switch to open up the submarine. Head on in to the control room ahead of you and do so – you’ll have to jump over some debris and bash a lock off of a door to get there.
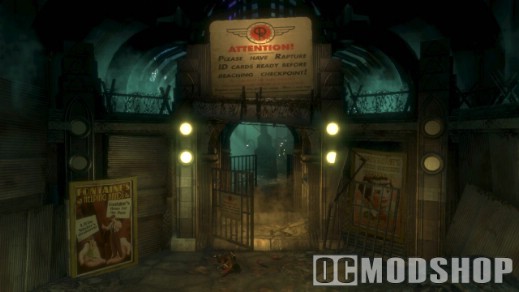
This triggers an event – eventually Atlas will tell you head down to the sub. Follow the quest arrow down, but watch out for splicers.
After you head down the second set of stairs there’ll be a locked gate to your right. Bash open the lock. Inside you’ll find an audio-diary (Kraut Scientist) and some ammo and other goodies. If you look underneath the stairs you’ll see some money – it’s just out of reach, but you can grab it with your telekinesis plasmid.
Continue on into the submarine bay. You’ll get there just in time to see it explode, sending Atlas into hysterics. Time to get the hell out of here. Follow the quest arrow through the door with the flashing red lights. Immediately inside the door you’ll find a broken crate with some loot and an audio-diary (Offered a Deal). Pick it all up and head down to the end of the hall. There you’ll find a bulkhead door leading to the next level – Arcadia. Told you this one was quick.
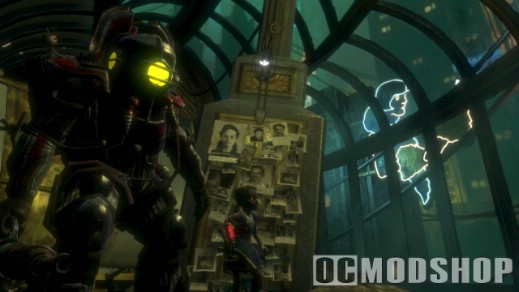
ARCADIA
In this level you’ll start picking up a lot of random junk for use in U-Invent machines.
Head down the hallway, past the Vita-Chamber, and up the stairs to the door, jumping over/crawling under debris as needed. Bash the lock off the door, and head on through. Wow, trees! Been a while since you’ve seen those. Turn left and head across the bridge – on the north wall you’ll find several doors. Near the leftmost door is a park bench with an audio-diary (Seeing Ghosts) next to it. You’ll hear someone shouting for help in the background – ignore him for now, it’s just another splicer.
Directly across from the entrance is a door with two torches on either side, one lit and one not. Use your incinerate plasmid on the torch that’s not lit to open the door. Inside you’ll find a TON of ammo and other loot.
The two leftmost doors are marked Arcadia Glens, head through one of them. This leads to an antechamber area before the entrance to Arcadia Glens, which is unfortunately completely blocked off by debris. There is, however, a ghost cutscene and two audio-diaries – next to the park bench on the left side of the room (Big Night Out), and next to a chair and knocked over table on the right side of the room (Mass Producing ADAM). Head back out when you’ve got them.
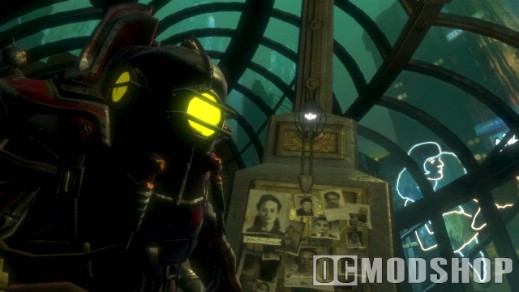
Head through the rightmost door, marked Rapture Metro/Arcadia Glens. This is where the shouting you heard earlier is coming from, from a Houdini splicer. This is the first time you will have encountered these guys – they are fairly nasty, since they can teleport, turn invisible, and shoot fire. Grab some photos when he’s visible, and then just follow the blurry area around and shoot him when you can.
Going straight ahead from the entrance will take you to a small flooded area with some loot. Head back like you’re going towards the entrance, but turn left instead, following the sign to the Metro. Go past the stairs and you’ll find another room with some more loot (make sure you check out the table with the mask on it).
The splicer will lead you up the stairs to the right of the entrance, up to a gardening supplies storage area. Finish him off, and then check out the table to the right – there’s an audio-diary (Arcadia Closed) with a Gene Bank next to it.
Check the crawlspace directly across from the audio-diary for loot. You should see “Who is Atlas?” posters inside
Head into the other crawlspace on the south side of the room for some more loot. Going in here will trigger a splicer spawn in the storage room behind you, so be careful when you come out.
Head through the door marked “Rapture Metro”. This will take you to a balcony above the Arcadia Glens antechamber area where you found the audio-diaries earlier. There’ll be a splicer on a balcony across the open space shooting at you, and another one on the balcony you’re on. Kill them both. You can use your telekinesis plasmid to grab some spare ammo from the balcony across the open space, or to loot the corpses over there.
Continue through the door at the end of the balcony. You’ll enter a room with several splicers and a turret. Move forward into the room so you’re out of the line of sight of the turret, kill the splicers, and then zap and hack the turret. Stock up at the vending machine if you need anything.
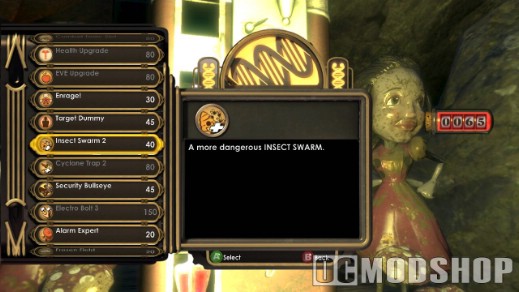
To the left of the door where you entered is a shorted-out door. Hit the switch with electrobolt and head in to grab some loot. Head back out.
Go through the door marked “Employees Only”, in the SW corner of the room down a little hall by the stairs. You’ll see a splicer walk around the corner and get pwned by one of the electric crossbow trapwires (you’ll get to use these yourself later on). Take note of what happens to him – make sure it doesn’t happen to you. Jump over or crawl under the wires to grab the loot in this room. You can also use your telekinesis power to throw objects through the wire, which will set them off. Way in the back is another crawlspace protected by a trapwire – head in to find a bunch of ammo and a safe. Another crawlspace door in the back takes you out to the main room.
Head down the stairs down the hallway in the SW corner of the room, kill the splicer, and keep moving forwards, following the signs towards the Rapture Metro. Turning the corner, you’ll find you are at the entrance to Arcadia Glens, only on the right side of the barricade this time. Head through the door and enter the Glens.
Turn right as you enter. Ahead of you will be your first U-Invent machine. Walk up and use your junk to make some nice loot for yourself.
Head down the stairs by the U-Invent machine, into the flooded lower concourse. Turning left you’ll find a corpse and a small alcove protected by a trapwire that both have some crafting junk on them. Head back up. You can continue on down the concourse now if you want, but we’ll be heading back later anyway.
Head left from the entrance to Arcadia Glens. You’ll come to a small area with a Gatherer’s Garden machine and, conveniently, a big daddy/little sister. Take out the big daddy (you’re literally right next to a Vita-Chamber, so it shouldn’t be too difficult) and harvest/rescue the little sister.
Head through the door into the Rolling Hills. There’ll be a splicer and an RPG turret waiting for you – zap and hack the turret and let it kill the splicer. You can hop up the waterfall to a ledge with some extra loot. If you look at the map, you’ll see that there should be a passageway to another area – it’s blocked now, but don’t worry, it will open up soon. There should also be a big daddy/little sister patrolling through this area – drag it back to where you hacked the turret and take it out. Near the stairs heading out of the area there’s a park bench with an audio-diary (Shouldn’t Have Come) next to it.
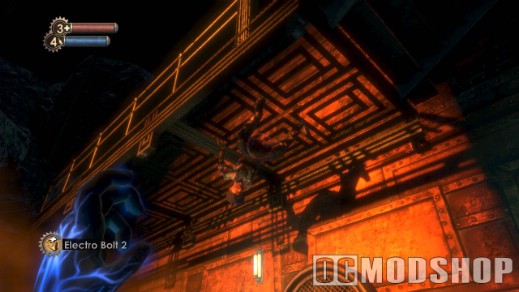
Head down the stairs and keep following the quest arrow towards the Rapture Metro. Whoops, this triggers an event – Ryan’s trying to kill the forest. Atlas asks you to find Julie Langford, the lady who grew the forest, and ask for her help to repair it. Thankfully you’re right next to her office. Head through the Research Laboratories archway and zap/hack the camera (it’ll come in handy later on). If you turn left and go down the hall there’s an Ammo Bandito if you need to stock. Head through into the offices – you’ll get a video transmission from Langford at the entrance. She wants you to head back to Waterfall Grotto to grab a sample of Rosa Gallica. Follow the quest arrow back out to the hills, but watch out for the splicer who will charge you. Try to drag them back to where you hacked the security camera to trigger an alarm. Keep following the quest arrow back to Waterfall Grotto.
When you get to the stairs heading up in the lower hills you’ll see a Houdini splicer standing by the entrance to a cave which was previously blocked. Follow him in and take him out. Right by the entrance is an audio-diary (The Saturnine). Search the room for other loot.
Once you go up the stairs, the other area that was blocked off earlier has opened up as well. It’s another Saturnine cave with a Houdini inside. Kill it and search the room to find some crafting junk.
Once you get to the Waterfall Grotto for the second time you’ll see a bunch of splicers standing over the corpse of a Houdini. Kill them all – there’s a free gene tonic (Security Evasion) by the body. Head down to the lower part of the grotto, by the water wheel – the roses are growing on a bush right by the wheel. Picking one up will trigger a spawn of splicers coming down the stairs behind you. If you hacked this room’s security system earlier they’ll take care of them no sweat.
Follow your quest arrow back all the way back down to Julie Langford’s office. She’ll ask you to send the rose through the pneumo, and then opens up the door for you, letting you into her office. Immediately inside you’ll find a free gene tonic (Hacking Expert) on the desk and an audio-diary (What Won’t They Steal) on the floor. Turn right and head on up to Langford’s office. She’ll turn off her security system so it doesn’t attack you. Grab an audio-diary (Teaching an Old Hound) off a desk in the next room. There’s a vending machine, a U-Invent, and a Gene Bank in the room after that. Follow the quest arrow to the tunnel, which takes you up to Langford’s office. She unfortunately meets a gruesome end as soon as you get there – note the code she paints for you on the window as she dies (9-4-5-7). Wait for the gas to clear and then head into the room through the side door. Grab the chemical launcher (new weapon) off her desk, and search her body for an audio-diary (The Lazarus Vector).
Use the code on the safe in the back wall, behind the painting – it contains another audio-diary (Lazarus Vector Formula) and the key to get into the Farmer’s Market area, which is where we’re headed next. The diary gives you a shopping list of stuff you need to get to create the Lazarus vector, which will bring all the trees back to life. Once you’ve collected it all, you need to go to a U-Invent machine to craft the vector, and then bring it back to Langford’s office to release it into Arcadia. That’s still a long way down the road, however.
First for the chlorophyll – usually whenever I played through this part I had already collected the chlorophyll I needed by the time I got the formula. One of the audio-diaries in Langford’s office suggests that the Saturnine have been stealing it, however, so if you still need more try killing splicers (especially the Houdinis with the weird masks) and searching their caves in the Rolling Hills.
The other two items (distilled water and bee enzymes) will take a little more effort to get – we need to go to the market area of town to get them. Head back out of Langford’s office, but watch out, since there will be splicers and the security system is also now active. Try to hack all of the security elements you can instead of destroying them – you’ll need them later on. Once you get back to the Rolling Hills you’ll get a transmission from Atlas telling you to head to the market to look for the other ingredients. Exit the Rolling Hills where you entered and then immediately turn left to enter the Tree Farm (watch out for the security camera). There’s an audio-diary (Arcadia and Oxygen) leaning against a crate just inside the entrance.
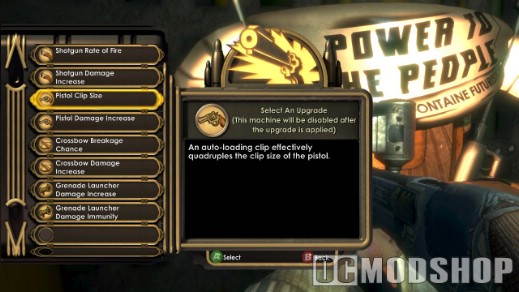
Head south down the wide hall and turn left at the end – there’ll be a weapon upgrade machine on the wall to your left as you turn the corner. Keep following the quest arrow east. At the entrance to the Farmer’s Market area you’ll find another Saturnine (Houdini) splicer with chlorophyll. Head through the archways and pick up the audio-diary (Maternal Instinct) on the stairs. Head on through past the sign, and you’ll reach the bulkhead door leading to the Farmer’s Market. We’re leaving the Arcadia level for now, but we’ll be back soon.

