

Head up the stairs from the bathysphere – stop at the vending machine if you need anything. Go through the door and head down the tunnel. It doesn’t matter which way you go, they both lead to the same place. When the two tunnels rejoin each other you’ll see a couple of splicers doing… something to a corpse. Kill them and loot them.
Head through the door and down the stairs. You’ll come to a larger room with some broken pipes. Directly ahead is a corpse with a chemical launcher, and some splicers. Head up the stairs – there’s a turret immediately behind the wall you’re facing as you enter the room. Zap it and hack it, and go over to the vending machine by the broken pipe. The crate by the vending machine has an audio-diary (Ryan Takes F Futuristics) and some other loot. Hit up the gene bank in the SE corner of the room if you need to, and then head through the door leading to the “Office of Andrew Ryan”.
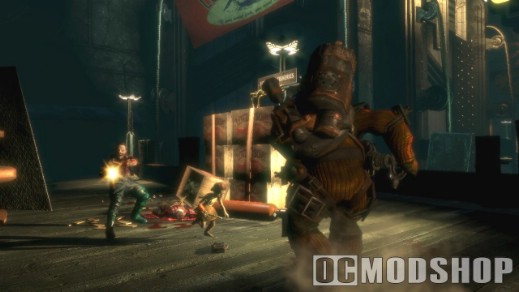
As you enter the next room, turn left immediately – you’ll see a vending machine and a Vita-Chamber. On the ground between them is an audio-diary (Scoping the Gate). Pick it up, and then grab the grenade launcher on the table in the middle of the room. Continue southward, around the corner, and zap and hack the security camera. There’s a U-Invent machine here if you’ve got any spare junk.
Head through the door underneath the security camera and down the hall. You’ll enter the antechamber to Ryan’s office, where he keeps the corpses of people who have crossed him in the past. Charming. Check out the door to Ryan’s office – it’s sealed shut by some kind of electrical contraption. Search the corpses hanging on the walls. There are audio-diaries on the first corpse hanging on the right (Stopping Ryan) and the third corpse hanging on the right (Going to Heat Loss). The second diary contains a hint on how to get into the office. It triggers an audio transmission from Ryan and updates your goals. Ryan then sends in a bunch of splicers to attack you. Kill the splicers.
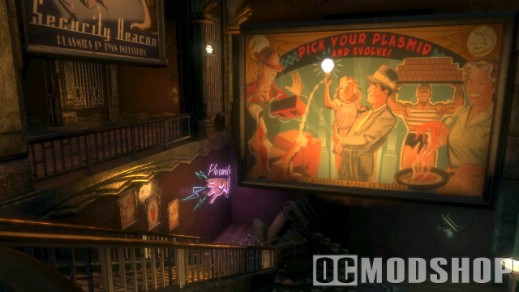
Head into the small side room on the south side of the trophy room. On the desks ahead of you you’ll see an audio-diary (A Man or a Parasite) and a new gene tonic (Frozen Field 2). There’s also a safe underneath the desk, and some loot scattered around the room.
So now we need to go to Heat Loss Monitoring to try to find a way to break into Ryan’s office. Head through the other door on the south wall of the trophy room (the one you didn’t enter through) and continue down the hall. You’ll come to a flooded room with some splicers standing around a corpse of a big daddy. Use your electrobolt plasmid on the water to electrocute them all. Loot the bodies and head through the door to the Hephaestus Core at the end of the room. Go down the tunnel and through the door taking you to the core.
You’ll walk onto a balcony with a nice view of the entire core. Basically this area has a bunch of walkways circling around the core, with a TON of splicers wandering around. Be careful. You may also find a big daddy/little sister patrolling around in this area.
Head through the doorway to your left, and kill the splicers. At the end of this hall, near the Vita-Chamber, is an audio-diary (Fontaine’s Legacy) and some loot. (Is it just me, or does McDonagh sound EXACTLY like the GEICO gecko?) Anyways, turn around and head down the stairs behind you. Turn around at the bottom of the stairs, kill the splicers. In the alcove ahead of you is a security camera and desk with an audio-diary (Running Short on R-34s) on it. Zap and hack the camera and grab the diary. Continue on down the walkway, you’ll come to an area with a safe and some other loot. Turn back and head down the stairs nearby. You’ll come to the entrance to Heat Loss Monitoring.
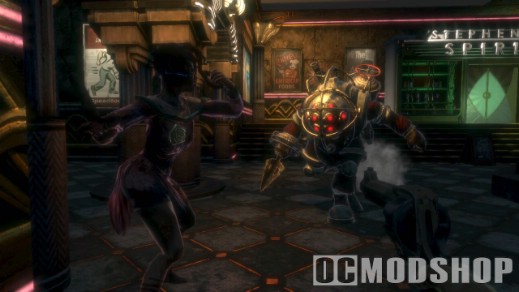
Turn around at the bottom of the stairs and follow the other staircase (behind the big column thing) down. You’ll come to an area with a spider splicer, a vending machine, and an audio-diary (Impossible Anywhere Else). Kill the splicer, grab the diary, stock up, and head back up to the Heat Loss Monitoring entrance.
In the alcove across from the entrance is a houdini splicer and a broken vending machine. You can still use the machine, but it will just spit out a live grenade, so make sure you jump back.
Head up the stairs directly ahead, past the alcove. There you’ll find a Power to the People machine, a Gatherer’s Garden, and an audio-diary (Assassin). If you continue down the next set of stairs it takes you to the Geothermal Control area. Head back to Heat Loss Monitoring when you’re ready.
Head through the Heat Loss Monitoring door, down the tunnel, and into the entrance. Walk forward. The lights will go out and whoops, the corpses weren’t corpses (seems to be a recurring theme in this game). Keep moving towards the door at the end of the hall – three of the bodies will jump up and attack you. Kill them, and you’ll get a taunting message from Ryan. Head on into Heat Loss Monitoring.
Down the hall to your left is a vending machine. Down the hall to the right is an audio-diary (Kyburz Door Code) and some loot. The diary tells you that the code to get into Kyburz’s office is Australia Day (which, in case you’re wondering, is January 26 – so the code is 0-1-2-6). Both halls meet up again at a staircase heading down to lower Heat Loss Monitoring. There’s also a big daddy/little sister patrol route in this area.

Head down the stairs to the lower area – watch out for the corpse ahead of you, he’ll jump up and attack. Once you get down, head to the balcony over the flooded area and watch the ghost cutscene. Head to the lower area on the west side of the room. On the desk is an audio-diary (Getting a Break) and a free gene tonic (Security Evasion 2). Grab the diary and your objectives will update.
Head up to the Gene Bank in the raised area and slot in your Electric Flesh tonic (if you have it). This will increase your electricity resistance enough to let you hop across the electrified flooded area to the desk in the far left corner. There’s some ammo and an audio-diary (Genetic Arms Race) on the desk.
Follow your quest arrow back up to the main core area, and then up the stairs to the Workshops area. Go through the Workshops door, down the tunnel, and into the main Workshops area. Kill any splicers you find. There may also be a big daddy/little sister in this area.
Go down the hall to your right as you enter the Workshops. There’ll be a splicer and a turret. Kill the splicer, zap and hack the turret, and loot the room. There’s a bunch of stuff in here, including a U-Invent machine, some ammo, and a safe. There’s also a gigantic banner advertising Australia Day and giving the date (another hint as to the code for Kyburz’s office). Head back out.
Hit up the bandito and the vending machine in the corner if you need anything, and then head down the stairs next to them. When you turn the corner you’ll be at the entrance area to Kyburz’s office – there’ll be two turrets shooting at you. Zap and hack them both. We’ll skip Kyburz’s office for now since we need to head back there later anyway.
Head into the little room by the foot of the stairs. There’s a Gene Bank machine, some loot, and an audio-diary (Device Almost Enabled). There’s also a crawlspace behind the desk with some loot in it.
If you look on the wall beneath the left turret you’ll find a darkly lit crawlspace door. Opening it will take you underneath the stairs, where you can find some loot and an audio-diary (Market Maintenance Code). This gives you the code for the area locked with a combination lock WAY back in the Farmer’s Market (it’s 0-5-1-2).
Follow the quest arrow down the hall. You’ll encounter a relatively undamaged corpse – on it is an audio-dairy (The Dream). Way in the back of the room you’ll find a bloodstained crawlspace door – open it and head on in. Inside you’ll find some loot, a gene tonic (Damage Research), and an audio-diary (Assembling the Bomb). Great, another collection mission. The audio-diary gives you a list of stuff we need to get to put together the EMP bomb. These items are scattered around the Hephaestus core area.
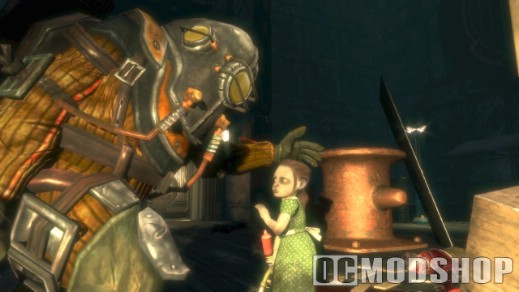
Nitroglycerine charge: Found in Kyburz’s office (see below). 2 cans of ionic gel: scattered throughout the level. They look like tanks of chemicals for the chemical launcher, but will be glowing gold. 4 R-34 wire clusters: these are found on the corpses of big daddies. You can check the bodies of big daddies you’ve already killed to find them – they should be glowing gold.
Let’s get the nitroglycerine charge first. Head back out down the hall, back to Kyburz’s office. You can get your first R-34 from the dead big daddy right outside the entrance to the crawlspace. Once you get to the office, input the code into the combination lock (0-1-2-6) and the door will open. Unfortunately, the room is heavily booby-trapped with electric trapwires. Use your telekinesis plasmid to pull the trapwires out of the wall and disarm them (thanks to Nitramuse for this tip).
Head down to the desk in the lower area, and press the button on its side. The door covering the nitroglycerine charge (on the south side of the room) will open up. Unfortunately this also activates a turret back near the entrance. Zap it and hack it, and then grab the nitroglycerine. There’s also a weapon upgrade machine right across from the nitroglycerine charge and an audio-diary (Great Chain Moves Slowly) on the desk.
Head back out of the workshops – time to get your ionic gel. There’s a lot of the stuff scattered all over the Hephaestus core, but you can get the two you need conveniently located right outside the Workshops. Head back through the tunnel taking you back to the main Hephaestus core area. Turn left and head down the stairs – there’s an ionic gel behind the crates right at the foot of the stairs. Head past Heat Loss Monitoring, up the stairs, past the Gatherer’s Garden, past the door to Geothermal Control and up the stairs, and you’ll see your second ionic gel sitting on a console on the left wall.
The last item you need is the R-34 wirings, which can only be found on the corpses of big daddies. You’re own your own here – retrace your steps and find the corpses of the daddies you’ve already killed. They should be glowing gold and each have an R-34 wiring on them. If you don’t have enough, hunt big daddies until you do – they patrol through the main core area, the Heat Loss Monitoring area, and the Workshops area.
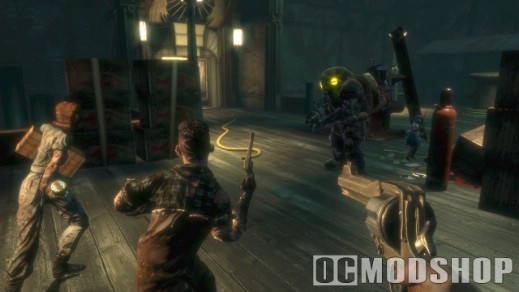
Once you’ve got everything you need, follow your quest arrow back into the workshops and down into the secret EMP bomb room. Use the EMP bomb three times to install everything into it, and it will start humming and whirring. Pick it up and you’ll get a transmission from Atlas telling you that you need to attach it to the core (destroying the power supply to the locks on Ryan’s offices). Follow your quest arrow back out to the main Hephaestus core (watch out for respawned splicers). Turn right once you get to the core, head down the stairs, and keep going straight (following the walkway) until you get to the entrance to Geothermal Control.
The room’s entrance splits into two paths, both of which lead to doors to the next room. There are two turrets in this room, one diretly down the hallway from each entrance. It’s best to zap and hack them. You’re going to be attacked, and you’ll need all the help you can get. Atlas explains what you have to do – set up a defensive perimeter to beat off Ryan’s goons, and then turn the valve on the center ramp area to reroute the flow of magma. Here’s your chance to make use of some of the more specialized ammo and plasmids you’ve picked up through the game. Use trapwires, proximity mines, and your cyclone trap plasmid to block off the entrances. Note that you can find some extra mines in the container right behind the valve, near the elevators. The turrets you hacked will also help you out a ton.
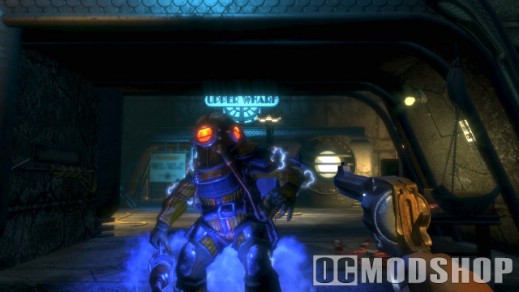
When you’re ready, start the event by turning the valve highlighted in gold. Splicers will start coming in through the entrances – let your security system kill them, keep turning that valve. Eventually you’ll turn it all the way and magma will start pouring down. Atlas will tell you to head down the elevator to attach the bomb to the core – kill any splicers that got through your perimeter, get into the elevator, and press the button. When it gets to the bottom, head forward down the walkway and through the door. On the floor in front of you will be a corpse with an automatic hack tool and a gene tonic (Shorten Alarms 2). Grab them and head through.
Use the core lift control on the right side of the walkway, and when you get to the top use the table thing to place the bomb on the core. It’ll activate, shutting down the core, and you’ll get a message from Atlas telling you to head back up to Ryan’s office to shut down his security. Follow the quest arrow out of the core area and back to the entrance to Ryan’s office. When you get back to the trophy room there’ll be some splicers and security bots buzzing around. When the room is clear, hit the switch by the security system blocking Ryan’s door. The door will open for you – head on in, and go through the bulkhead to Rapture Control.

