

1 – Zhu’s Hope
Land at the docking bay on Feros, where you’re greeted by David al Talaquani, who wants you to see Fai Dan, the leader of the colony. First though you must fight off a geth attack. Battle though the enemies and up the stairs to reach the Zhu’s Hope colony.
2 – Geth in the Tower
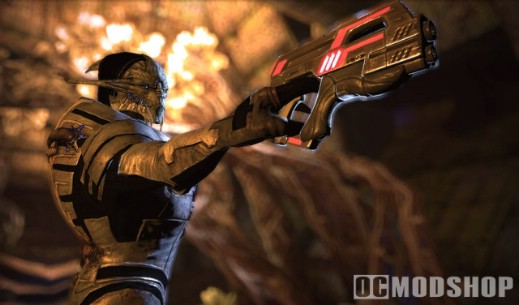
* attack, and this time you need to follow them to the source and eliminate the threat they pose to the colonists. When the initial wave is defeated, proceed up the stairs and continue bearing left until you reach the tower to the northwest. This is where you will fight the bulk of the geth forces. Be on the lookout for a destroyer who appears from the far end. When all the geth are defeated, the overhead dropship leaves, making the colonists a little safer for now.
3 – Return to Fai Dan
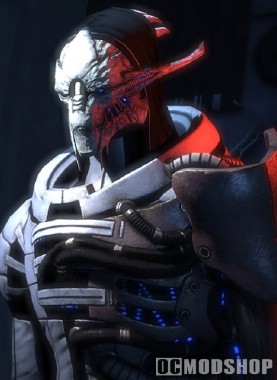
Go back the way you came and return to the colony, where you can finally have a talk with Fai Dan. He tells you that the geth are operating out of the nearby ExoGeni facility. He also informs you of the various challenges facing the colonists, including a geth outpost in the tunnels, food and water shortages, and a lack of power. He directs you to a different colonist who is assigned to each task. You aren’t required to complete any of these assignments, so you can find the details on how to complete them in the Optional Assignments section.
+ Paragon for offering your assistance to the colonists
+ Renegade for saying you only care about the geth
4 – Strange Behavior (Optional)
Head inside the nearby freighter and talk to Calanth and Hollis Blake. The former is complaining of extreme headaches, but their cause is unknown. Talking to the other colonists reveals equally strange symptoms. They all seem unusually focused on their assigned tasks, and pressing them for information seems to make them uncomfortable. You can ask Fai Dan about this behavior, but he dismisses it as the traumatic effect of seeing friends and loved ones killed.
+ Paragon for being concerned for Calanth
+ Renegade for being concerned for yourself
5 – Skyway to Hell
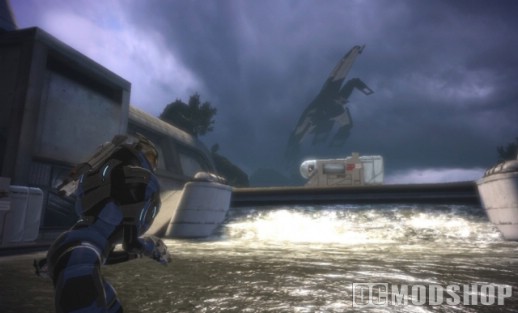
Ascend the stairs once more, this time bearing right to take the nearby elevator. This takes you up to the garage, where the Mako is conveniently parked. A few geth are attacking the colonists in the garage, so take care of them and then jump in the Mako. When you exit the garage a dropship swoops in and deposits a pair of armatures on the path ahead of you. Take them out from a distance with the cannon, and then proceed.
6 – Weigh Station Refugees (Optional)
As you drive you begin picking up radio chatter, which is coming from the skyway weight station up ahead. When you reach the station you have the option of getting out and checking on the refugees, though you can also continue driving up the nearby ramp and ignore the camp for now. The two prominent figures at the camp are Juliane Baynham and Ethan Jeong, the former of which is looking for her daughter, Lizbeth. Lizbeth, she believes, is still at the ExoGeni facility, though it is doubtful she is still alive given that the geth have overrun the complex. You can also speak to Gavin Hossle, who needs you to recover some data for him.
7 – The ExoGeni Facility
Proceed along the skyway until you reach the ExoGeni main level where you must leave the Mako for now. There are a handful of enemies to deal with in this area. The path south is blocked by an energy field you will need to deactivate later. The door to the north is locked, but leads to a small room with a malfunctioning object. Take note that accessing the object alerts the nearby geth armature to your presence. To proceed you must go southwest and drop down a small ledge to reach the basement. You won’t be able to return this way, so you’ll need to deactivate that energy field to return to the Mako.
8 – Lizbeth
Elizabeth Baynham can be found on this level as soon as you exit the first corridor. She informs you that the geth are likely here for the Thorian, an indigenous plant-like lifeform. She gives you her pass card, which allows you access to the facility. Immediately after the conversation concludes you are beset by a swarm of varren. Shotguns work well here, as the varren don’t have much protection. Proceed to the other side of the room and follow the path back up to the main level.
9 – The VI
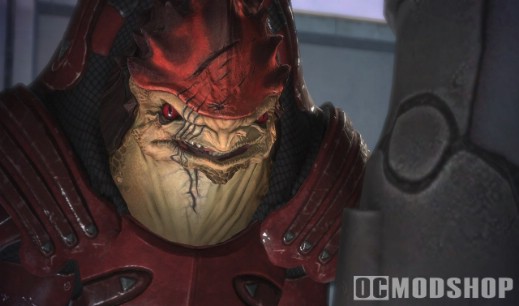
At the top of the steps there is a krogan commander trying to obtain restricted information from a VI interface. He becomes alerted to your presence and attacks. You’ll want to defeat him quickly before he can do any serious damage. Once he is defeated you can access the VI, which identifies you as Lizbeth because you are carrying her pass card. From the VI you can learn that the Thorian is a sentient being that produces spores which allow it to control the minds of other beings. The Thorian was the focus of ExoGeni’s research of Feros. The Zhu’s Hope colonists have been infected by the Thorian, which explains their strange behavior. You can also learn that Lizbeth wasn’t telling you the whole truth about her involvement with the Thorian research.
“Feros: Geth Attack” -> “Feros: The Thorian”
10 – The Geth Church
Head east along the corridor. The first room you come to shows that the power for the energy field is coming from a geth ship, which has anchored itself to the side of the facility. To cut the power you will need to remove the ship by severing one of its claws. There are a few geth shock troopers to fight, after which you can examine the strange glowing orb they seemed to be praying to. Your squad will speculate as to its purpose. Keep going until you reach the next room, which is on the opposite side of the first energy field you first saw when you entered the facility. This is the field you will need to remove to get back to the Mako. The path to the east leads up to the upper level of the facility, which has a small room guarded by a few krogan. Inside there is a server node that supplies a codex entry, a secure storage locker and the console containing Gavin Hossle’s data.
11 – Anchors Aweigh
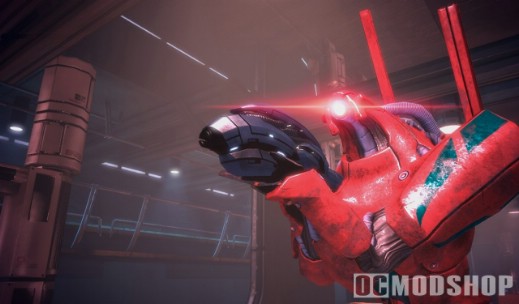
The path to the west also leads to the upper level. In the first room is an ExoGeni terminal that gives the assignment “Investigate Facility.” Proceed up the stairs to the platform. A quick peek at the next room shows that it is heavily guarded. Stick to the stairs and the platform to avoid being overwhelmed by the geth. When all the enemies are defeated you can access the secure crate in the next room, along with a terminal which gives the assignment “Geth Activates,” and a server which gives the assignment “Investigate Samples.” Most importantly, at the back of the room are the shuttle bay door controls. Here you want to hit the sweet spot by setting the internal pressure to be between 31 and 34 pounds per square inch. You can do this by activating a number of smaller controls which each provide a fixed amount of pressure. One combination that works is 17 + 11 + 5 = 33 psi (228 kPa). Activating the door controls with this level of pressure will cause the door to shear straight through the geth anchor, causing it to lose its grip on the building. This severs the power, taking care of the problem with the energy shields.
12 – Back to the Weigh Station
Head back the way you came and proceed north towards the Mako though the now accessible corridor. Lizbeth is waiting for you at the exit, at which point you may confront her about her involvement with the Thorian. Get back in the Mako and head back to the weigh station to reunite Lizbeth with he mother.
+ Paragon for believing Lizbeth’s story
+ Renegade for not believing Lizbeth’s story
13 – The Situation with the Colonists
At the weigh station Lizbeth gets out and is reunited with her mother. Jeong, on the other hand, has gotten through to the ExoGeni headquarters, and apparently they want the entire colony purged to prevent the Thorian from spreading. Using Charm or Intimidate you can talk Jeong out of it, otherwise you simply have to kill him. As for the colonists, Juliana Baynham has an idea for stopping them without killing them. She offers you a grenade upgrade which contains a nerve agent that should pacify the colonists safely. Whether or not to use it is left up to you.
++ Paragon for talking Jeong down using Charm
++ Renegade for talking Jeong down using Intimidate
+ Paragon for agreeing to spare the colonists
+ Renegade for refusing to spare the colonists
14 – The Creepers
Head back to the Mako and return to the colony, where you’ll have your first encounter with a Thorian creeper. These creatures aren’t colonists, as they were created by the Thorian, so there is no penalty for killing them. There are a large number of them in the garage, which should get you acclimated to fighting them. They don’t have any ranged weapons, but they will charge at you. Be aware that they also spew a toxic substance when they get close enough, so keep your distance as much as possible.
15 – The Infected Colonists
At the entrance to the garage you have the option of ordering your squad to hold their fire on the colonists themselves. Doing so means your allies will only attack the creepers, leaving you free to handle the colonists. If you wish to save them, equip the Anti-Thorian Gas upgrade to your grenades and use them to attack the colonists. There are sixteen colonists in all that you can save. The first group you encounter is at the top of the elevator in the garage. You can find more colonists on the landing as you descend the steps to Zhu’s Hope. There are more at the entrance to the colony itself, where you can also find a crate nearby that will replenish your grenade supply. Save or kill the remaining colonists on the western walkway and near the crane controls to complete this objective. When all the colonists and creepers are taken care of, activate the crane controls to open the way to the Thorian’s lair. Fai Dan shows up, telling you that the Thorian wants him to kill you. However, he is able to fight off the Thorian just enough to end his own life before you have to fight him.
+ Paragon for each colonist saved
+ Renegade for each colonist killed
16 – The Thorian
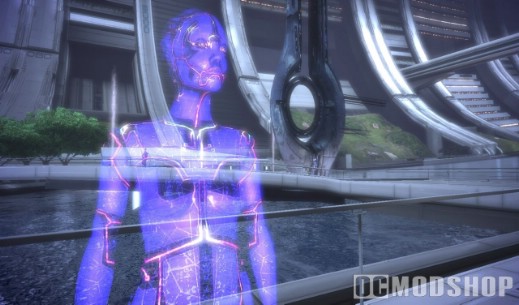
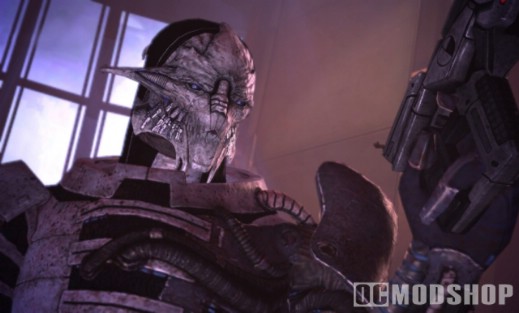
Take the steps down into the Thorian’s lair. As you approach the Thorian itself, it spews out an asari clone which speaks to you on its behalf. It seems that Saren came to Feros and formed an alliance with the Thorian. He bartered the lives of the colonists for the ancient knowledge of the Protheans, but then betrayed the Thorian, sending the geth to destroy it and prevent you from receiving its secrets.
+ Paragon for demanding the release of the colonists
+ Renegade for saying you will destroy the Thorian
17 – Severing the Nodes
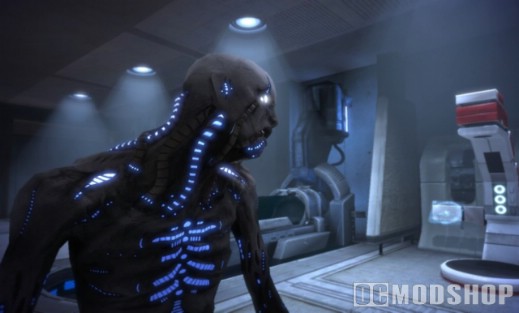
The asari clone attacks you. Beware of her biotic abilities and kill her as quickly as possible. To eliminate the Thorian you must sever each of the neural nodes holding it to the walls of the lair. Your efforts will be hampered by legions of Thorian creepers, and the occasional asari clones that the Thorian will continue to spit out. On the first level go north through the door and sever the first node by firing on it until it explodes. Usually, firing on a node will alert a number of dormant nearby creepers, so take care to eliminate as many enemies as possible before you try to take down each node. Proceed up the steps to the next level where you can find another asari clone as well as a weapons locker before coming to the next neural node. On the next level there is a node to the south, and another to the west as you proceed clockwise around the chamber. Keep an eye out for the medical station on this level. Head up to the next level and destroy the node to the northwest. Finally, on the top level, head counterclockwise until you reach the final node on the south side of the lair.
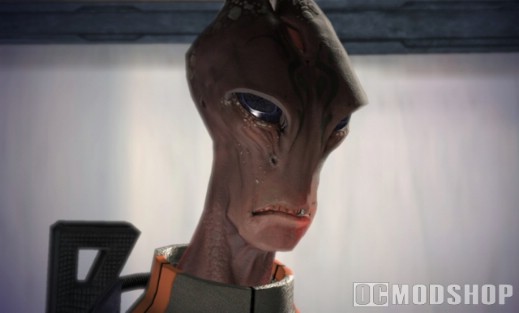
TIP – Sonny Nilsson: “On Insane dificulty, those thorian creepers can really take a beating even with the best Spectre gear, but they die instantly if you push them off the edge on each floor. Just melee them untill they drop off the edge. It’s even better with a Biotic character as then you can push out many at the same time. The same goes for those annoying Asari Commandos, but if they have shields up you can’t melee them to the ground. This strategy makes the boss fight quite fast on Insane dificulty.”
18 – The Cipher
Destroying the final node causes the Thorian to lose its grip and fall into the abyss below. Additionally, an asari emerges from one of the Thorian’s pods along the wall. She identifies herself as Shiala, a former follower of Matriarch Benezia, who Saren had used to interface with the Thorian to learn about the Protheans. She also informs you about Sovereign, Saren’s flagship. She claims that being on the ship changes you in subtle ways, and causes you to obey Saren’s will. Finally, she offers you the Cipher, the same knowledge she gave to Saren, in the hopes that you can stop him. Because she was once a servant of Saren and Benezia, you have the option of killing her. She does not resist if you decide that will be her fate. Otherwise she vows to help the colonists rebuild, as she wants to make amends for playing a role in many of their deaths.
++ Paragon for sparing Shiala
++ Renegade for killing Shiala
19 – Normandy
Debrief Back on the ship, your crew sits in the comm room to discuss the last mission. Liara offers to join her mind with yours to try to make more sense of the visions you’ve had, but she can offer no new insight for now. When the briefing is over you can talk to the Council if you choose.
+ Paragon for politely defending your actions on Feros
+ Renegade for aggressively defending your action on Feros
Mission Complete: “Feros: The Thorian”
VIRMIRE
After you complete two of the primary plot worlds (Therum, Feros, or Noveria), you receive a message from the council advising you of a new lead into Saren’s whereabouts. They have lost contact with an infiltration regiment investigating Saren’s activates on Virmire, and had received an unintelligible transmission from them on an emergency frequency.
As with the previous planets, you will have to complete each one, and the order is of little importance.
+ Renegade for saying you don’t have time
New Mission: “Virmire”
New Mission: “Race Against Time”



1 comment
is this way to find ALL codex pages or only some of them
Comments are closed.