

1 – Point Insertion
* in the Mako and take down the defenses.
2 – The First Gatehouse
The path to the AA tower is linear, but there are obstacles in your way. First there are a small group of drones, and then some foot soldiers along the path. Eventually you will reach a gatehouse, though you don’t need to open the gate to proceed.
3 – The AA Tower
Beyond the gatehouse is a geth colossus, which is just a more powerful version of the armature. The path splits after this, but expect colossi and armatures in either direction. Ahead is another gatehouse. Destroy as many geth as possible before leaving the Mako to access the gate controls. You also need to deactivate the AA tower so the Normandy can land up ahead. There is one final gatehouse beyond the tower, and then it’s a straight shot to the camp.
4 – Captain Kirrahe
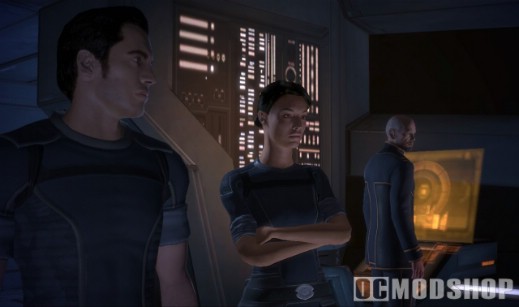
Reach the camp and speak to Captain Kirrahe, the leader of the infiltration team. He tells you that he’s been investigating a research base on Virmire belonging to Saren. The bad news is that Saren is somehow using the base to breed an army of krogan. It seems he’s somehow found a cure for the genophage that had been used by the salarians to keep the krogan population down. You need to stop Saren’s plans at the source before he breeds an unstoppable army.
“Virmire” -> “Virmire: Saren’s Plan”
5 – Wrex and the Genophage (Optional)
If you didn’t pick up Wrex in C-Sec back on the Citadel, then you should have no problem here. If you did, then he’s none too pleased that you plan on destroying the cure for his people. More information on this assignment can be found in the next section. Briefly, unless certain circumstances are met you must use Charm or Intimidate to diffuse the situation when talking to Wrex. If you can’t convince him then you or Ashley will have to kill him.
+++ Paragon for calming Wrex down using Charm
++ Renegade for calming Wrex down using Intimidate
+++ Renegade for killing Wrex
+++ Renegade for ordering Ashley to kill Wrex
+ Paragon for lamenting your decision to kill Wrex
++ Paragon for chastising Ashley for killing Wrex
6 – A Daring Plan
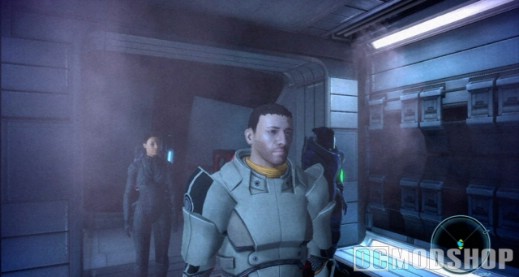
Kirrahe has been working on a plan to destroy the facility and put a stop to Saren’s plans on Virmire. He has rigged the drive core from his ship to act as a massive improvised explosive. Unfortunately, the only way to get the bomb into the base is to fly it in using the Normandy. That means someone has to infiltrate the base and take down the AA defenses guarding it. Kirrahe’s plan is to use his men to feign an attack and distract the geth forces while you take a small team into the base and knock out the defenses. Unfortunately, Kirrahe is short on men and he needs someone from your squad to coordinate between the teams. You can choose either Ashley and Kaidan to go with Kirrahe. The consequences for this decision are minor, and your choice should be based on who you are more likely to bring with you when you assault the base.
“Virmire: Saren’s Plan” -> “Virmire: Assault”
7 – Shadow Team
There are a number of things you can do to assist Kirrahe’s team, but these are part of an optional assignment and are included in the next section. If you’re not interested in helping the other teams, simply press forward to the geth base to the west. There are no new enemies here, just a few drones, geth soldiers of various types, and a handful of krogan.
8 – Infiltrate the Base
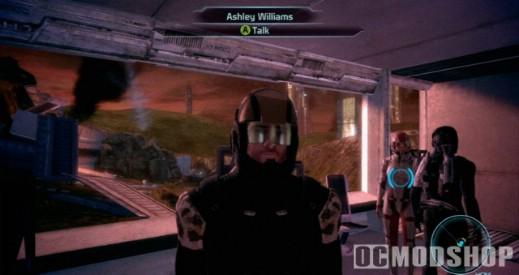
At the west end of this area you have two paths to choose from. The path to the south leads into the base through a backdoor onto the detainment level. The more direct route lies to the north, which leads directly to the warehouse and subsequent maintenance area. Either path leads to a security panel. One of your squad members will access the panel to let you inside. You also have the option of setting off an alarm on the far side of the base. This will redirect the geth defenders to make it easier for you, but will also mean tougher resistance for the salarians. Once the doors are unlocked, the other path becomes closed to you.
++ Paragon for making it easier on Kirrahe’s teams
++ Renegade for making it tougher on Kirrahe’s teams
9 – Saren’s Experiments
If you entered from the south, follow the path and take the stairs up to the storage room. From here you can go up to the next floor to cell block B, where a group of salarians are being held prisoner. You can release them but they turn on you as soon as the cells are opened. Go back down the next set of stairs to reach the elevator to the labs. If you entered from the north you need to clear out the warehouse of indoctrinated salarians. From here you can head upstairs to cell block A to find another group of captive salarians. Once again you can release them if you wish. When you are done, head back downstairs to the elevator and take it to the labs.
10 – Genophage Research
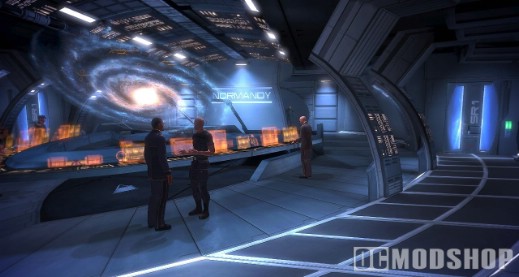
In the lab you’ll need to fight some krogan and asari scientists, as well as a number of husks. Pick up the kits in this room, and access the medical station at the back before proceeding west out onto the catwalks. Head into the security office, where you’ll find Rana Thanoptis, an asari scientist who’s been working for Saren. She tells you about the indoctrination process, by which Sovereign–Saren’s flagship–controls the minds of those who are exposed to it. When you’re done speaking you can choose whether or not to kill her for her involvement with Saren. It likely doesn’t matter since she probably won’t be able to make it out of the blast radius in time.
++ Renegade for killing Rana
11 – Sovereign
Head up the elevator Rana unlocked for you. In this room you find another beacon, like the one you found on Eden Prime. Activate it to have another piece of the Prothean puzzle downloaded into your mind. When you’re done, head back up to the next level, where you encounter a holographic image for Saren’s flagship. Sovereign reveals its true nature: it is not merely a ship, it is an actual Reaper. It explains that the Reapers have existed since the beginning of time, and will continue to eliminate advanced life in the galaxy every 50,000 years until the end of time. Sovereign claims that the Reapers constructed the Mass Relays and the Citadel so that advanced lifeforms would develop along the paths that the Reapers desired. When the conversation is over, the interface explodes and Joker chimes in. He says that Sovereign is on its way.
12 – To the AA Tower
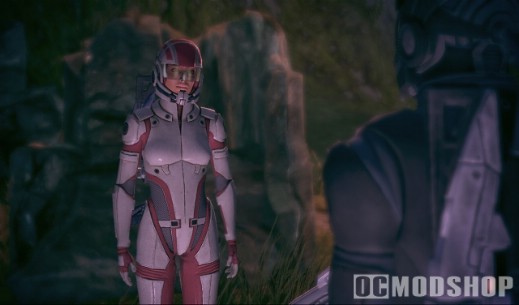
When you get back down in the elevator the path back to the facility is blocked but a new catwalk is open. Proceed and take down the geth destroyer and the krogan ahead. Follow the path around to the west. In the distance you can see the AA tower you need to disable. There are a few more geth and krogan in the area, along with some rocket drones. Use the cover appropriately to take them out without taking damage. When all the enemies are defeated you can head up the ramp and deactivate the AA tower. This triggers two groups of reinforcements. Geth soldiers come up the ramp behind you, while another group arrives in the nearby elevator. Kirrahe’s team will radio you and inform you that they’re heading for the second AA tower. Taking down both will allow the Normandy to land. Use the elevator to go up to the heart of the base.
13 – Bring in the Nuke
Finish off the geth in this area and open the large doors to access the landing site. The Normandy arrives and Kirrahe’s bomb is unloaded. When all seems to be going well, the soldier you sent with the salarians radios in to tell you that they are pinned down on the AA tower and won’t be able to make it to the landing site without assistance. Pick a new squad (you can’t choose Kaidan or Ashley) and open the other large doors to the west. Take care of the enemies in this area and head to the elevator at the far side.
14 – An Impossible Choice
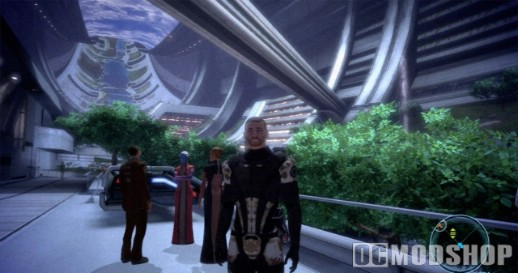
As soon as you arrive at the top of the tower the squad sees a geth ship fly past en route to the landing site. Now both Kaidan and Ashley are under heavy fire from the geth and you only have time to rescue one of them. When you’ve made your decision, say your last goodbyes and either head up to the AA tower or back down to the landing site. At either location you’ve got a tough fight against some of the more powerful geth forces, including a geth prime.
+ Paragon for taking a sympathetic attitude
+ Renegade for declaring you’ve made the right choice
15 – Saren
When all the geth are beaten, Saren himself arrives. There is a short exchange where he tries to justify his actions. You can use Charm or Intimidate to try to sway him, but a fight is inevitable. Make sure your weapons are set to fight organics and that your equipment is up to date. Unlike most fights where cover is important you’ll likely want to stay mobile versus Saren. Don’t let any powers go unused in this fight and make good use of your squad as much as possible. When Saren has taken enough damage he confronts you face to face. The Normandy arrives and Saren retreats on his glider. The crew escapes the planet just as the nuke detonates, destroying Saren’s research facility for good.
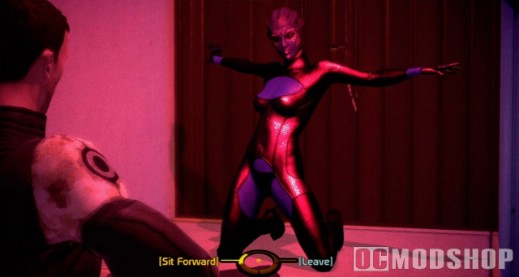
+ Paragon for trying to sway Saren using Charm
+ Renegade for trying to sway Saren using Intimidate
16 – Back on the Normandy
There is a somber meeting in the comm room as the lucky member of your squad will lament your decision to choose them. There is an opportunity for Paragon or Renegade points based on your responses. When the meeting is over you have the option to speak with the Council about the mission.
“Race Against Time” -> “Race Against Time: Sovereign”
17 – The Salarian Infiltration Team (Optional)
You can head down to the vehicle bay and speak with the remnants of Captain Kirrahe’s forces. You can also purchase equipment from Commander Rentola, but only if you assisted the salarians on Virmire.
THE CONDUIT
When you have completed all four main plot worlds (Therum, Feros, Noveria, and Virmire), Liara will finally be able to make sense of your visions and put all the pieces together. The Conduit is on Ilos, a planet in the Terminus Systems that is only accessible through the Mu Relay.
Accessing the Galaxy Map at this point triggers a message from Ambassador Udina. Apparently the Council has decided to go after Saren after all, and is massing a fleet to head to Ilos. You must hurry back to the Citadel to take part in the attack.



1 comment
is this way to find ALL codex pages or only some of them
Comments are closed.