

1 – Arrival on the Presidium
* The ambassador is making a plea to the Citadel Council to have Saren disbarred from the Spectres for his attack on Eden Prime. The next step is to head to the Citadel Tower and make a formal appeal at the hearing regarding Citadel Security’s findings in the case against Saren.
+ Renegade for saying you don’t care about the Council
Mission Complete: “Prologue: Find the Beacon”
New Mission: “Citadel: Expose Saren”
THE PRESIDIUM
You have arrived in the Presidium, one of two major areas–along with the Wards–that you can visit while on the space station. The Presidium is split down the middle by a large lake with a few bridges running across it. On the north side, from west to east, is the entrance to the Citadel Tower, access to the Wards, and the Embassies where you begin. On the south side are the Financial District and the Consort’s Chambers.
The Avina Tourism Terminals can give you more information about the Presidium, and there are signs posted to assist in navigation.
2 – The Citadel Tower
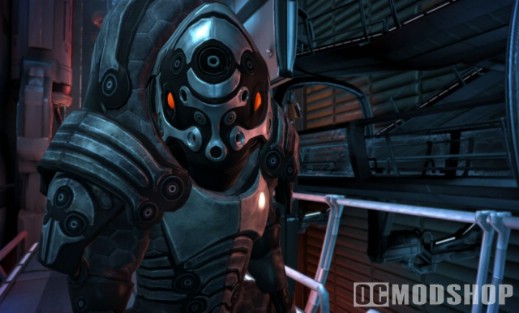
Leave the embassies and proceed west towards the citadel tower. Take the elevator up to the top of the tower where the Council Chambers are located. As you move south you will see an exchange between Garrus Vakarian–the turian C-Sec (Citadel Security) Officer in charge of the investigation into Saren–and Executor Pallin, the head of C-Sec. Proceed south and speak with Captain Anderson to join the hearing, which is already in progress.
3 – Lack of Evidence
The Council decides that there is insufficient proof of Saren’s connection to the geth or Eden Prime to disbar him from the Spectres. In order to convince the council you will need to find conclusive proof of Saren’s involvement in the attack. You have two leads to work with. The first is Garrus Vakarian, the C-Sec Officer you saw earlier. He can be found through Harkin, a retired human C-Sec Officer. The second possibility is to try to find information through the Shadow Broker, a galactic information dealer who may know about Saren’s activities. One of his contacts on the Citadel is Barla Von, a wealthy financial advisor in the Presidium’s Financial District.
+ Paragon for the least confrontational responses
New Mission: “Citadel: Garrus”
New Mission: “Citadel: Shadow Broker”
3 – Talking to Barla Von (Optional)
If you follow the lead concerning the Shadow Broker, you can find Barla Von’s office in the southwest corner of the Presidium. He informs you that Saren has betrayed the Shadow Broker, who is now more than willing to assist you in taking Saren down. He advises you to seek out a Krogan named Wrex who may be able to help you. Wrex was last seen near the C-Sec offices.
“Citadel: Shadow Broker” -> “Citadel: Wrex”


THE WARDS
The next major area of the Citadel is the Wards, which are a level below the Presidium and can be accessed by elevator. The Wards are home to clubs, gambling, markets, and some spectacular views of the Citadel’s exterior and the Serpent Nebula. There are two levels to the Wards, designated Upper and Lower. There are markets on both levels to the west, with the popular clubs Flux and Chora’s Den nearby. A medical clinic resides on the upper level to the east. The Wards and the Presidium both grant access via elevator to the C-Sec Academy which in turn grants elevator access to the docking bay where the Normandy is located.
4 – Talking to Harkin (Optional)
If you follow the lead concerning Garrus, you can find Harkin at Chora’s Den, a shady club near the back alleys in the Wards. Outside you are ambushed by some turian assassins working for Saren. You can find Harkin sitting at a table on the opposite side from the entrance. He talks to you about Captain Anderson before telling you that Garrus was last seen snooping around the Med Clinic in the Wards.
5 – Shootout in the Med Clinic (Optional)
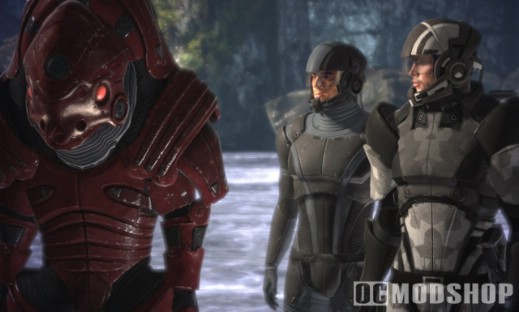
Continuing the search for Garrus, head to the Med Clinic, located to the east in the Upper Wards. Inside you witness some thugs pressing the doctor for information. They see you and a fight breaks out. A well placed shot from Garrus ensures that the doctor is unharmed. Once the fight is over, speak to Garrus or Dr. Chloe Michel to find out what to do next. Dr. Michel informs you that a quarian had passed though her clinic carrying evidence of Saren’s connection to the geth. She wanted to barter the information in return for safety, so Dr. Michel put her in contact with Fist, the owner of Chora’s Den and an employee of the Shadow Broker. Unfortunately, Fist betrayed the Shadow Broker and is now believed to be holding the quarian hostage. You need information from the quarian in order to implicate Saren. The Med Clinic has an aid station you can use to replenish your medi-gel.
+ Paragon for chastising Garrus about the doctor’s safety
+ Renegade for ignoring the doctor’s safety
Mission Complete: “Citadel: Garrus”
6 – Pick up Wrex (Optional)
Head to the C-Sec Academy–accessible through either the Presidium or the Wards–and head west. Near the stairs to the C-Sec offices, Wrex is having a confrontation with some officers. When their conversation is over you have the opportunity to offer Wrex a position on your squad. Bear in mind that Wrex has been hired by the Shadow Broker to kill Fist, and he intends to fulfill his contract. You are not required to invite Wrex to join your squad at any point if you already have Garrus in your squad. If you picked up Wrex before going to get Garrus, he will tell you everything about the quarian, in which case you don’t ever need to invite Garrus to join your squad.
Mission Complete: “Citadel: Wrex”

SQUAD SELECTION
You now have your first opportunity to select your squad. You are only allowed two squad members with you at a time, so be sure to choose wisely. You can only change who is in your squad by returning to the Normandy or when a new character is added to your squad.
Consider what you want from your squad and what opposition you expect to face while using a given squad configuration. For example, Kaidan and Garrus or Wrex provide a more balanced compliment to your squad, whereas Ashley and Garrus or Wrex maximize the combat abilities of your squad.


7 – Assault on Chora’s Den
Take your squad back to Chora’s Den. When you arrive the place is sealed up because Fist knows you are coming. There are a good number of thugs inside, so stick to cover by the doors and take out one enemy at a time. The big concern here is the krogan bouncer on the opposite side of the room, as he has the ability to regenerate health. Having Garrus or Kaidan can help because of the krogan’s vulnerability to tech powers. After you defeat all the guards proceed into the backroom for a confrontation with two warehouse workers. You can kill them, or use your Charm or Intimidate skill to get them to leave peacefully. There is a weapons locker beyond the workers on the left side of the room.
+ Paragon for sparing the warehouse workers using Charm
+ Renegade for sparing the warehouse workers using Intimidate
8 – Taking Care of Fist
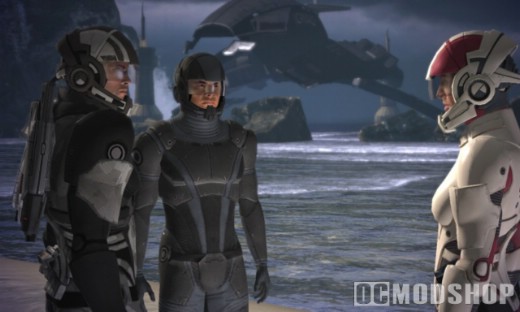
In the final room you will encounter Fist himself. Position yourself on the near corner and order your squad to take up position on the far corner. You can place your back to the wall here and observe Fist on the other side of the room. The primary threats to you are the two Defense Turrets in each corner. Kaidan and Garrus are useful here because of their tech skills, though Wrex also evens the odds with his superior combat abilities. Concentrate on one turret at a time and don’t stay outside of cover for too long. Biotics don’t work on the turrets, so save these powers for Fist himself. When Fist is finally defeated he will tell you where you can find the quarian. If Wrex is in your party he will kill Fist to fulfill his contract with the Shadow Broker. Otherwise you have the option to kill him yourself. There is a wall safe in the back corner of the room when you are finished.
+ Renegade if you kill Fist or condone Wrex’s actions
9 – Rescue the Quarian
The quarian is about to be set up by Fist’s men. You have a limited time to reach her and get the information you need. As you exit Fist’s offices you are confronted by more thugs in the main lounge. Deal with them quickly and proceed back towards the Wards. Bear left when you exit and go through the back alleys to reach the quarian. If you arrive in time you will have to fight a group of turian and salarian assassins to rescue the quarian. The salarians have some tech powers you need to worry about, so stick to cover as much as possible. You can now take her evidence against Saren to Ambassador Udina.
10 – The Quarian’s Evidence
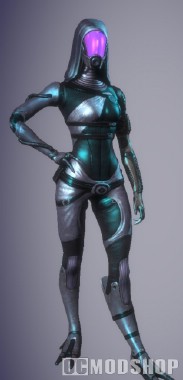
Back at the ambassador’s office, the quarian–known as Tali’Zorah nar Rayya– presents her evidence. She has a recording of Saren and an unknown woman incriminating themselves regarding the attack on Eden Prime. Now that you have irrefutable evidence it is time to present your case to the Citadel Council. Tali becomes a squad member and agrees to help you track down Saren.
11 – The Council’s Decision
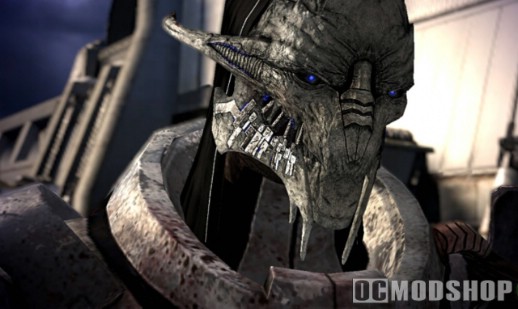
Return to the Citadel Tower and present your evidence to the Council. Faced with undeniable proof of Saren’s involvement in the attacks on Eden Prime, the Council disbars Saren from the Spectres. They also recognize the other voice from Tali’s recording as that of Matriarch Benezia, an influential asari who is now a powerful ally for Saren. Not wishing to send a fleet into the Attican Traverse and risk open war with the Terminus Systems, the Council elects to make you the first human Spectre, tasked with tracking down and stopping Saren at all costs.
+ Paragon for being polite
+ Renegade for being arrogant
Spectre Training unlocked
Bonus to Charm and Intimidate
12 – Speak to Anderson and Udina
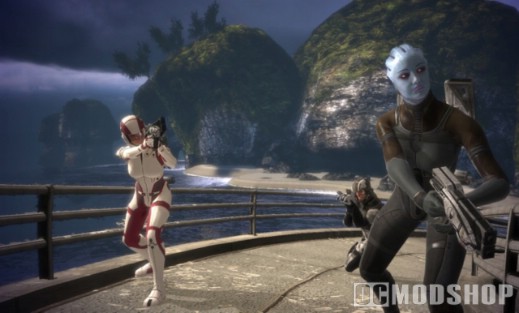
Head to the docking bay by way of the C-Sec Academy and speak with Anderson or the ambassador. They provide you with the locations of two possible leads on Saren’s whereabouts: Geth have recently attacked a human colony on Feros, and the geth are also believed to be interested in the human colony on Noveria. It may also be worth tracking down Matriarch Benezia’s daughter, Dr. Liara T’Soni, who is believed to be studying Prothean ruins somewhere in the Artemis Tau Cluster. Now that you are a Spectre, you no longer answer to the Alliance Military, and you may tackle these leads in any way you see fit.
+ Paragon for being respectful
+ Renegade for being brash and headstrong
New Mission: “Find Liara T’Soni”
New Mission: “Feros: Geth Attack”
New Mission: “Noveria: Geth Interest”
13 – Prepare to Depart Enter the Normandy.
You now have the opportunity to make a speech to your crew informing them of the mission and your determination to complete it.
++ Paragon for emphasizing cooperation with alien species
++ Renegade for emphasizing human self-reliance
CREW LOCATIONS
Now is a good opportunity to become acclimated to your ship and to identify where certain NPCs and squad members can be found. Ashley is in the vehicle bay near the crew lockers. Kaidan is in the crew quarters near the captain’s office. Wrex is in the vehicle bay near the elevator and opposite the Requisition Officer. Garrus is in the vehicle bay near the Mako. Tali is in the engineering section.
14 – Normandy Inspection (Optional)
The first time you return to the Citadel after becoming a Spectre you will be greeted in the docking bay by Rear Admiral Mikhailovich, commander of the 63rd Scout Flotilla. He wishes to inspect your vessel. You can refuse, but you can earn experience if you allow an inspection.
+ Paragon for defending the Normandy using Charm
+ Renegade for defending the Normandy using Intimidate
+ Renegade for refusing to allow an inspection



1 comment
is this way to find ALL codex pages or only some of them
Comments are closed.