

1 – Touchdown on Eden Prime
When you arrive on the planet’s surface you have Lt. Kaidan Alenko and Cpl. Richard Jenkins in your squad. Each of you has only basic equipment. There is an upgrade kit to the north and east. Note that for Eden Prime the compass and map directions don’t agree. Directions listed here will follow the map directions. You can use the gas bags for target practice before moving on. Proceed west and follow the path over the hill. You are attacked by a small group of geth recon drones and Jenkins is shot. The recon drones have weak shields and weapons, but are immune to biotic attacks. Check on Jenkins’s body to confirm his fate. Grab the nearby upgrade kit. Proceed north up the hill and encounter more drones. There is a medical kit near the top of the hill.
+ Paragon for promising Jenkins a proper burial
+ Renegade for downplaying Jenkins’ death
“Prologue: On the Normandy” -> “Prologue: Find the Beacon”
2 – Ashley Williams
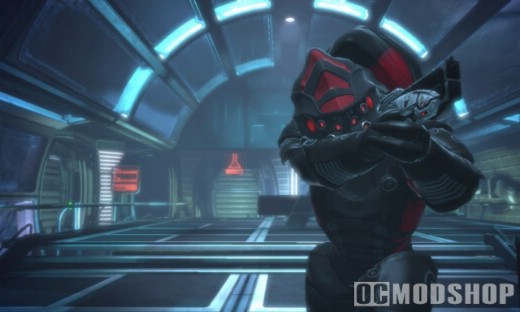
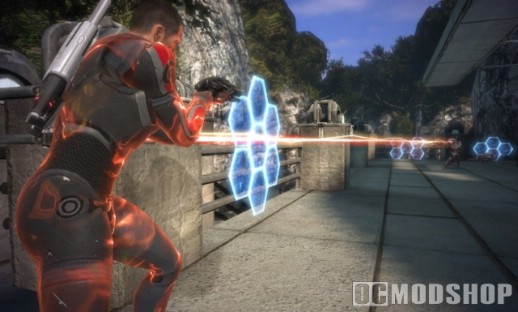
As you descend the hill you witness a soldier being chased by more drones. She turns to see another human impaled on a large spike by two geth troopers, which you must now help her defeat. Speak with the soldier about the attack. Ashley will now join your squad. There is an upgrade kit and a crate nearby. At the bottom of the hill there are more troopers to defeat. Geth troopers have the ability to erect shields to provide cover for themselves, but lack much other protection. They are extremely vulnerable when their shields are disabled.
++ Paragon for giving Ashley a warm welcome
++ Renegade for resisting Ashley’s inclusion in the squad
3 – Investigate the Dig Site
When you reach the dig site it is apparent that the beacon has been moved. Ashley suggests that you should check at the nearby research camp, which will now be marked on your map. There is a crate and an upgrade kit near the dig site. Proceed up the hill to the north.
4 – The Camp
As you reach the top of the hill it becomes apparent that the giant spikes are designed to turn humans into synthetic zombie-like creatures called husks. They have no ranged weapons, so they will charge at you instead. Keeping your distance allows you to destroy them easily. There is an upgrade kit located behind the spikes. There are two temporary structures at the camp. The one on the left is unlocked and contains two crates. The one on the right requires an easy decryption. Two survivors, Dr. Warren and Dr. Manuel are hiding inside. They can tell you about the attack, and that the beacon has been relocated to the spaceport. If you ask about Manuel you have the option to shut him up for a while. He foreshadows a lot if you let him stay conscious however.
+ Paragon for being kind to the survivors
++ Renegade for striking Manuel
DECRYPTION AND ELECTRONICS MINIGAME
The decryption minigame can be performed to unlock certain containers or to recover certain valuables from downed spacecraft or satellites. This involves pressing one of the face buttons (A, B, X, or Y) soon after it glows on-screen. The number of buttons that must be pressed depends on the difficulty of the decryption and the skill your party has in decryption or electronics. Some locks can also be opened by supplying the requisite amount of omni-gel.
5 – The Rogue Spectre
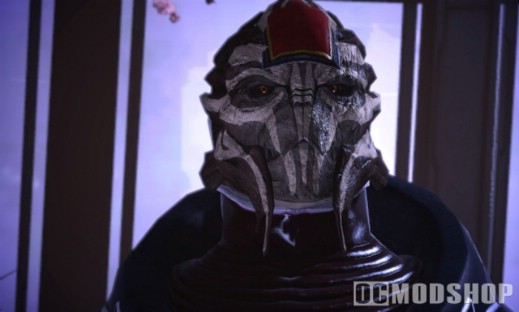
Head up the hill to the north. Ahead at the spaceport, Nihlus turns a corner to see his friend Saren, a fellow Spectre. Nihlus’s surprise makes him let down his guard long enough for Saren to betray him. Off in the distance you hear a single gunshot. As you reach the crest of the hill, you see a massive spaceship taking off from the spaceport ahead. It is larger than any ship you’ve ever seen, making its takeoff all the more remarkable. You encounter more husks and geth troopers as you descend the hill. There is a malfunctioning object if you bear northwest as you descend the hill.
6 – The Farmers (Optional)
A path to the east leads to another small temporary structure. After unlocking the door, three farmers come out. They talk about the ship, and they inform you of a smuggling operation that’s been going on at the colony. The farmers have been holding weapons and supplies for a smuggler at the spaceport. They offer you an extra pistol they’ve been holding for the smuggler. Using Charm or Intimidate you can get an extra upgrade item in addition to the pistol. You can also persuade them to reveal the identity of the smuggler: a man named Powell. Inside the shed is a storage locker requiring an easy electronics decryption.
++ Paragon for using Charm on the survivors
++ Renegade for using Intimidate on the survivors
7 – Powell the Slothful
Ascending the steps to the spaceport reveals Nihlus’ fate. A noise from behind the nearby crates turns out to be Powell, the smuggler the farmers informed you about. He tells you about Saren’s betrayal of Nihlus. When confronted about his smuggling operation he offers you some grenades. Using Charm or Intimidate you can get an additional grenade upgrade. There is a medical kit nearby, and an upgrade kit in the fires behind the crates.
++ Paragon for being forgiving towards Powell
+ Renegade for Intimidating Powell
8 – Boarding the Train
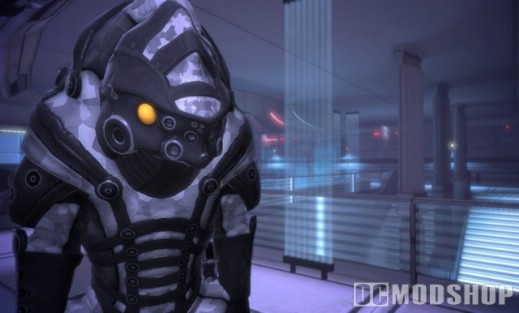
Continue north. You will need to board the train and fight your way to the other side to activate the controls. The train itself is defended primarily by geth troopers, but there is also a geth destroyer to worry about. Destroyers will typically charge at you, so keep your distance and concentrate on destroying it before moving forward. There is a medical kit halfway up the train. Activate the train controls at the far end to proceed to the other side of the spaceport. Meanwhile, Saren orders the geth to place explosives around the port to destroy the colony and cover up any evidence of their presence.
9 – Diffusing the Explosives
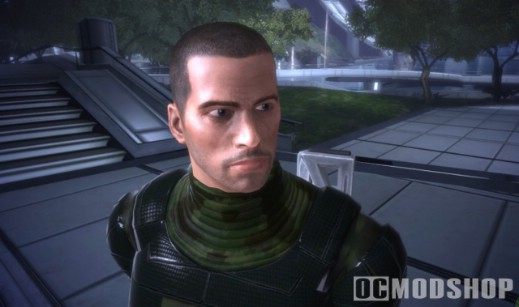
Your goal now is to defuse all the demolition charges before time runs out. The first charge is to your immediate left after exiting the train. Simply press A to defuse an explosive while your squad is covering you. Go up the ramp. The other charges show up on your radar, so you should have no trouble locating them. Cross the bridge and work your way north as you defuse the explosives. You will need to worry about the geth troopers and geth shock troopers as you move up. Shock troopers are more heavily armed and armored than their trooper counterparts. They too can erect kinetic barriers, and they have an attack similar to the destroyers. There is a crate to the far north on the west side of the bridge.
10 – Secure the Beacon
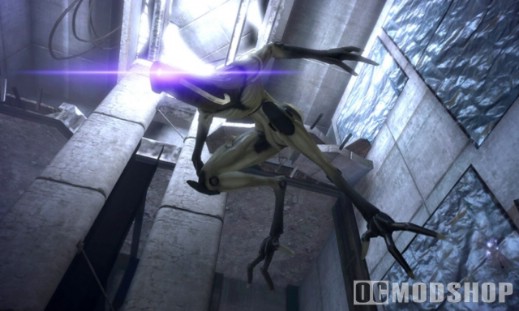
Proceed west through the opening. Descend the ramp and finish off the last of the troopers and husks. There are two storage lockers to the south, a technician kit to the north, and a crate near the beacon itself. Once you’ve secured the beacon, you radio the Normandy to come pick it up. If you are playing as a male, Ashley will inadvertently activate the beacon. As a female, Kaidan will activate the beacon. You are forced to intervene, and the beacon downloads a violent vision into your brain before catastrophically failing.
11 – On Approach to the Citadel
You wake up in the Normandy’s medical bay. Dr. Chakwas and Captain Anderson will explain the situation. When you are finished, head upstairs to the command deck and tell Joker to bring the Normandy into dock on the Citadel.
THE NORMANDY
Now is a good opportunity to explore and familiarize yourself with the SSV Normandy and her crew. You begin on the quarters deck. There is an aid station in the medical bay where you can replenish your supply of medi-gel. Outside is your locker, where supplies are frequently stored for you to pick up. Sleeping pods are towards the bow, and the Captain’s office is on the port side.
If you take the elevator down to the engineering level you can explore the engine room and the vehicle bay. You can use the equipment lockers in the vehicle bay to stock your squad members with weapons and items. You can also buy and sell your equipment with the Alliance Requisition Officer.



1 comment
is this way to find ALL codex pages or only some of them
Comments are closed.