

1 – Confrontation in the Docking Bay
* confronted by a group of armed guards led by Maeko Matsuo, who identifies herself as an employee of Elanus Risk Control Services (ERCS) and the head of security at Port Hanshan. They try to confiscate your weapons, but a voice on the intercom interrupts, telling Captain Matsuo to stand down and let you pass.
+ Paragon for cooperating with Matsuo
+ Renegade for refusing to let them take your weapons
2 – Entering the Port
Continue through security. Your weapons will set off an alarm, but it’s nothing to worry about according to Gianna Parasini, the assistant to Administrator Anoleis. She informs you that Matriarch Benezia passed through the port a few days ago on the way to the Peak 15 research facility. In order to follower her you’ll need to procure a garage pass, for which you should see the administrator.
New Mission: “Noveria: Leave Port Hanshan”
“Noveria: Geth Interest” -> “Noveria: Matriarch Benezia”
3 – Elanus Risk Control (Optional)
Head back to speak with Captain Matsuo for a chance to improve or degrade our relationship with the local security forces. While you can win Matsuo over, her companions aren’t so easy.
+ Paragon for accepting Matsuo’s apology
+ Renegade for refusing to accept Matsuo’s appology
4 – The Administrator
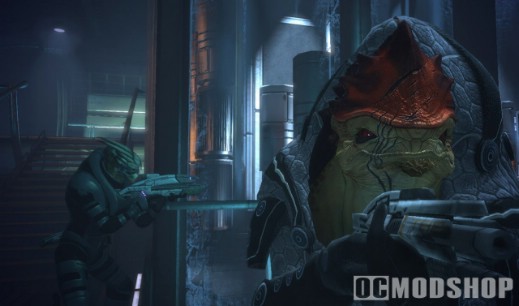
Anoleis’ office is in the southeast corner of the port. Head through the doors and speak to Miss Parasini, who will let you in to see the administrator. Anoleis is a very impatient salarian, who will inform you that Saren is a major investor in Binary Helix, and that Benezia is here to address an issue at their research facility. The only way he will provide you a pass however is if you inform him about Opold’s request as part of the “Noveria: Smuggling” assignment. Doing this provides you the quickest way out of the port but misses out on a fair amount of content and a hefty sum of Paragon or Renegade points.
5 – An Alternative (Optional)
Back outside Anoleis’ office you can talk to Gianna again to learn that there are other ways of securing a garage pass. She advises you to speak with Lorik Qui’in, who can be found at the nearby hotel. Head to the northwest side of the port and take the elevator up to the hotel lobby. Lorik Qui’in is at a table to the left side as you enter. Qui’in tells you that Anoleis has closed his Synthetic Insights office because Qui’in has evidence of the administrator’s corruption. At this very moment, Anoleis’ goons are ransacking the SI offices looking for the evidence. Qui’in offers you a deal: recover his evidence against Anoleis from his office, and he will in turn provide you with the garage pass you need.

New Mission: “Noveria: Lorik Qui’in”
6 – Retrieving the Evidence (Optional)
Agree to Qui’in’s deal to receive his elevator pass, allowing you to enter the Synthetic Insights offices via the elevator in the southwest corner of the port. Before you leave the hotel, you can head upstairs to the office in the southwest corner and access the terminal to get the assignment “Doctor at Risk.” More importantly, you can deactivate the Synthetic Insights security system from here by decrypting the security control unit. When you reach the SI offices, you’ll find ERCS guards ransacking the place just as Qui’in said they were. It’s possible to persuade the first group you encounter to leave peacefully, but the rest you will have to fight in order to get to the evidence, which is located in the top floor office.
++ Paragon for convincing the guards to leave using Charm
++ Renegade for convincing the guards to leave using Intimidate
7 – Kaira Stirling (Optional)
On your way out after retrieving the evidence you are stopped by a group of guards led by Kaira Stirling, one of the guards you first met when you entered the port. There’s no talking your way out of this fight. Retreat to the office for more cover and clear firing lanes on the corridor. Also watch out for Kaira’s biotic abilities. When all the guards are defeated, descend the elevator to leave the offices.
+ Paragon for insisting you acted in self defense
+ Renegade for refusing to defend your actions
8 – Gianna’s Identity (Optional)
At the bottom of the elevator you encounter Gianna Parasini again, who asks that you meet her at the hotel before you talk to Lorik Qui’in about the evidence. Head there and speak to her to learn that she’s actually an undercover internal affairs agent investigating Anoleis. It seems the executive board for Noveria is well aware of Anoleis’ corruption, and has been trying to get enough evidence to take him down for months. Now that you have the evidence, she wants you to convince Lorik to testify against Anoleis. Combined with the evidence, Lorik’s testimony should be enough that she can safely arrest him and bring him up on charges for his crimes. She also promises to get you a garage pass if you help her out.
New Mission: “Noveria: Peak 15”
9 – Convincing Qui’in (Optional)
If you are willing and able, use Charm or Intimidate to convince Lorik to testify against the administrator. If you are unable to convince him or simply choose to hand the evidence over, he rewards you with the promised garage pass.
+++ Paragon for convincing Lorik using Charm
+++ Renegade for convincing Lorik using Intimidate
+500 Credits for giving the evidence to Lorik
+750 Credits for giving the evidence to Lorik using Charm or Intimidate
10 – Dealing with Anoleis (Optional)
Finally, head back down to the administrator’s office. You now have the choice of informing Gianna of Lorik’s cooperation, in which case she arrests the administrator and gives you the garage pass. However, you can also double-cross Gianna and Lorik by telling the administrator what’s going on. If you give him the evidence, he rewards you with the pass you need. Otherwise, he will call Gianna into his office. The two fight, and Anoleis ends up dead. You can then search his corpse for the pass you need. The only person who needs the evidence in this case is Lorik, so go back and give it to him.
++ Paragon for helping Gianna arrest Anoleis
+ Renegade for giving Anoleis the evidence
+++ Renegade for telling anoleis about Gianna
Mission Complete: “Noveria: Leave Port Hanshan”
Mission Complete: “Noveria: Lorik Qui’in”
11 – Accessing the Garage
Take your garage pass and access the garage in the southwest area of the port. You won’t get far however, as a group of geth led by a pair of destroyers ambush you before you can reach the Mako. You can make this fight easier by decrypting the lock on the nearby crawler and turning its guns against the geth. Once the fight is over, Matsuo shows up to investigate the commotion. The geth were clearly snuck past security in the cargo crates, and she informs you that there could be dozens of geth on the road to Peak 15.
TIP – Sonny Nilsson: “Armors from Devlon Industries protect against most Lvl 1 Hazards, so on Noveria you could use Explorer armor to negate the cold effect outside.”
12 – Hit the Road
Grab the nearby upgrade kit and then hop in the Mako. There is a level 1 cold hazard on Noveria, so don’t stray too far from the Mako on the paths ahead, but do keep an eye out for crates and kits along the way, especially near abandoned vehicles. The path to Peak 15 is crawling with geth, particularly rocket troopers, along with some heavy turrets and armatures out in the open. Be especially wary of the tunnels, which tend to act as choke points, making it harder to dodge incoming rockets. Keep your distance from enemies and back off if things become too dangerous.
13 – Peak 15
When you reach the facility, hop out and head inside, where a number of geth are waiting for you. The biggest danger is a geth juggernaut, who will charge you when you open the door. Hang back to avoid being flanked by the enemies on the balcony to the left, and concentrate on taking down the juggernaut first. When all the enemies are defeated, head up the ramp to the nearby security office, which has an upgrade kit and storage locker. Opposite the security office is the elevator up to the administration level.
14 – Cafeteria Surprise
Cautiously enter the cafeteria and take care of the geth guarding it. Once they are gone, however, a swarm of rachni show up. Previously thought to be extinct, it seems the Peak 15 researchers have found a way bring back the rachni, though it’s clear the situation in the facility has gotten out of hand. There are two type of rachni to worry about. The workers are small, and their only attack it to rush at you and explode when they get close enough. Soldiers, on the other hand, can spit acid from afar, but also have a deadly melee attack. You would do well to avoid engaging the soldiers at close range, though shotguns are quite effective against the workers when they get close to you. You’ll also need to take extra care when in the facility, as the rachni will often spring out of vents in the floor to surprise you. When all the rachni in this area are dead, take the elevator to the Mira Core.
15 – Restoring the VI
To get to the next area of the facility you need to take the tram, but first you have to restore a number of critical systems that have gone offline because the rachni have overrun the complex. You first need to reactivate Peak 15’s VI to assist you in the restoration of each system. Head to the center of the round room ahead, and enter the elevator in the middle to descend into the core. Here, to restore the VI you can either spend 100 omni-gel, or solve the classic Tower of Hanoi puzzle that BioWare fans may remember from Knights of the Old Republic. When you finish, the VI system is restored and you can now begin restoring the other systems.
Mission Complete: “Noveria: Peak 15”
New Mission: “Noveria: Reconnect Landlines”
New Mission: “Noveria: Reactor Repair”
MIRA CORE PUZZLE
To restore the VI manually, you need to move each of the four blocks in the first column (labeled X) to another column (either Y or B), noting that only the top block in each column can be moved. Press the button corresponding with the column you want to move a block from, and then the button corresponding to the column you want to move that block to in order to rearrange the puzzle pieces.
There are many ways to solve this puzzle, but here is a common solution: Begin by moving the top three blocks to the middle column. This frees up the bottom block to be moved to the right column, where the top three blocks can then be stacked on top of it. Follow these instructions to achieve this result:
X -> Y
X -> B
Y -> B
X -> Y
B -> X
B -> Y
X -> Y
X -> B
Y -> B
Y -> X
B -> X
Y -> B
X -> Y
X -> B
Y -> B
16 – Reconnect the Landlines
Mira appears and informs you that a number of critical systems are offline and need to be fixed for you to proceed. First up are the landlines on the roof, which need to be reconnected. Head west and take the elevator to the roof, where you must fight off a horde of rachni. When all the creatures are dead, simply repair the landlines and head back down to the Mira Core.
Mission Complete: “Noveria: Reconnect Landlines”
17 – Reconnect the Fuel Lines
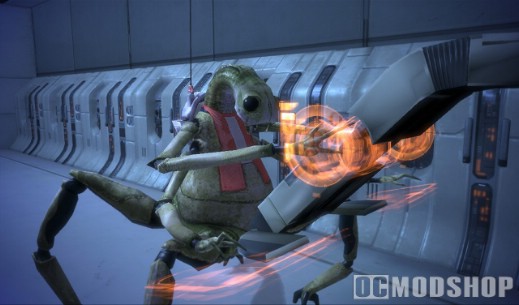
Go east, and then north along the corridor to the elevator that leads to the reactor. Here you must face a number of geth. Take the side passage on the left side, and follow it around to the ramp. You’ll want to clear out the top floor and balcony first to make getting to the fuel lines easier. Though there are destroyers and stalkers on the lower walkways, there is a juggernaut in the balcony that can cause you problems. Once all the geth are eliminated, follow the lower walkways around to the middle of the reactor and activate the fuel line controls. When you’re finished, head back to the Mira Core.
Mission Complete: “Noveria: Reactor Repair”
18 – Taking the Tram
With the landlines and fuel lines fixed the way south is now open, taking you to the tram platform. To get there you first need to clear out the decontamination chamber, which has some rachni soldiers trapped in it. With a high enough electronics skill you can repair the decon system and torch the rachni remotely. Otherwise, decrypt the lock or have Mira open the door for you and eliminate the rachni yourself. The way is now clear to the station. Hop on the tram and take it to the Rift Station.
19 – Rift Station
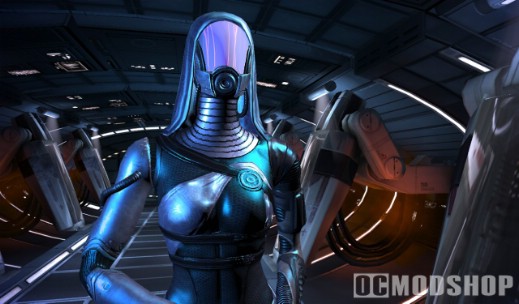
Exit the tram and head north. The northern door is locked, and the path to the east leads to a pair of elevators, only one of which you can use. Take the elevator up to the main level and speak with Captain Ventralis, who’s leading the defense against the rachni. With sufficient Charm or Intimidate you can get him to reveal more about the station’s defenses. As soon as you’re done talking a group of rachni soldiers attack the barricade. Help fight them off, and then talk to Ventralis again.
+ Paragon for learning more about the defenses using Charm
+ Renegade for learning more about the defenses using Intimidate
+ Paragon for graciously defending the survivors from the attack
New Mission: “Noveria: The Hot Labs”
RIFT STATION
Captain Ventralis wants you to go down to the Hot Labs, and while you can do so now, you can also save this task for later. The primary objective is to reach Benezia, who is in the Secure Labs in the center of the lower level. To get there you have several choices: The first choice is to simply to blast your way through the security on the main level and then take the elevator down to the lower level. To do this you’d have to breach the defenses they’ve set up to stop the rachni. Doing so turns all the soldiers in the complex against you. The alternative is to sneak in through the ventilation room by way of the scientist barracks on the lower level. To do this, you need to help make a cure for Dr. Cohen, as detailed below. Note that you can also reach Benezia by investigating the Hot Labs first. Doing so opens up both the security entrance, and the ventilation passage.
20 – The Direct Approach (Optional)
To get to Benezia as fast as possible, simply breach the security door on the north side of the mess hall on the main level. The two nearby turrets will attack you, along with the host of guards beyond the door. Though messy, this route is good for experience if you can manage it.
21 – The Indirect Approach (Optional)
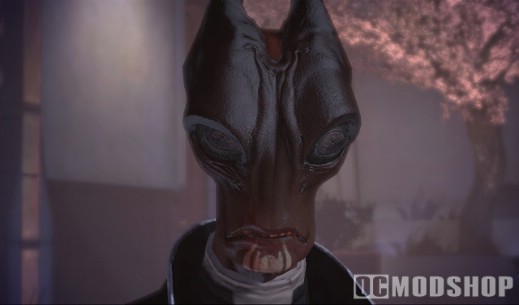
Another alternative is to gain access to the maintenance tunnels. On the main level, go down the winding stairs to the west to reach Dr. Cohen. He needs your help making a cure for his fellow workers who have been exposed to a toxin the researchers were developing. You can use Charm or Intimidate for more information on what’s been going on at Peak 15.
New Mission: “Noveria: Quarantine”
22 – Getting the Cure (Optional)
Go back to Captain Ventralis and get his permission to enter the quarantine lab. You can find the lab on the lower level to the south guarded by an ERCS guard. Go inside and make the cure by pressing the appropriate buttons so that the meter falls between the first indicator and the second. When the cure is complete you are interrupted by Alestia Iallis, a servant of Matriarch Benezia who has decided this is the perfect time to kill you. She has an asari commando and a couple geth troopers with her. Take cover and try to avoid their biotics while taking them out as fast as possible. When the battle is finished, return to Cohen and give him the cure, receiving the maintenance tunnel pass in return. You can also use Charm or Intimidate to get some extra supplies from him. Take the maintenance tunnel on the lower level to reach the secure labs.
++ Paragon for helping Dr. Cohen with the cure
Mission Complete: “Noveria: Quarantine”
New Mission: “Noveria: Rift Station”
23 – The Matriarch
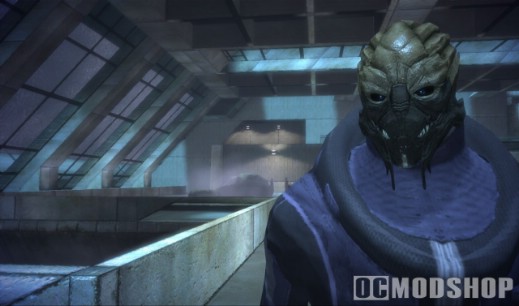
Enter the secure labs to begin your confrontation with Benezia. During the first part of the battle your best bet is to avoid her entirely. To do this, follow the right path towards the west side of the lab. Find some cover and fight off the asari commandos and geth snipers she calls in as reinforcements. When you defeat the last of her guards she will be out of energy and you can confront her. After a revealing conversation she loses control once more and you must fight her face to face. This time the best strategy is to attack her head on with everything your squad has. The faster you can eliminate her, the better, as you still have to worry about the asari commandos she brings in as reinforcements. If you don’t act quickly you can easily be overwhelmed.
“Noveria: Matriarch Benezia” -> “Noveria: Death of a Matriarch”
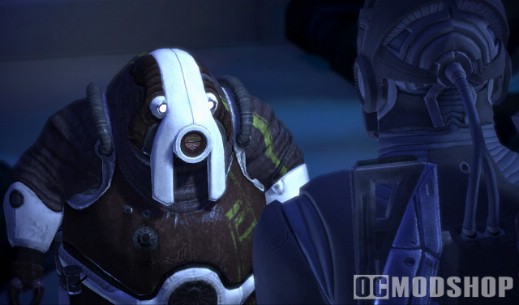
24 – The Rachni Queen
Now that Benezia is dead, there’s still the matter of the rachni queen that had been used to repopulate the rachni species. Speaking through a dead asari, the queen tells you that because her children can not hear her they have gone mad. They cannot be saved, and she asks that you destroy them. Now you must decide whether or not to destroy the queen and exterminate the rachni for good.
+++ Paragon for sparing the life of the rachni queen
+++ Renegade for exterminating the rachni queen
Mission Complete: “Noveria: Rift Station”
25 – The Hot Labs (Optional)
You are now free to fulfill the queen’s request and eliminate the rachni in the facility. You can also ignore the request and simply leave via the tram car. This will lead Noveria’s executive board to bomb the Peak 15 site to contain the rachni threat. Head down to the hot labs via the elevator from the lower level and speak with Yaroslev Tartakovsy. He wants you to set off the neutron purge to cleanse the station of the rachni. Before he can give you the code he is slain by a rachni. Defeat the creature and then collect the code from Tartakovsy’s body. Head to the back of the lab and access Mira. Give her the code to begin the countdown. Immediately, rachni will begin bursting into the room. They will keep coming and you can’t fight them all. Your best bet is simply to make a run for the elevator and escape before time runs out.
Mission Complete: “Noveria: The Hot Labs”
26 – Return to the Normandy
Take the tram car to leave Noveria. You have a brief meeting in the comm room with your crew, but Benezia’s information on its own is useless without knowing where Saren is going. You’ll have to wait until you learn more. Once again you can talk to the Council if you wish.
+ Paragon for politely defending your actions on Noveria
+ Renegade for aggressively defending your actions on Noveria
Mission Complete: “Noveria: Death of a Matriarch”



1 comment
is this way to find ALL codex pages or only some of them
Comments are closed.