

You may have a chance to squeeze in a mission, but I believe at a point the Illusive Man will force the main story. You do want to do the main story mission though, expands your arsenal.
The following side mission is purely in case the Illusive Man does not ask to see you, which he didn’t for me. Otherwise, read ahead.
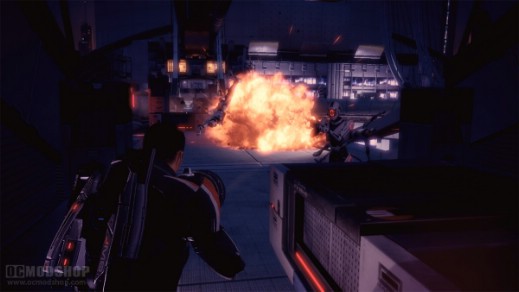
Probably some upgrades to get.
Kelly, emails, and you’ll note Garrus wants to see you. By now you should have all but Tali and Thane’s missions in your pocket.
Samara and Thane have continuing chats, and then visit Garrus, also on level 2 (in the front). He will offer you his quest.
May have things heat up a bit with Miranda, if you want to swing that way.
Finally, hit up Tali on a console near the two humans. Her upgrade is a better shield for hopefully just a small chunk of your Palladium. Then have a quick word in with Tali.
Set a course for the Rosetta Nebula. Miranda’s quest was in Illium, but Jacob’s quest has been on the back burners forever.
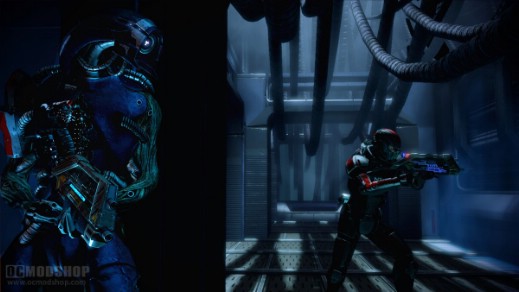
The Artifact
If you want, here is a little side mission to hold you over if until then, but if you see the Illusive Man, skip ahead a bit.
- Goliath – Poor minerals.
- Mizraim – Decent haul of everything but Palladium, which was good.
- Laban – Handful of Ele. Zero nodes, and a good number of others.
- Joab – Anomaly. Also rich in element zero.
Land on Joab.
A big group of goons, but mostly without shields, so tear them apart with powers. To the left should be a few chunks of Ele. Zero.
Enter the building for a fight from the right, left, and then high to the right. Once clear, you got gel, a computer, and lockers all around. In the next room you have a fight with three at first, burn the shielded guy, and then a few more on the other side. There is ore and a pda before you enter the door. There is the artifact.
That mission was just a pit stop.
The Collector Ship
The Illusive Man should want to talk in the comm room sometime soon. If not, maybe explore a bit more for side missions.
I really have no clue what triggers this as of this moment. It’s either being in this nebula/system or after however many missions we’ve done, or it’s just timing. Perhaps even by having a complete team now, but I don’t know.
I say bring whoever kills armor and flesh. Jack and Mordin will do, but I took Mordin and Tali for kicks.
Either way, at some point you’ll be forced to enter this ship. Inside, there are two points of interest as you approach the key terminal up ahead. But the more important point is that you pick up an additional weapon spec. It’s of any type you don’t have, so feel free.
I didn’t have rifles, so I took the sniper rifle. Some ore up ahead and a locker if you want to downgrade; you should have the best rifle on hand. Head up the ramp and grab the salvage, then go left. Hit the upgrade and it’s really just a long stroll – as well as an impressive feat of scale up ahead.
Once you use the console, get ready for major tangos. Most of them are easy to kill with biotics, but there is so much cover it’s almost a non-factor. Scions and harbingers make this tough, and there are at least two of each. It may be worth it to use some beam ammo on the first scion, but know that the blue part of their back is the weak point. However, you can’t ignore the harbingers as they inch closer, nor can you let the minions wander around freely. With biotics, hopefully you can burn the little ones fast, then the harbingers, and then unload a lot on the scions. Try to burn the second scion with normal ammo.
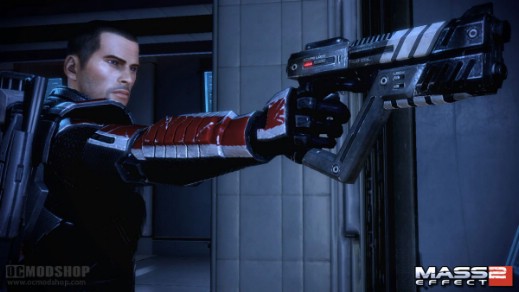
*NOTE: For this fight and the rest, just know that harbingers appear mostly because you let the little guys live too long. Fast work makes these fights all the easier. It may only apply to a few fights, but if you can kill these things in like 2 seconds, more power to you.*
*NOTE: Also, scions send out shockwaves that go through walls. So if it were just you and them, you could dance back and forth and they would not hit you. Kinda the same for harbingers, but they seem to always nail you.*
Re-use the console after you collect ammo, and there is no real rush for you. Gel and through the door is a fight, just make sure to burn everyone but the harbinger first, then burn him away. At the next fight you have two harbingers very close to each other in time-span, so work fast – for all harbingers, feel free to use some of the beam cannon, because there are power cells at the back, as well as Ele. Zero and gel in a dark alcove.
*NOTE: Maybe try to save now. Not sure if it was just my system not saving or what, but I had to start over after dying here. It worked for me because I didn’t like my first choice, the battle rifles. I went with sniping after.*
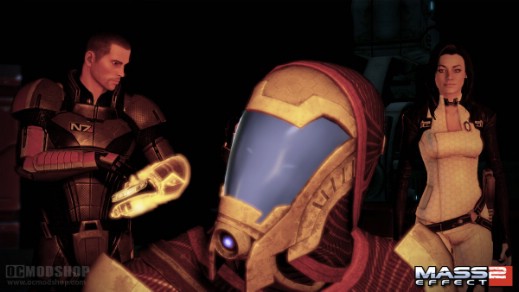
Take the lit path down and get ready for a hard fight. Stay on the right side wall, and the first thing you want to do is take out the two husks coming out of the door way down below, then the handful of collectors on the ground. As for the Praetorian, it will recharge its shield after about six or so seconds of not having it. So you burn down its barrier to near zero, then pull out your beam cannon and almost just hold the trigger.
Two things to keep in mind: move in a circle around the room in the direction it is floating, and never stay under it (either it will slam you or it will hit you while it recharges). That’s pretty much it, and it’s possible the door on the right side wall will open after a time, but just kill the boss.
Head through the opened door for salvage and a terminal. There is another big fight, broken into about three phases, all have harbingers. First, be ready to send the husks any powers you got and burn the assassins fast. Second, there will be a scion around the left corner, but you will probably need to fight your way right up the ramp. Third is the final push across this upper ledge and killing the scion.
The last obstacle between you and your shuttle is a massive wave of husks. Finally any shotguns are useful, and mucho biotic shockwaves help. Just cut a path down and to your ship.
