

End Game
Last chance to consider getting Zaeed with your Cerberus Network code, well, for this toon anyway. Not a big deal if you don’t, but this is your last chance to get him and do his mission. Anyone else’s missions too if you missed those.
Actually, you should wrap up anything you need to do. I’m aware that some may not have followed the entire guide thus far, so we’ll have a checklist:
All squad members are loyal (Legion is now) All squad members’ UPGRADES are purchased (Legion’s is after this) Everything you need bought from the four cities’ shops, even some stuff that unlocks after you first visited them; I believe this is only true of some equipment on Omega and a shield upgrade on Illium Chats/romances advanced as much as you can Any exploration/side quests completed
If you feel you are ready to finish the game, proceed.
We Are Geth
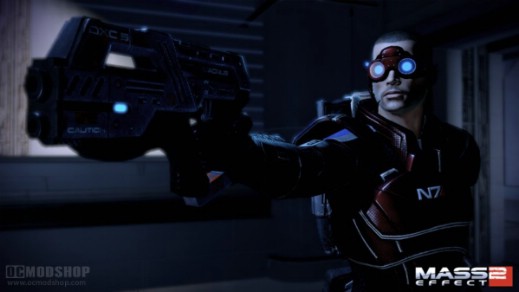
DO NOT kill the geth. I don’t represent a company, so I can safely say you’re retarded if you “space” it.
You can go find it at the AI Core in the medical bay area. You speak to EDI and then turn Legion on.
Once he’s on the team, speak to him to earn his loyalty quest.
The Phoenix Massing nebula, Tassrah system for quick resources.
- Ishassara – 1 drop for me
- Pahhur – just Iridium, and hard to find, lots of it though
- Sarapai – give it a good probing, doesn’t put up much of a fight
They Are Sick
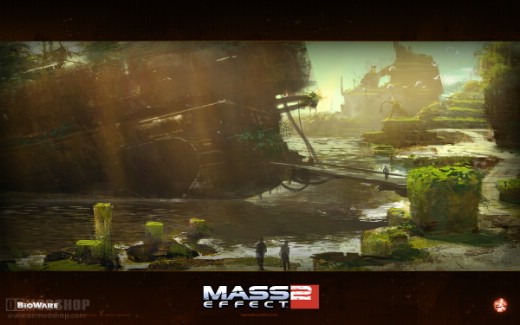
Then head for The Sea of Storms. Land on the Heretic Station.
Legion offers the advance warning of a choice, which is unusual. Grab the gel and head down the ramp. The green lines on the floors are warnings for nearby Geth – in this case, two. Avoid the lines and shoot the hub to blow it up and then mop up the Geth. Salvage the destroyed hub and speak to Legion.
*NOTE: Mind-bending, but when I say “Geth” I mean the enemies, not your friend.*
In the hall, there are two turrets that can be hacked and used against the incoming Geth. They are not up for long, and will destruct. The next room has two enemy sets, and hitting one activates the other. With that in mind, it’s best to burn down the nearest hub, mop it up quickly, then burn down the incoming hunter as you and your team hide. Salvage both hubs.
Two Geth, ammo, and gel in the hall. Two more Geth up a bit more. In the next room, turn on the turrets early because there are only a few that appear, but watch for a hunter to the left and focus on him. Grab the gel and cells, then some ore and ammo before taking the door at the bottom. Turn on the turret in the next room and burn down the hunter quickly. Bypass a terminal, and head through the door.
The next room is a big set-piece. Again, two sets at hubs. You have two options here: post up in the corner, or set off the lines early and let them come up the ramp to you. I believe the corner is the safest way to control the fight; just hit the nearby hub, clean up the hunters, and then burn the incoming from the other corner. Salvage both hubs.
You can talk to him at a window before the next door. Check the setup of the next room; the catch is that you can only have two up at once, and they do not last a long time (same as earlier).
Start it up and try to get this first wave with only your guns. The trick for all of these waves is burn down one side, then finish off the other with your team. The best thing is to post your team near the upper turrets, and behind cover facing one side; you will handle the other side. For the second wave, use two turrets down below that are deep into the lower area. Third wave, use maybe three turrets, all down below and maybe one up. Fourth and last, use any turrets left – don’t forget the off-side one up with you.
*NOTE: In hindsight, I believe “killing them” results in the escape. Otherwise I guess the mission just ends.*
Make the choice, either way, and then make a break for the exit. Two groups at the corner of the hallway, and then pull out your beam cannon for the boss up ahead. It’s hard but, send in your team to cover in his area and just burn him from around the corner. Then dash for the exit.
