

That New Ship Smell
Basically a long-ass intro to your new ship… the Normandy.
But things get interesting with Kelly Chambers, who is nearby after the scene. Again, the alien, lesbian love scene didn’t happen overnight! Rome wasn’t built in a day!
You can find Joker up front, Jacob in the back room, and EDI everywhere who can offer info on the areas of the ship. There isn’t much to do though, as the weapon upgrades and lab are no working at the moment. The elevator can take you to any of these areas:
- Captain’s Cabin (that’s you) – fish tank, achievements, cheesy music, all the stuff you were expecting.
- Crew’s Quarters – chef Gardner to pick up a list, ol’ Chakwas and her booze, and Miranda, who I think you would need to investigate before learning about her.
- Dock – Gabby and Ken who need couplings, and an EDI by the mass effect core.
Once your tour is over, head to level 2 and get on the map. Fly into the sun and do donuts in space – “how’s meh drivin’ bro!” – and then land in Omega.
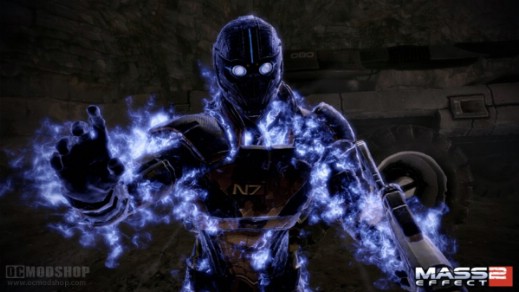
The Omega Connections
*NOTE: If you did the Cerberus Network code thing already, then you will have the chance to pick up Zaeed and he’ll be a part of the team and ready to help in these missions. I don’t cover his mission until near the end, but do as you wish.*
Go out and look out left for a quick view. Then into Afterlife. Before you meet Aria, go right and pick up the Brandy by the bar. Feel free to order up a few rounds, then go meet Aria up the stairs at the back. Ask her about both of your targets.
Before you sign up with the nearby mercs, head below Aria and down the steps. Helen Blake is behind the door, the lady who you killed two warlords for in the first game. Then head down to the lower bar and break the first rule of Omega: don’t order a drink at AfterLife.
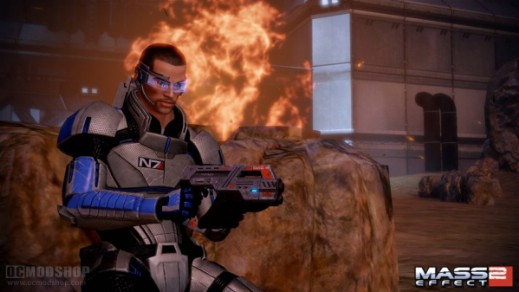
Once you do, you’ll be in the back alley. There is a Shisk and friend to speak to, then feel free to stop by Kenn’s Salvage.
Speak to him first, and tell him to lower his prices, and he does. Now ask about him and he’ll tell you that Harrot is running the show. Harrot is up the steps at the side and in the corner. Speak to him and tell him either line to get him to resolve the kid’s problem.
It’s either that or buy the kid out (which was a mistake I made), but either way Kenn will leave and you should have discounts at both shops.
*NOTE: For all shops, I assume you speak to the owner first and get each discount.*
Kenn’s Salvage:
Couplings are a must, and so is the ammo capacity. Other two are for later.
- Heavy Weapon Ammo – 25000, +15% heavy weapon capacity (grenade launcher, etc.)
- Couplings – 416, quest item for engineers on Normandy
- Heavy Skin Weave – 75000, +10% Shepard health
- Shotgun Damage – 50000, +10%
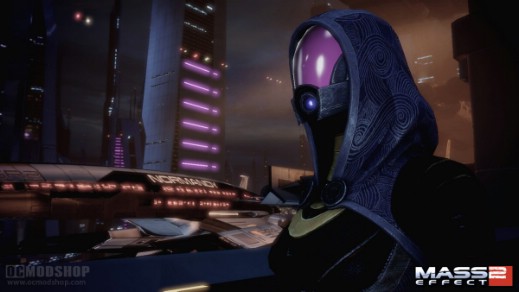
Harrot’s Emporium:
Visor is a must, Geth ship is whatever, chest is good, and hack is not needed unless you really suck at hacking (then it’s a must).
- Visor – 1666, +10% headshot damage
- Model Geth Ship – 1666
- Capacitor Chestplate – 3333, -10% shield regen cooldown
- Hack Module – 25000, x2 time limit for hacking
- Ordance Packs – 1666, +10% heavy ammo; unlocks later in game
Omega Market:
As a sniper rifle user and tentacle enthusiast, I bought everything.
- Stimulator Conduits – 3333, +10% sprint speed
- Model Turian Cruiser – 416
- Sniper Rifle Damage – 50000, +10% SR damage
- Fornax – 4, in the Publications of your secondary codex items
- Stabalization Guantlets – 3333, +5% weapon dammage; unlocks later Strength
- Boost Packs – 3333, +25% melee damage; unlocks later
Find your way back into the lower part of Afterlife and confront the bartender. Either rep option does exactly what you want it to do.
Of course you can go tip the dancer in the corner, then head up the left side to the room to meet Patriarch. The door nearby his room just leads back to the alley.
If you revisit the lower bar, you find a much friendlier bartender. There is also a dancer in the other corner you can just dance with, I dunno.
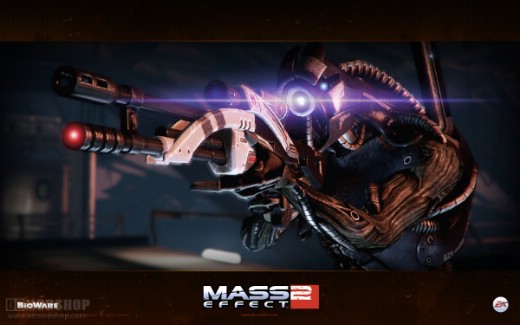
The Plan
Head back up to the main floor and talk with the Merc Recruiter. Watch for the “Renegade” symbol in the lower right corner and you should be able to perform the action when talking to the merc. And upon leaving, you talk with a kid and can do a Paragon action.
Head to the front of AfterLife and Gavorn is waiting on the right. Further behind him is the transport to Archangel’s lair.
Chat it up, then head toward the end, up the left wall, and through the door. Speak with Jaroth, then pick up the data pad that Aria will want; this is a mission.
Through the door, take the left door for a pad to hack, some ore, and then hack the big mech to “slow down” the mercs later. In the next room is Garm, that’s all. Head out into the open and hack a data pad. Then hack a door on the right and go in for lots of stuff. In the upper right corner is a path to the Blue Suns area, Run across to meet Cathka. Get ready for a renegade action toward the end.
Traitor
When you “attack” starts, you are then against the mercs, so you can either start soon or let them start on Archangel before taking out the mercs, but they are the enemies and will fire back once you start on them. Just clear your way up to the top and meet the wanted man.
Watch for that tricky action while looking down the sight.
Now it becomes a game of defense. But thanks to two key moves we made, the mech and the aerial craft will not be enemies (if you didn’t make those moves then I guess you have additional obstacles). Depending on your class, you can snipe enemies from up here or head down to the bridge, or even let them come up the stairs.
Once the mech is dropped, it becomes an ally. It will take out most of the rockettiers, but Jaroth will take it out, and then all four of you must take him down (overload).
Regroup, use this time to search the place for stuff, including a locker on this top floor and some guns on the couch.
Tangos Incoming
The next phase is you stopping the lower team while the target defends against more tangos on the bridge. You can choose to leave an ally with him, of your choosing, or let him stay alone. I believe letting him stay alone just means you have to work faster, but leaving someone with him makes your job down below that much harder.
Head down to the basement and you have three doors, all of which will unlock and allow you to close the shutters. The first one is easy, just walk up and close it.
The left one is much more challenging as you must pop and run along all the cover to the shutter, flip it, defend it, and then double back.
The right and final one is the toughest. I believe you must fight the one big guy, but after him you can run to the shutter in the back, pull it, defend it, and then clear the room. It’s hard because no cover is safe and they are aggressive. There should be two “dogs” running around too, so watch your toes.
After the basement part, run back up and fight off Garm’s goons, then run up stairs and kill Garm before regrouping again.
Last fight is against the gunship, but ONLY attack when it’s in the left window or you’ll waste ammo on the right. When it’s left you have chances to shoot at it through it’s machine gun fire, but to the right it will only drop troops and unleash barrages to hide from. Maybe you can attack it on the right, but it’s pretty far away, and you need to hide from the missiles anyway, so I just wouldn’t.
