

If anyone likes you, you can choose now. Not sure how “turning someone down” will allow you to choose another, but I believe you can. But when you choose this is the time when it all pays off ;)
*HOPE: Did you have dinner with Kelly? Well did you? And did you fail to romance anyone else? Well… there is still hope! Keep playing, we’ll discuss later.*
Welcome to the Oculus
*NOTE: People will start dying if you didn’t buy their upgrades. Hence all the chop in the scene.*
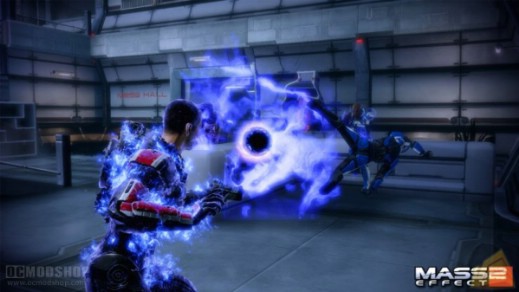
Anyway, for this fight you are dealing with one enemy, a big armor thing. So bring handcannons, Mordin, and Miranda. Round 1 is just burn it down to about half. The second round is tougher if you don’t have more beam cannon ammo, otherwise just aim for its top from behind the cover. Not bad.
The Gameplan
For the shaft, send in Tali. For the second commander, send Zaeed… NO, just kidding. Send Miranda. Or Garrus.
You are dealing with harbingers and flesh enemies, so biotics and armor stuff is needed. In a shock to everyone, I took Mordin and Garrus. I took Mordin on like 2 missions all game, but I needed his utility. His Heavy Inincerate is an instant kill on armored harbingers – you did get that into heavy right? Either way, he’s a good pick. Garrus is for the extra range.
Knock, Knock
Before you start, equip any special ammo on everyone, not just you. And equip a flesh-heavy arsenal.
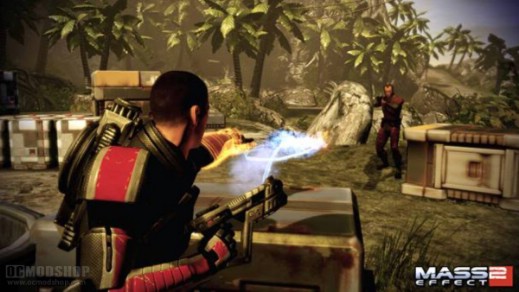
First fight is not too tough, just a bunch of Collectors in the lower part. Use range to clear them and move left. Hit the first valve and notice there is a green bar. That is Tali’s life at each valve point, so you must from now on move quickly to hit each valve before that bar is gone.
Up ahead at the ramp is a nasty group of enemies that should drop a harbinger, so burn them all quickly and hit the valve. Up ahead is a quick drop by two normal ones and a harbinger. Blast the normals first, then burn down the harbinger quickly. Two valves up ahead with no resistance.
Next area is tricky because the enemies are hidden behind lots of cover. Just splash the first group nearby as best you can (shockwave) and vault up ahead to handle the two flying in and the harbinger across the gap. There may be one more by the valve to the left. Hit it, vault up, and hit the next valve.
The last area is a bit hard as the beam cannon guy can give you troubles at the start. Burn him down anyway you can, then hop up and run left to hit the valve. One more up ahead to the left. Burn the harbinger down first, then his friends, and then run up to the final valve.
The Light in the Dark
Yeah, Samara needs a purpose, give her the job of making your shield. As for the meat shield, sounds perfect for Grunt. Which was INCORRECT. It should be Garrus or Miranda. As for the escort, if you so choose, I sent Jacob. I found out Grunt is for this as well… too late though.
With those choices in mind, I brought Jack and Mordin. It’s not like you are going to fight inside the bubble the whole way, you can bring range. If you want a sniper instead of Jack, feel free. Remember, same adjusting guns and ammo at the start.
Your job is to stay close to Samara (whoever you chose). Move up and tell her you are ready to go right. Samara will pause up ahead as you deal with the enemies to the left. Two harbingers are most likely. Moving to that area next, have shockwaves or just blast the husks that crawl up from dead ahead. Then Collectors fly to the right, so follow Samara to cover and take them out; again with the two harbingers.
Get the ammo while moving up, then be ready for tons of husks and a scion. Mordin can help burn the scion while shockwaves (Jack) can mow down the husks. Then you got a few husks on the sides as you make it to the top of the ramp for the end.
The End
Bring whatever team you think is best for scions, harbingers, and an armor boss. Jack and Mordin work for me.
Not much to say for the platform fight other than keep up whatever you’ve done to get here, truly. All I know is the final platform in front has two scions and you can stay out of their range, clear up the minions, and move in when ready to eat their armor up (you can soften them up with range and move in for powers and such).
Next fight is just two waves if you work quickly. The tubes above will open when the waves are cleared, and you just have to do it twice, using any kind of gun (SMG).
Final fight is against that thing. First off, there are two big weak points, it’s left eye (your right) and it’s stomach. It has two notable attacks: the beam laser that has like a 10 second cast time, and a smash that destroys the platform it is next to. It raises up before it smashes one, or just take the good advice of not standing next to a Reaper and you’ll be fine.
Few adds will spawn, but they all need to die. The idea is to clear the adds, then just blow everything you have into the big eyeball or the stomach. There are other spots, but they are not as reliable as these two.
The beam cannon won’t do this alone, you’ll have to bust out other guns, both to handle the adds and finish off the boss. A hand cannon is great for finishing this fight, even if you have to stare down a direct laser hit.
And that’s it, just time to replay ME1 and this game while we wait for what should be the final entry in this series.
